This is a sponsored post written by me on behalf of Duck Brand® for IZEA Worldwide. All opinions are 100% mine.
This is my TWENTY FIRST year of teaching!! What the what?! I can’t even believe that. Of course, I totally don’t feel that old. Geez. 15 years of those years were in public schools here in the US and a few in Japan. And the last 6 of those have been at home…..homeschooling. What a blessing. And, if I’m being honest, one of the reasons that I love teaching, is that I LOVE decorating the classrooms. I mean, I just love it. I love shopping and themes and school supplies and bringing it all together. Of course I’ve been decorating our basement school room a little bit each year. But we usually end up at the kitchen table. hahah.
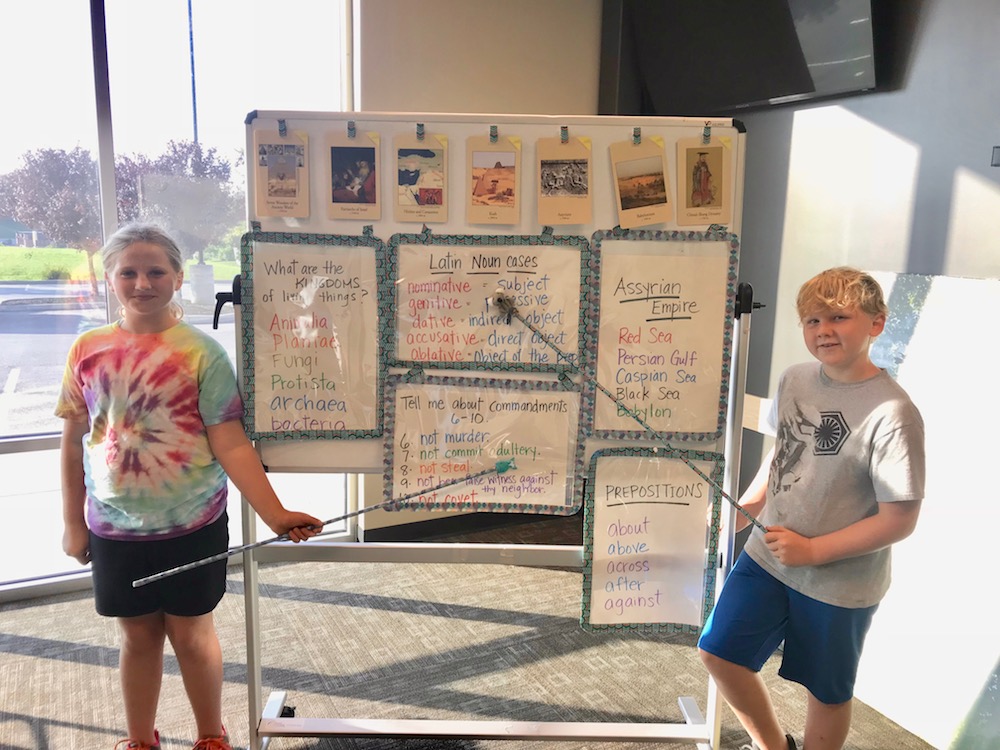
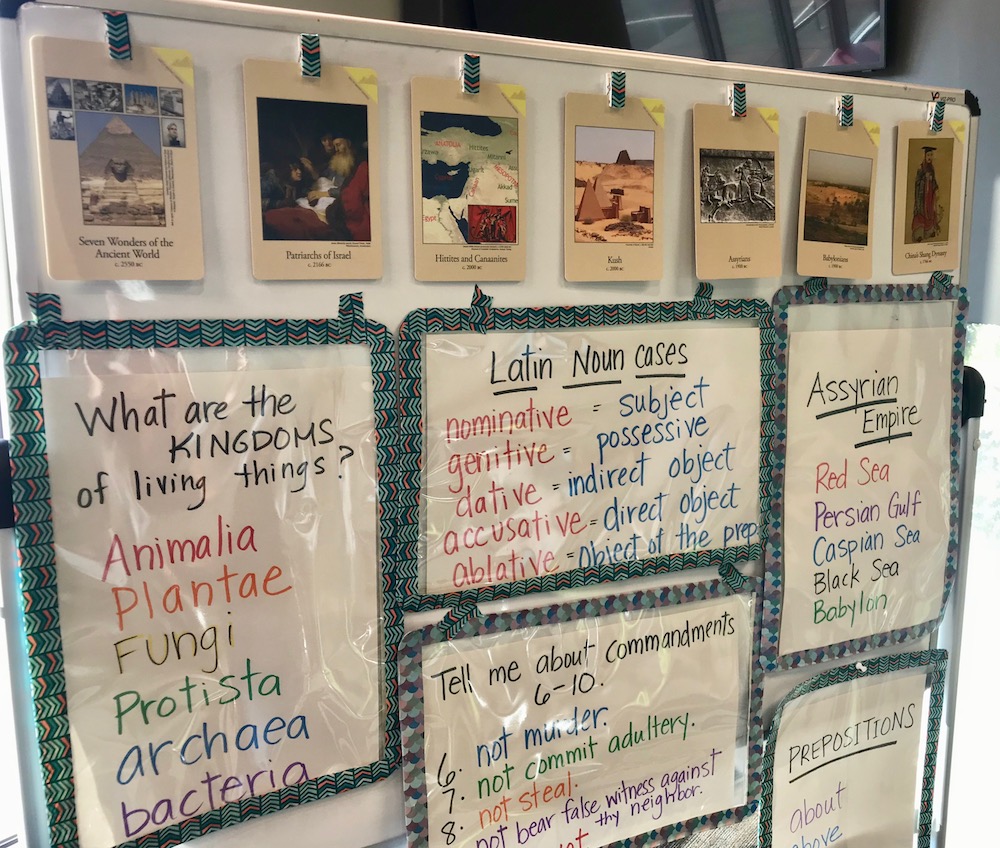
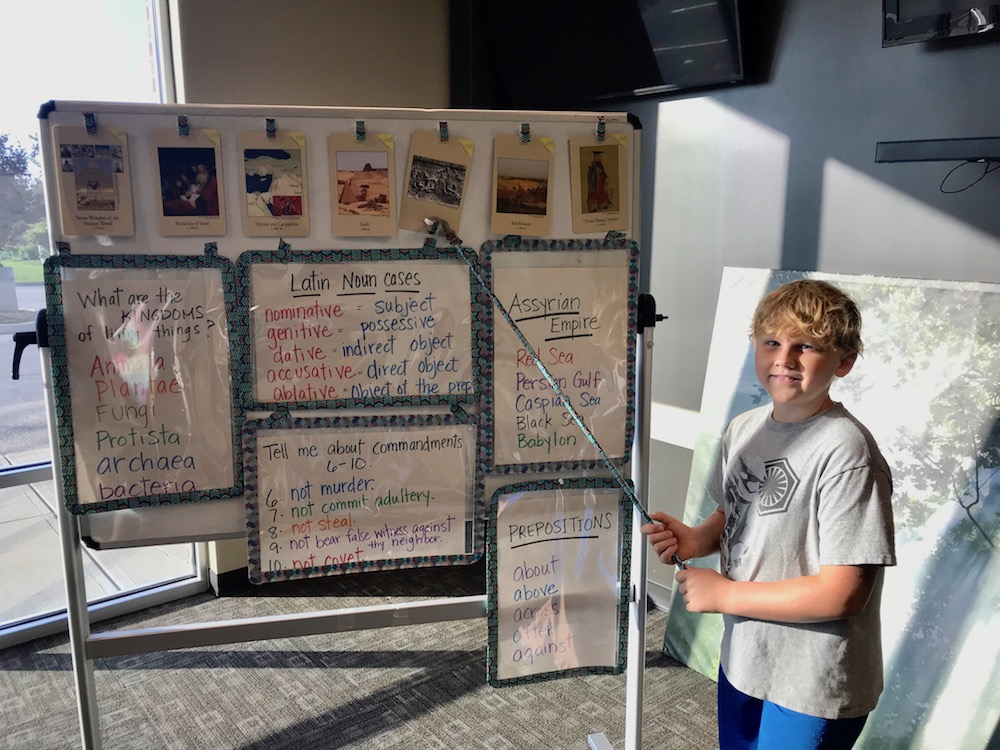
This year we joined Classical Conversations. And as a tutor, I’m so excited that I get a classroom to call my own once a week! I have to bring information for the kids to read and memorize each week. I decided I needed to make giant dry erase pockets to hang up. That way I can write the information only once and use it all week at home, too. WIN WIN!! That way I can stay organized. Plus they are super cute.
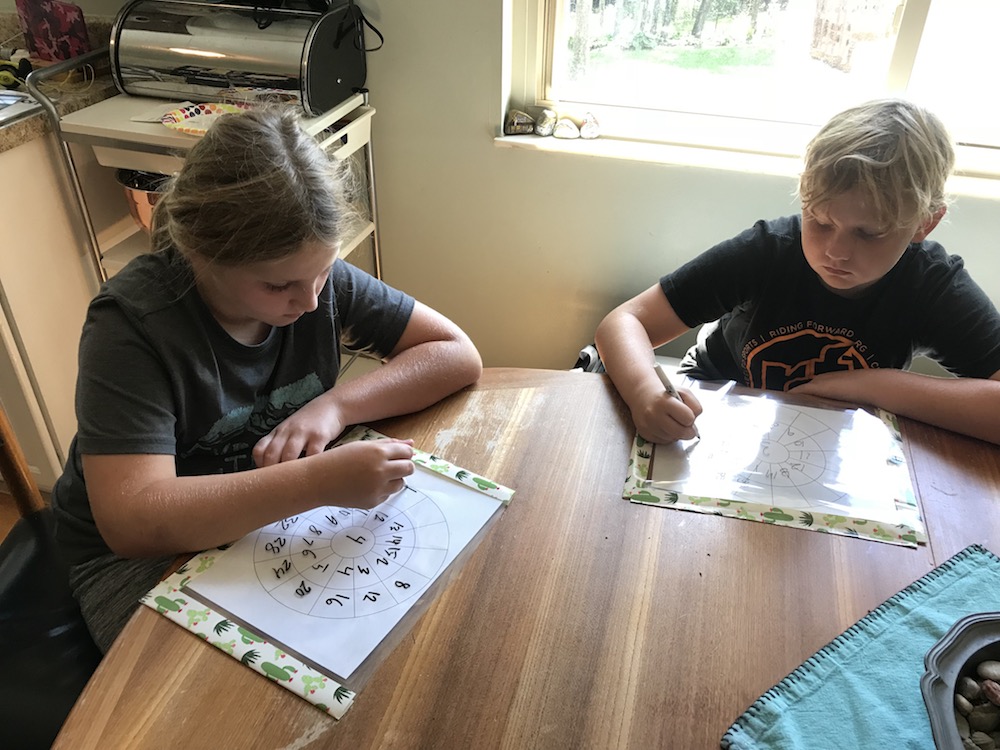
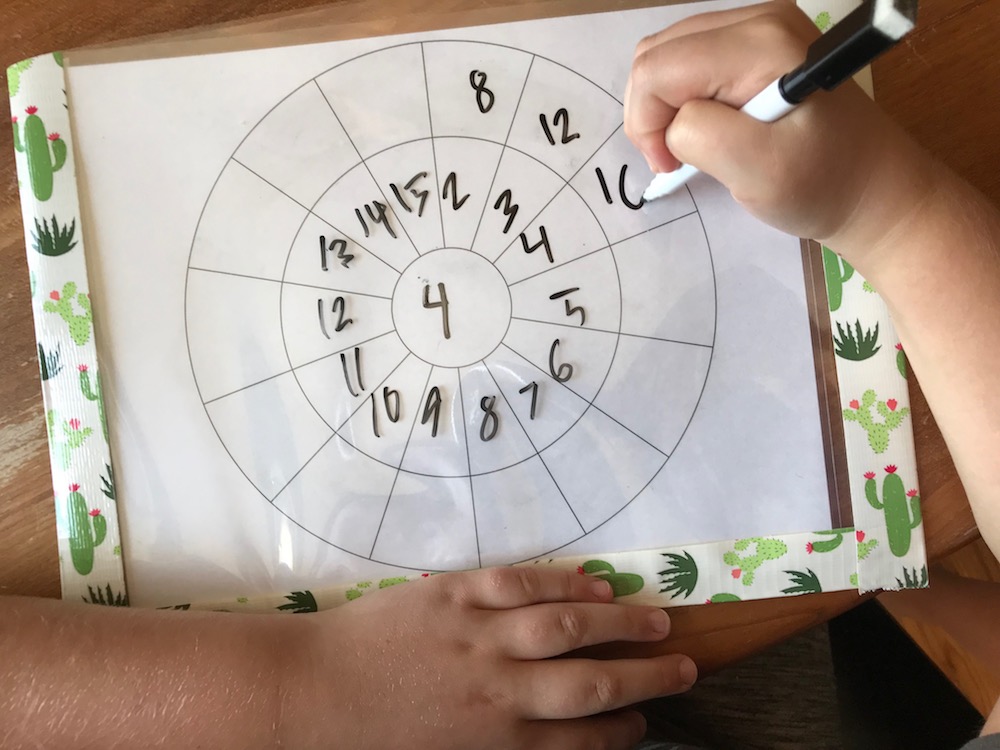
I also made smaller dry erase pockets so that the kids can each have one. We conserve paper copies that way, since they can slide any game or worksheet right in and use a dry or wet erase marker right on it! I love a simple educational tool that goes a long way!
Here are the handy, dandy (cute) tools that I made.
2 sizes of Dry Erase Pockets
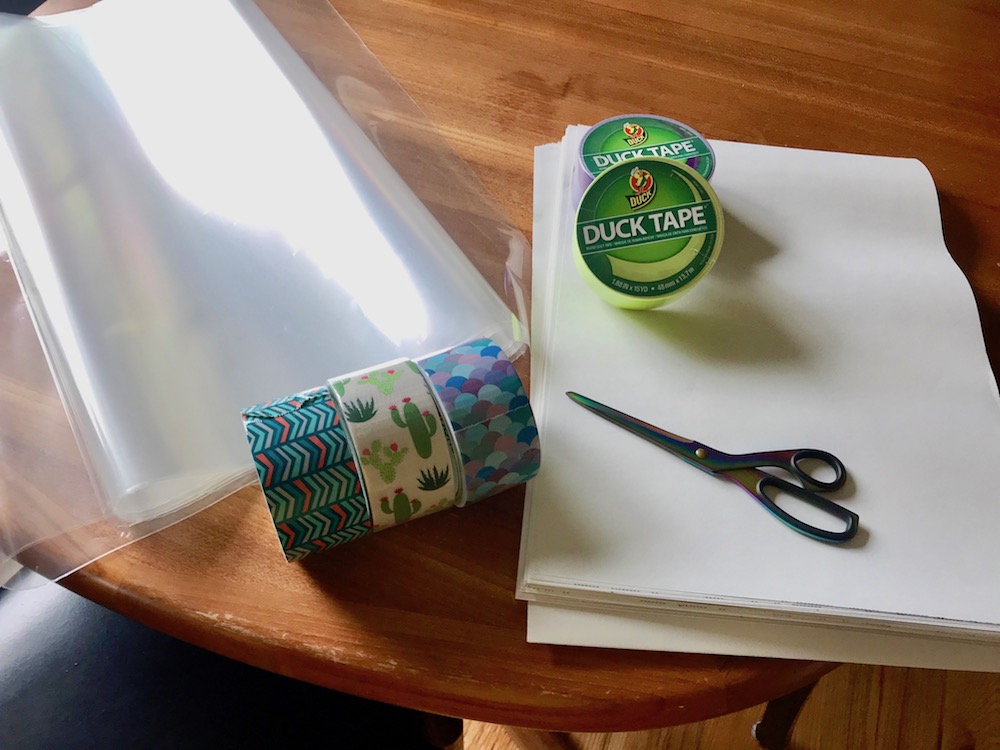
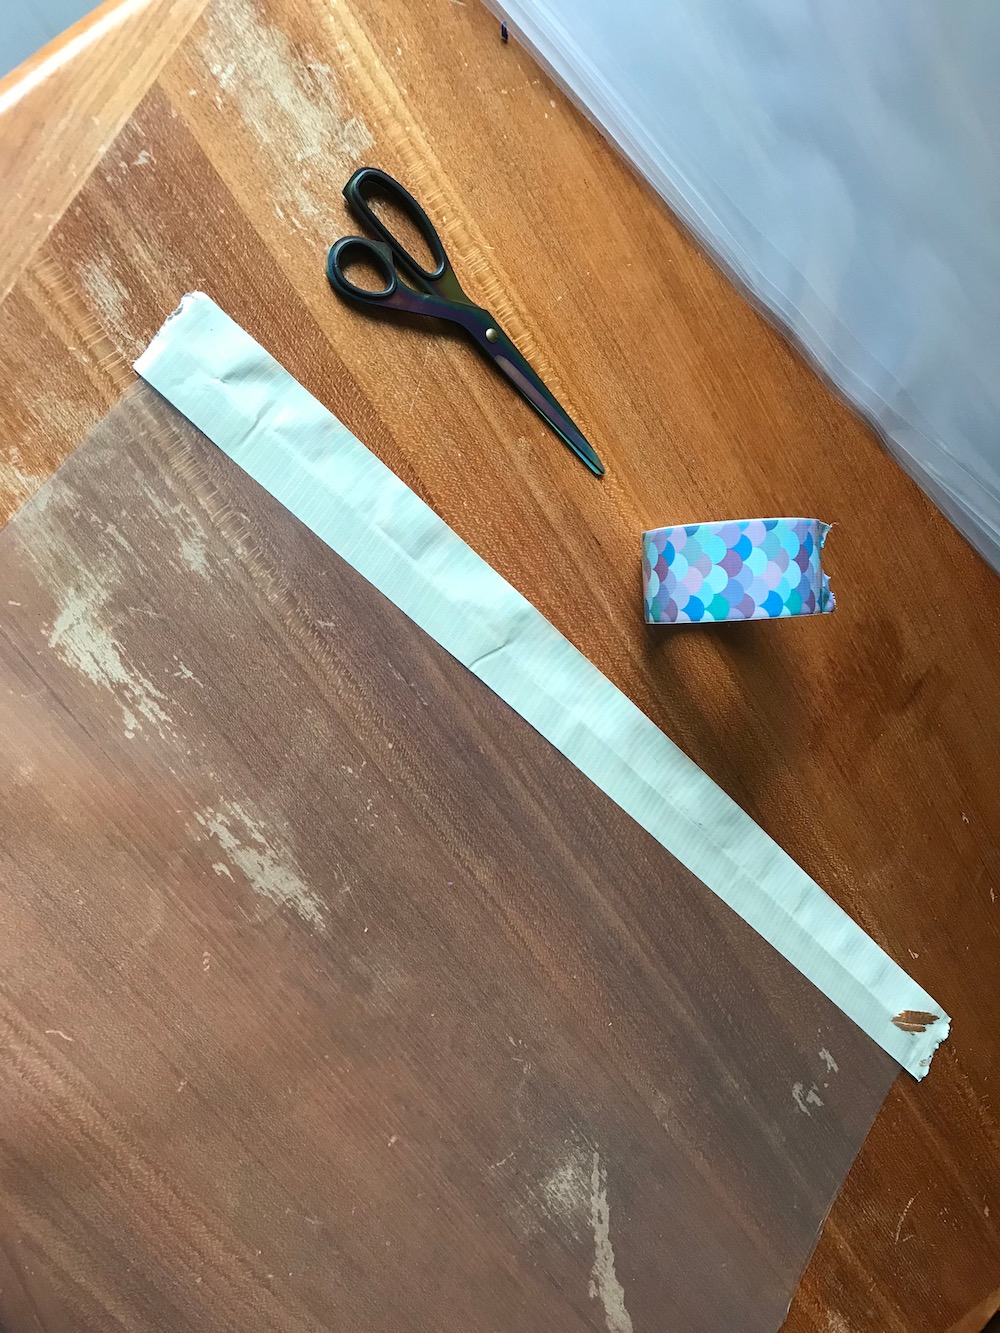
What you need:
- Duck® brand duct tape
- Large and small paper
- Scissors
- Long sheet of laminate, cut to size
What you do:
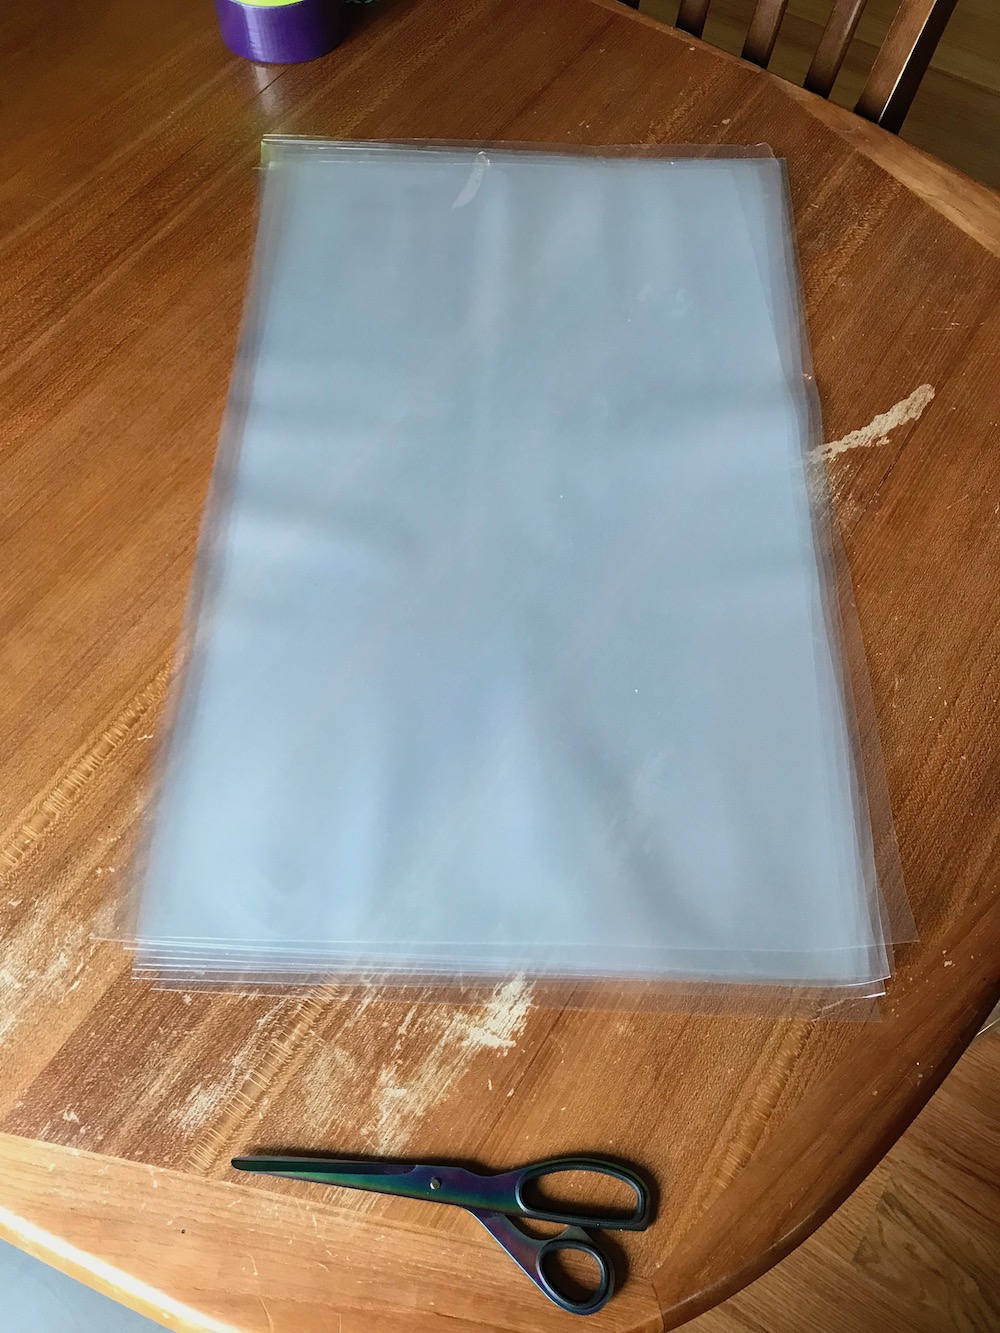
- Get your hands on some laminated plastic. I went to our local library and had them run the laminator for about a minute or two until I had what I gauged to be enough of the plastic. Office supply stores and teachers supply stores also have laminators like this and you usually pay per foot. I paid about 4 bucks for enough plastic to make 6 large dry erase pockets and 4 small ones.
- Cut the clear plastic to the sizes you will need. I used the large sheets of white construction paper that I use in class each with with memory work. And I used a regular piece of 8 1/2 X 11 copy paper to gauge the smaller ones.
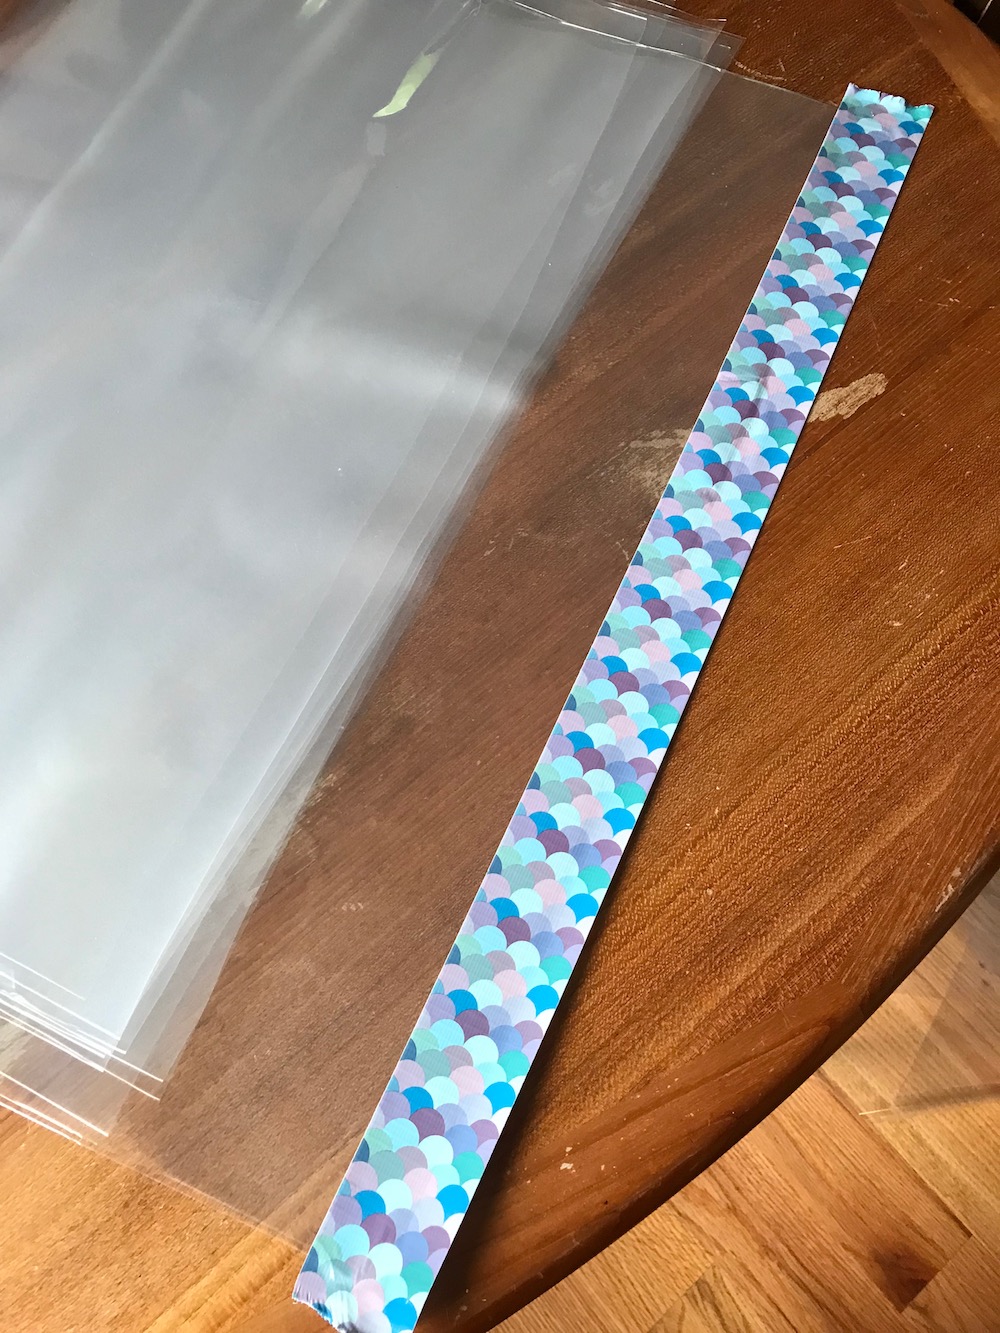
- Once you have all of your plastic cut to size, you simply tape them together with the duck tape.
- I found it easiest to fold one piece of duck tape over the top of one sheet to begin with. That way you have a place to slide the paper into each time you use it. (this makes more sense when you look at the photos.)
- After that, you just tape all the sheets together, leaving the top section open.
- DONE! Wahlah!
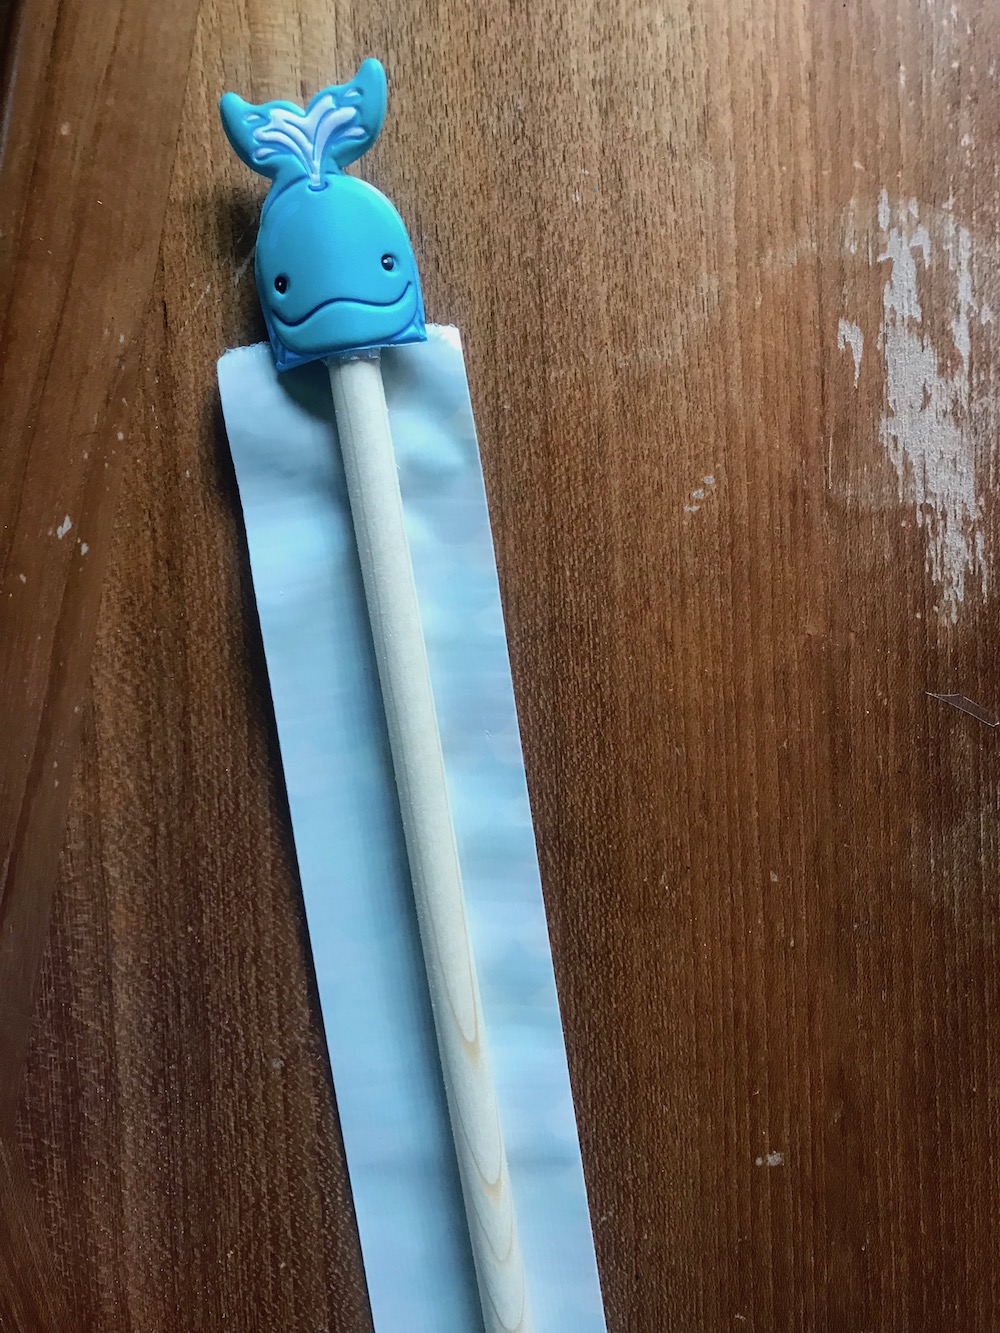
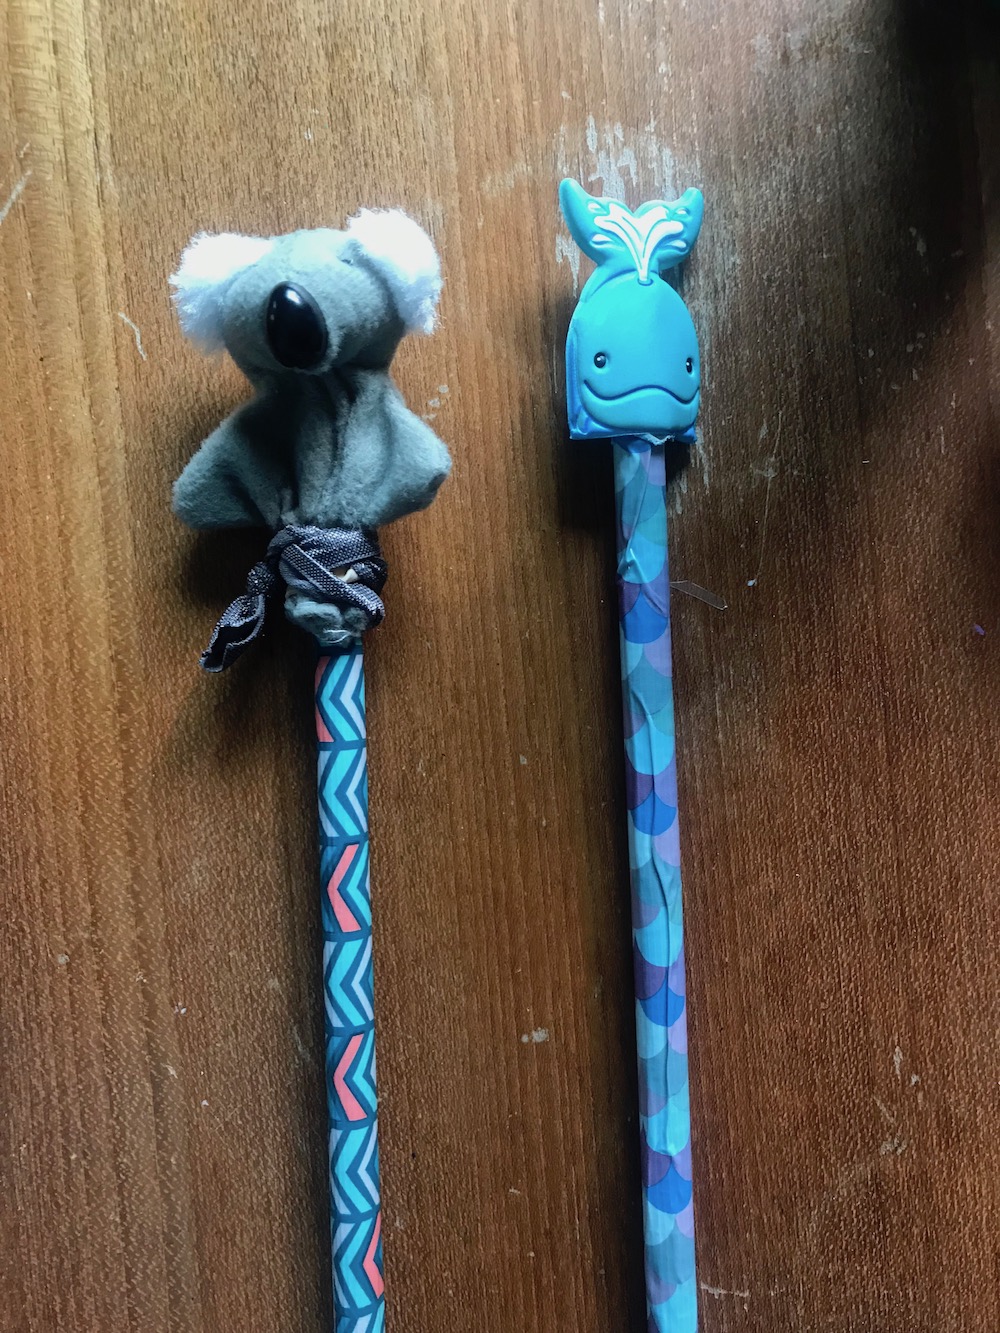
Wooden Pointers
Next up… I made these SUPER simple wooden pointers. The kids love to name them and use them all day.

What you need:
- a wooden dowel (easily picked up at craft and hardware stores)
- Color Duck Tape®
- a finger puppet
What you do: It really doesn’t get any easier than this. Simply tape the finger puppet to the top of the dowel (alternatively, you could use hot glue for a more secure hold.) And then wrap the dowel with coordinating Printed Duck Tape®. WHAT! SO cute and so easy.
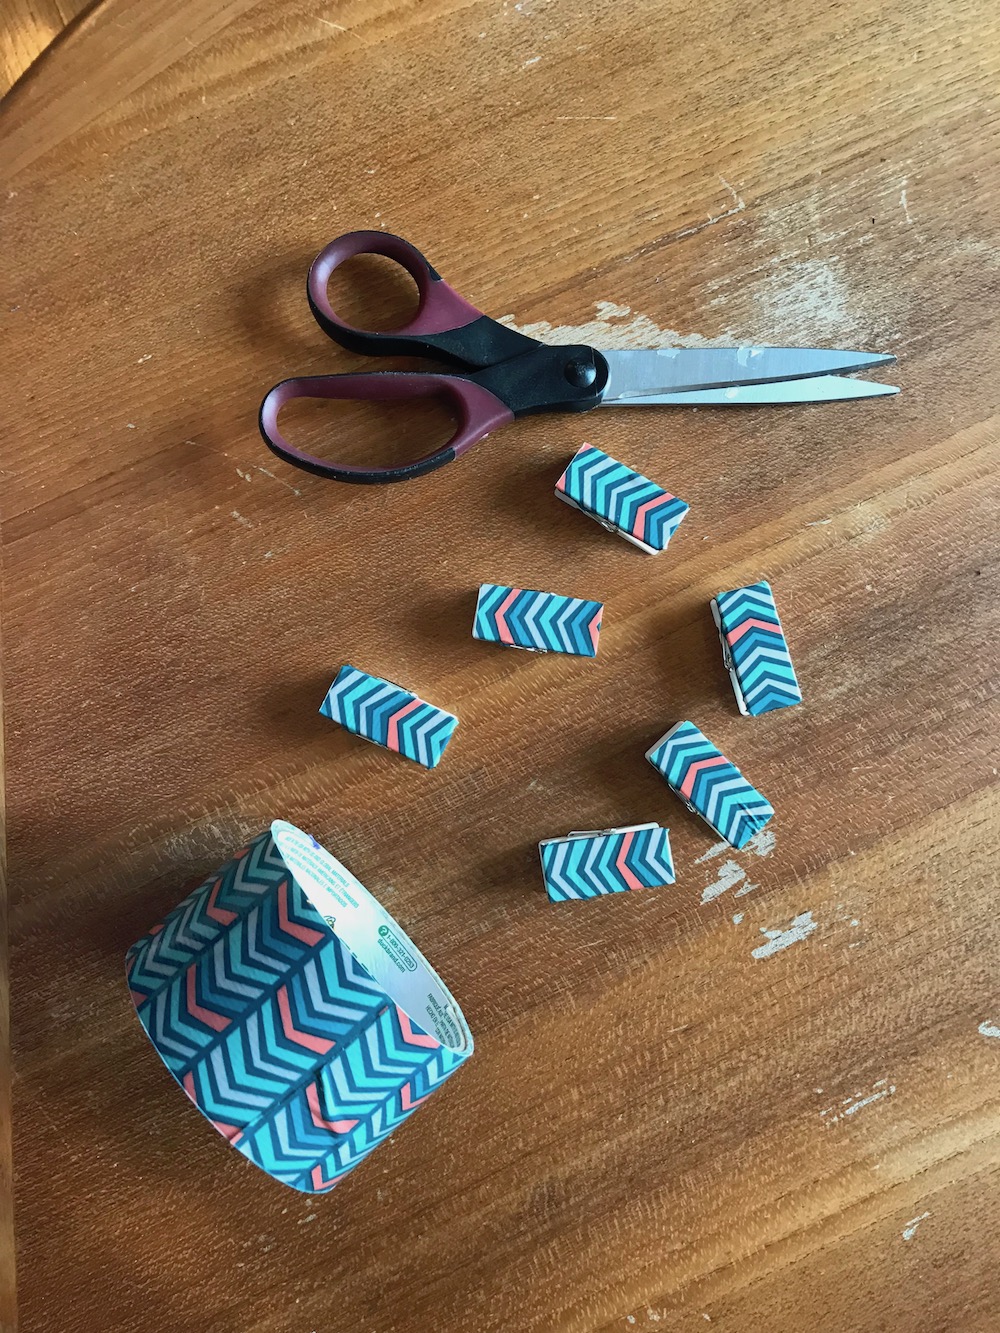
Cute Board Clips
I decided to bring it all together and add clips to the top of my board, and white was too boring. I covered them with the Printed Duck Tape® and now the whole thing is coordinating and fun.
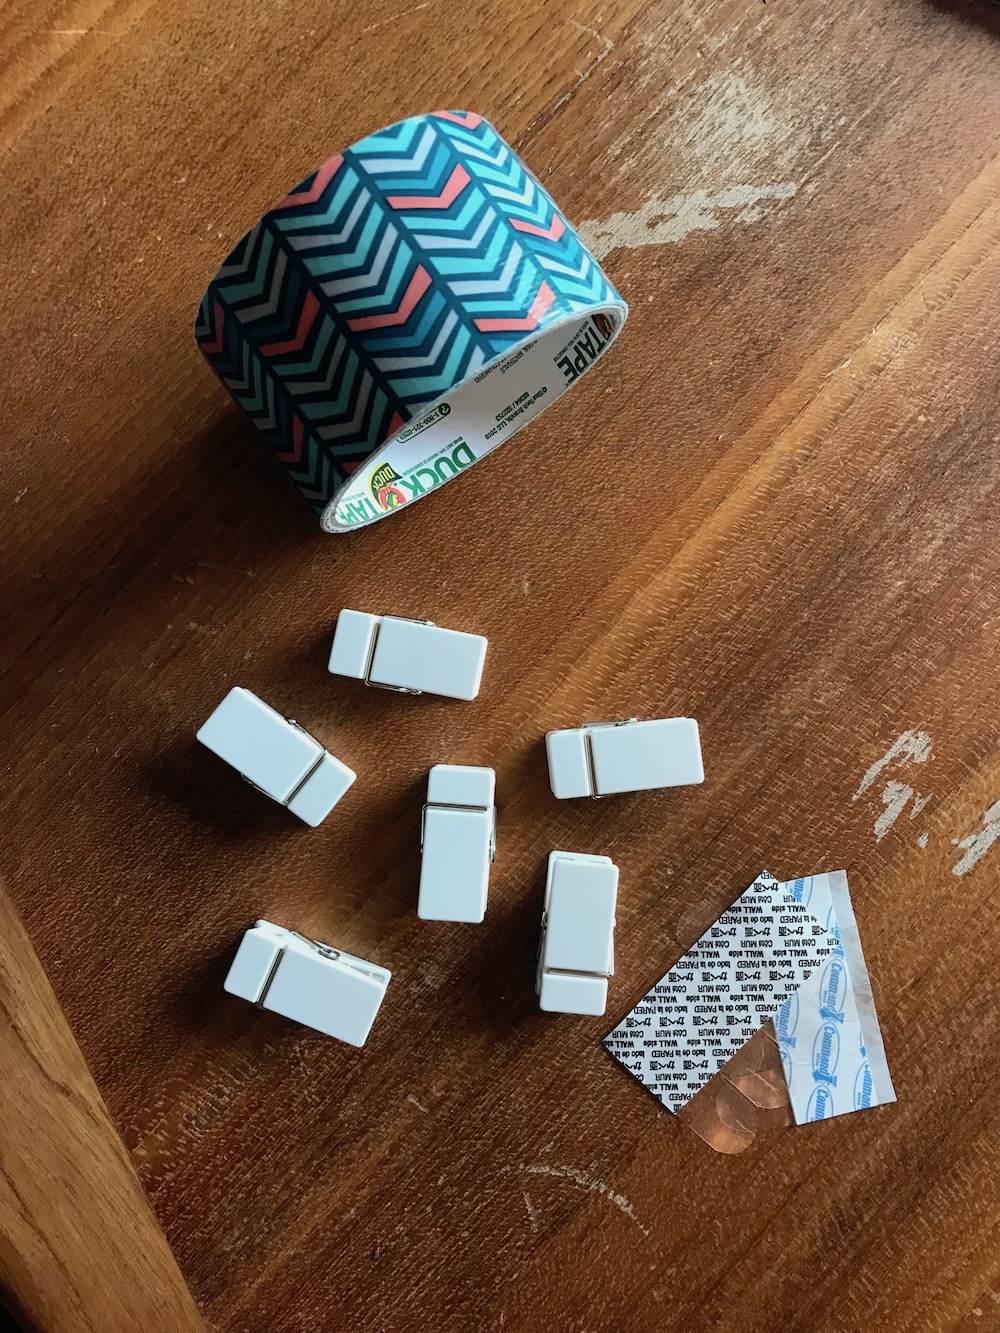
What you need:
- Duck® brand duct tape
- sticky clips (or you could use clothes pins and double stick tape)
What you do: Wait for it. haha. Cover the clips with the tape. Stick them to your wall or board. 🙂 EASY PEASY.
Duck® brand duct tape is known for its quality and innovation, and they now carry a vibrant assortment of of colors and designs. Duck Tape® is available nationally at mass merchandise, craft, hardware, home center, food, drug, office, auto and specialty retailers in colors like purple, fluorescent green, pink, orange and yellow, and designs such as floral, cactus and geometric designs. It’s so easy to find and so easy to use. I love it and we always have it on hand. I am currently in LOVE with the cactus print.