Hello crafters! How are you on this Saturday morning? I hope great! We are hanging in there. We’ve had some COLD weather the past couple days, but I guess I should be glad it hasn’t snowed yet!!
Lets get right into this craft I have for you today. I am excited about it! It’s one of my favorite projects I’ve done in the last year and it’s really simple too! I have the tutorial for you today so you can make one too!
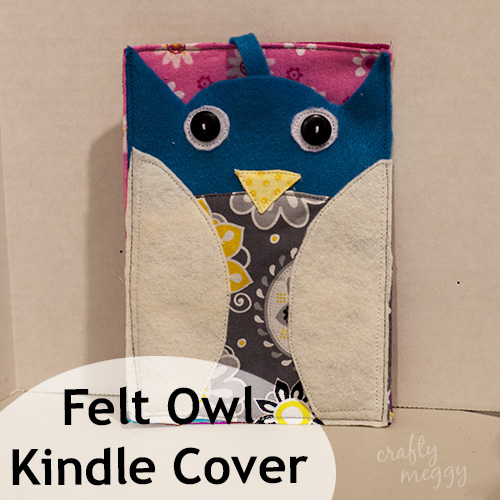
I got the idea from this post I pinned on pinterest. Isn’t it cute? I just tweaked it to fit my kindle instead of an iPod.
Here we go:
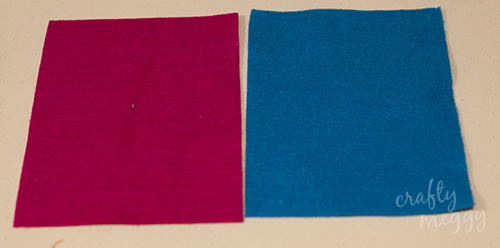
Step 1 – Gather your supplies:
3 pieces of felt (one for the backing, one for the owls head and one for the wings)
1 piece of liner fabric for the inside (the pink leopard print fabric, which I actually change halfway through the project)
1 piece of fabric for the body of the owl (for my cover that is the grey and yellow fabric)
fabric for the nose
2 buttons
thread
velcro (buy the sticky kind so then you don’t have a random stitch on the owls head!)

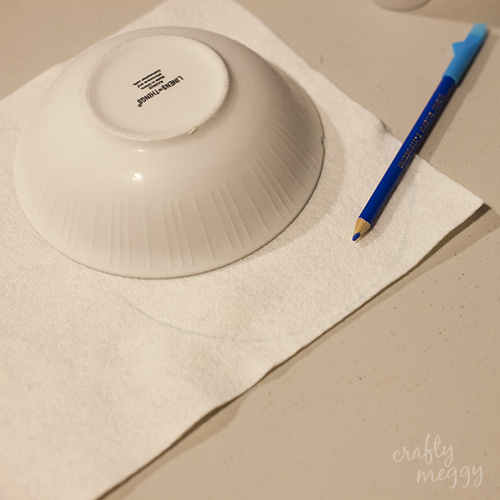
Step 2 – Cut the 2 main pieces of felt to the right size. You want them to be about 3/4 of an inch bigger than your kindle to make sure you have room once you sew it all together.
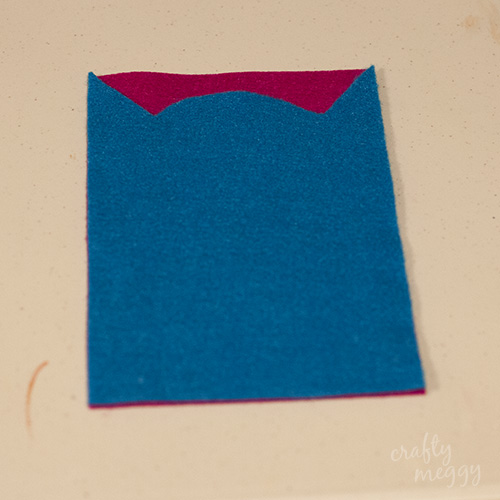
Step 3 – Cut the owl ears and head out of the front piece of felt. I just free handed it and this is what mine turned out like.
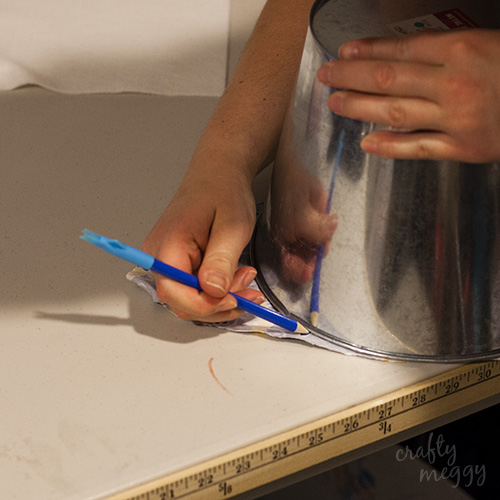
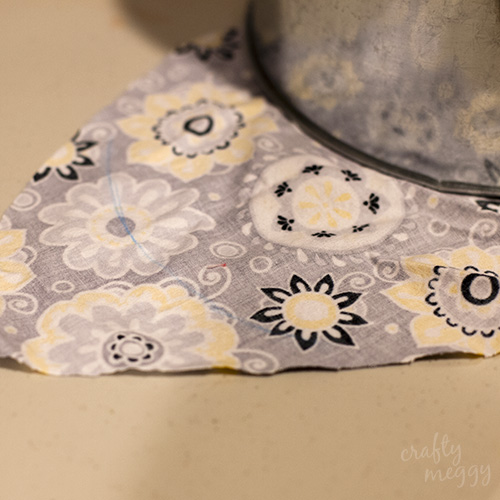
Step 4 – Use something circular to trace around your owl body fabric to make the shape of the body. You just need the top part to be a half circle and the rest of it will match up with the sides of the cover.
This is what it will look like:
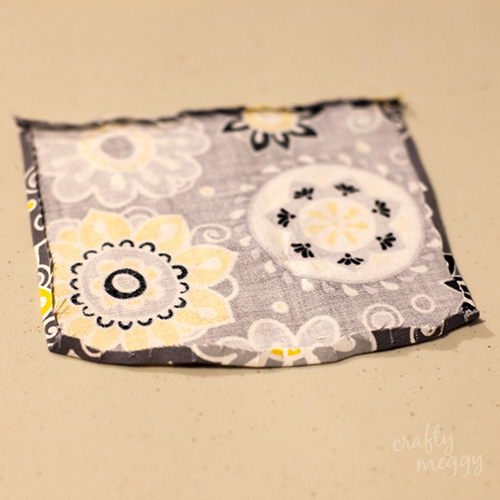
Step 5 – Cut down the body fabric about a 1/4 of an inch bigger than the front felt piece. Cut little slits around the top of the fabric. This will make it easier to hem. Hem the body piece a 1/4 of an inch and it should look like this:
Step 6 – Pin the body piece to the top felt piece like this:
Step 7 – Sew the body piece onto the felt.
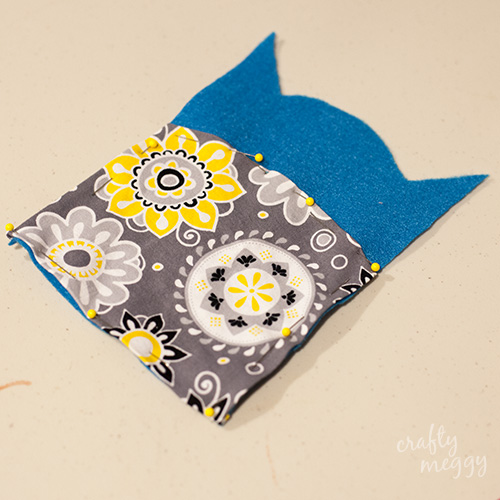
Step 8 – Trace another circular shape onto the white felt, or whatever color you want the wings to be. This circle needs to be about half an inch bigger than the body fabric. Cut out the circle and then cut it in half.
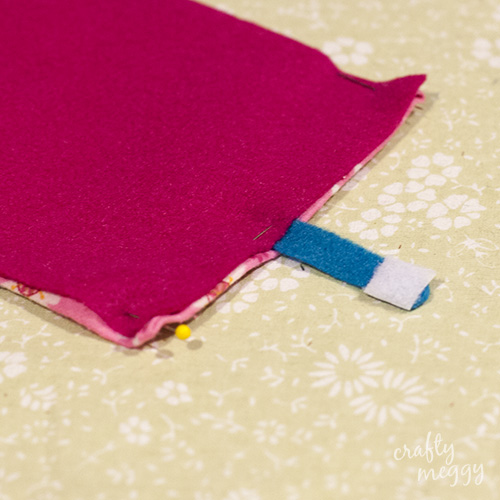
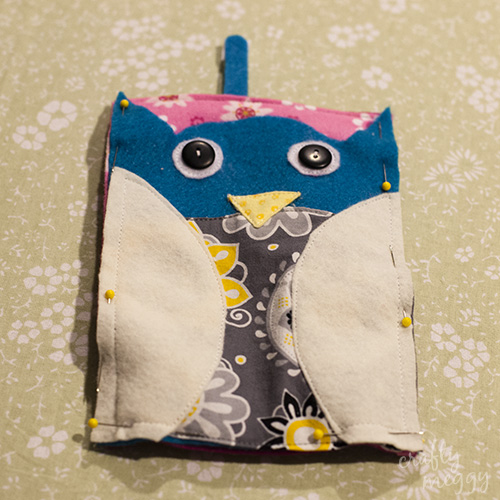
Step 9 – This is where you put the back piece together with the lining. You also want to cut out a little piece to make a latch to keep the kindle from falling out. (This is where I switched the leopard fabric for this pink flower one.) For the lining you’ll do the same thing that you did with the body piece fabric, cut about a 1/4 inch over the back so you have enough to hem it. Pin the felt and lining together.

Don’t forget to pin the latch piece in! Cut out the velcro to fit your latch piece and place it on the latch right now.
Step 10 – Next pick out your thread color and sew on little circles for the eyes. You can kind of see that I had a white nose sewn on here too, I decided I didn’t like the white felt as the nose so I picked out a yellow fabric. That’s why it wasn’t in the supply picture.
Step 11 – Sew on the nose fabric.
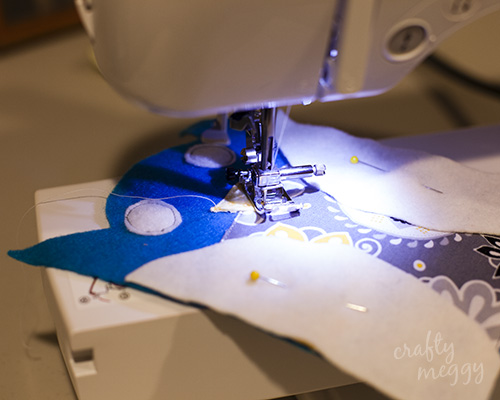
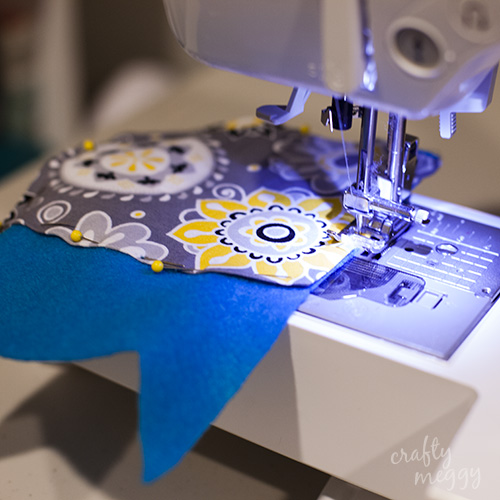
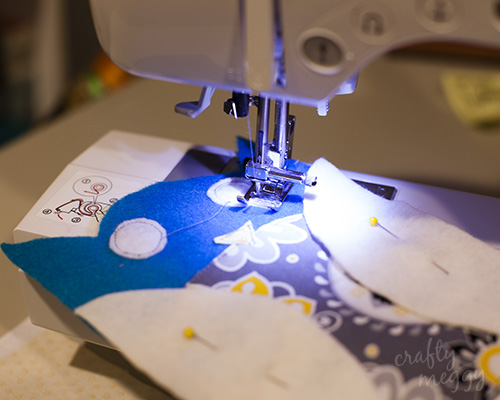
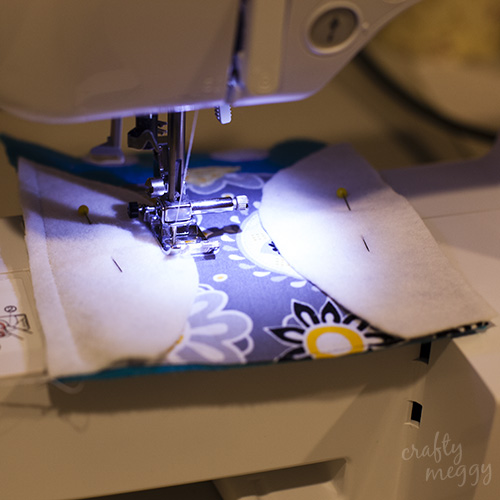
Step 12 – Cut the wings to fit on the front of the owl then sew them on.
Now you have the front cover and back covers all ready to be sewn together.
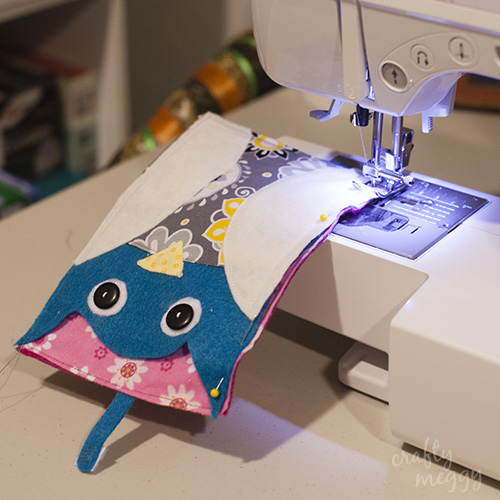
Step 13 – Pin the front to the back:
Step 14 – Sew around the 3 sides carefully. I put my machine at the slowest speed because it was really thick with all thouse layer.
Step 15 – stick the other side of the velcro to the back of the owls head and you’re all done! Yay!
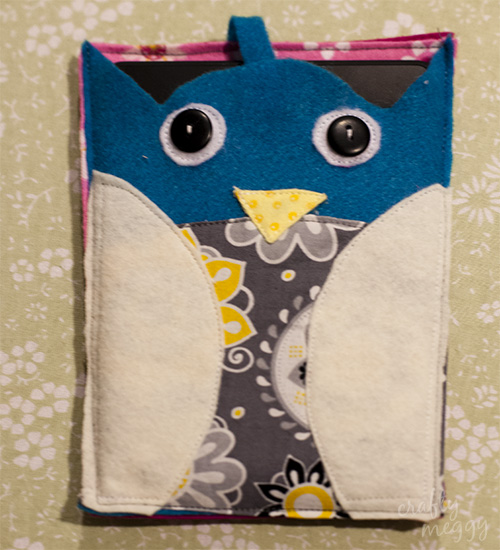
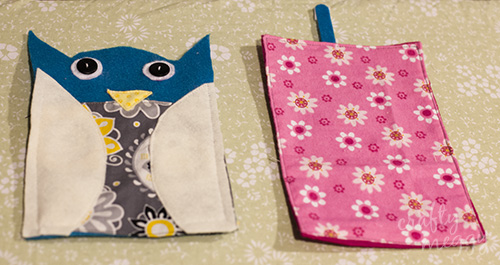
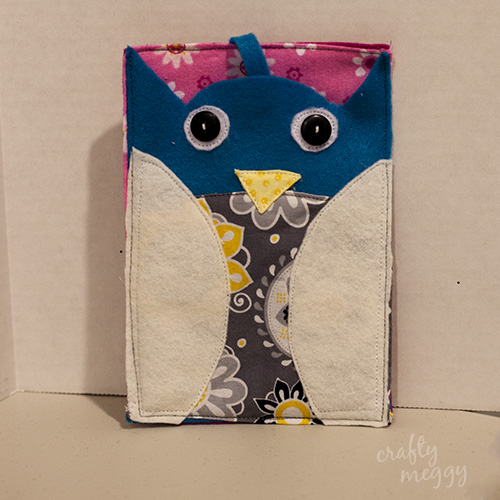
Now you have this cute owl cover to store your kindle in!
My son just won a kindle through his school and he’s asking me to make him a Mario Brothers cover. I guess I need to figure out how to do that one next! 🙂 Thanks for stopping by today! I’ll be back next month with another cute craft.
Megan’s a full-time mom and a part-time professional photographer. When she’s not busy cleaning up after 3 wild and crazy boys and hubby, she can be found holed up in her craft room making things. She loves to sew, scrapbook, make cards and create. She blogs over at Crafty Meggy expressing her creative side in a house full of boys. She posts all about her crafting, organizing and cleaning adventures.
Check out Megan’s other posts here.
Connect with Megan. You’ll be so glad you did!
Crafty Meggy Blog | Facebook | Twitter | Pinterest |