I first saw this idea on Pinterest a few weeks ago. LOVED IT! But, it was just a bunch of dead ends. No tutorial. No blog. No crafty mama telling me what to do next. Nothing. But I just LOVED the picture so much and decided to give it a whirl anyway. Sans tute. And ours turned out great!
I searched out the glow paint at Hobby Lobby and picked up a few colors. FYI – You can’t really tell the colors apart when they are glowing. They all look green in the dark. I just bought glow-in-the-dark fabric paint, but there are other kinds too. Fabric paint happened to be 50 percent off that day – so ya know. 🙂
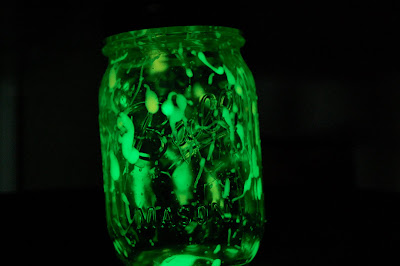
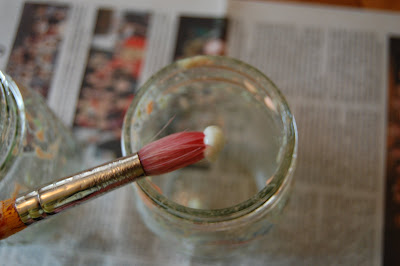
Then, I broke out some mason jars. I used a paint brush to splatter.
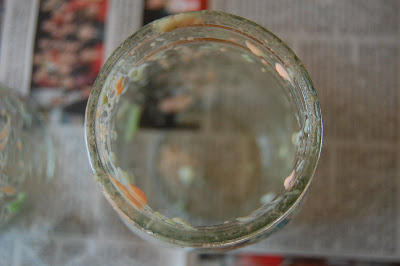
I still wish I knew how the original person made the splatters so small. I tried a toothbrush and it didn’t work AT ALL. Maybe their paint was much thinner? I also wish I knew where they got blue paint. I looked everywhere for blue and couldn’t find any.
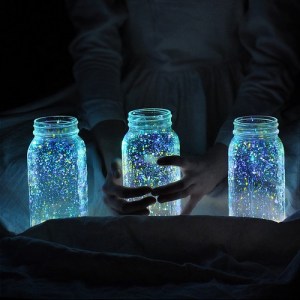
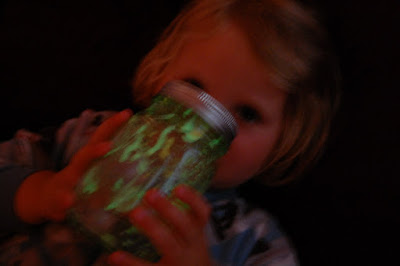
Oh well. I’m happy with the way our star jars turned out. The kids use them as night lights in bed and they think they’re so cool. (They don’t even notice that their stars look more like an 80’s party than a solar system.)
So, that works for me. 🙂
STAR JARS
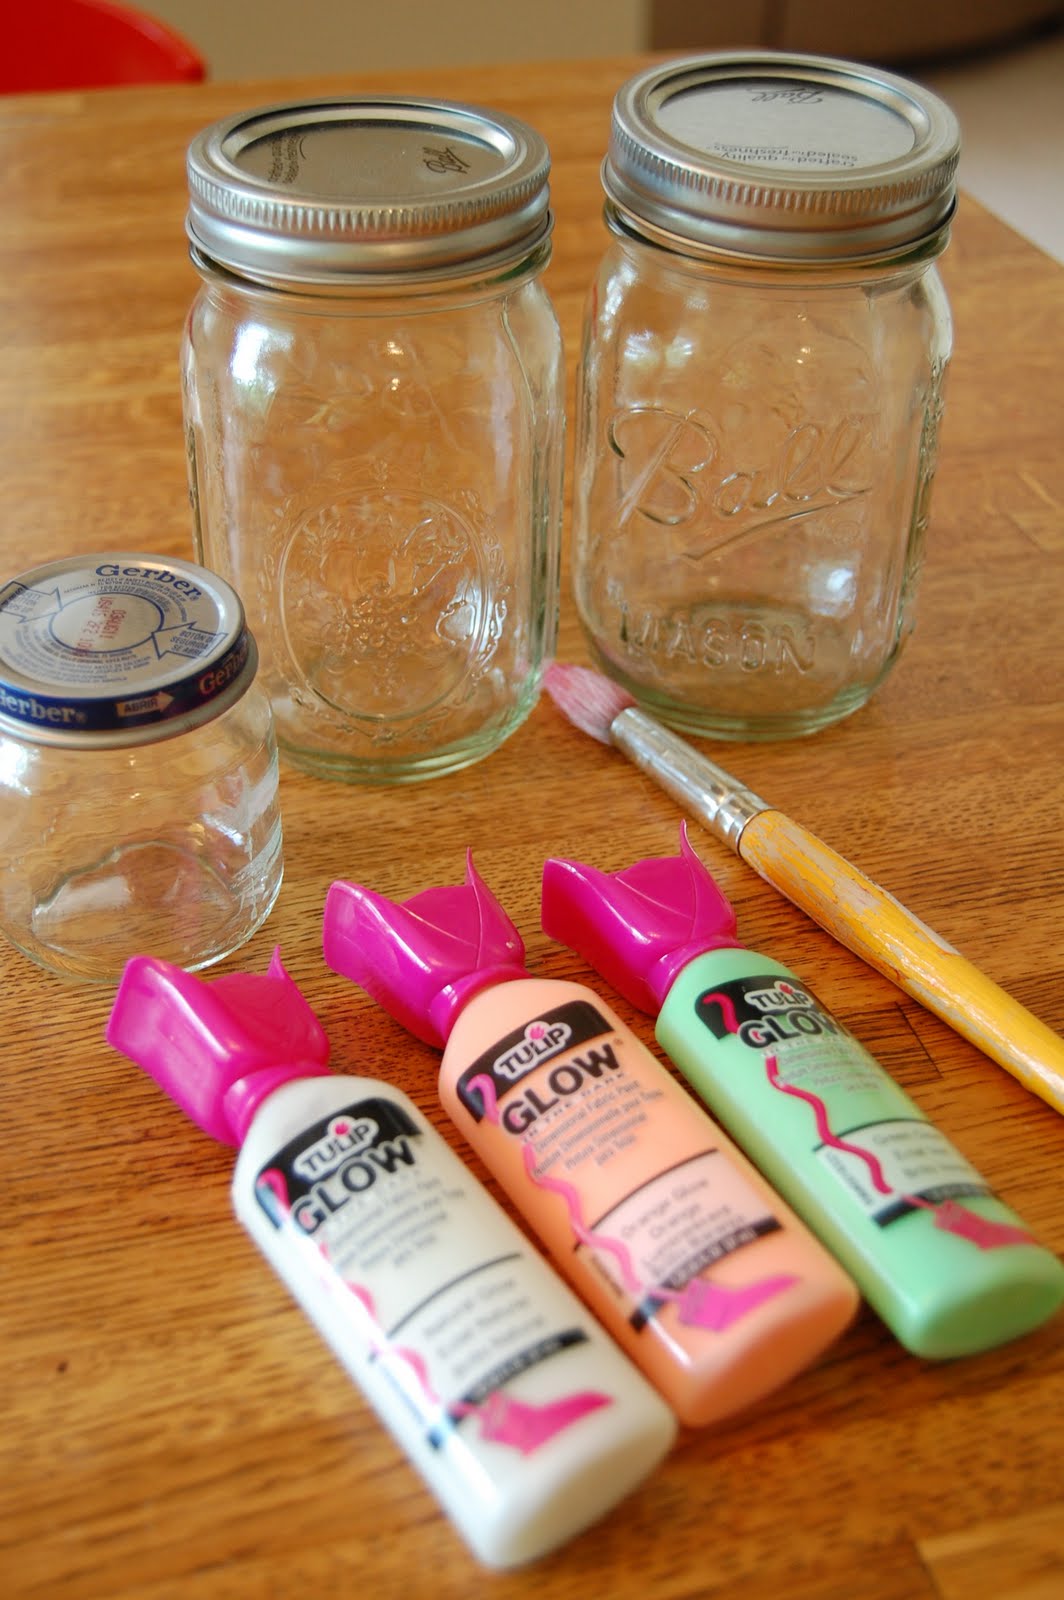
What you need:
a jar
glow in the dark paint (light activated … not black-light activated)
a paint brush

What you do:
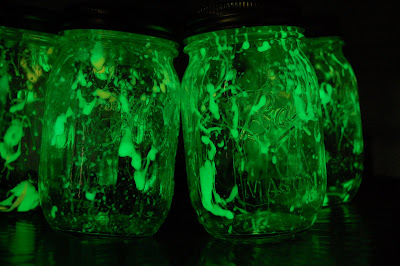
Put some paint on the brush and smack it on the lip of the jar and watch it splatter in. It also splattered out on the table (and in my hair), so put some paper down and maybe find a hair net! 🙂
Let it dry completely before putting the lid on. I put the lid on one of them and it got all foggy and condensation formed inside. It disappeared when I opened it again. Strange.
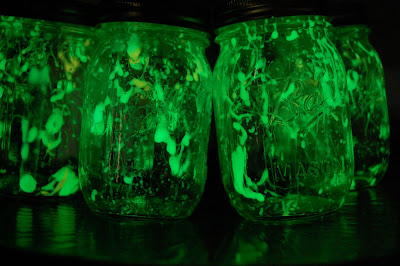
I also clearly need to find a tutorial on how to take pictures in the dark! Geez. But, you get the idea. 🙂