Hello everyone! Sorry I didn’t post on my normal 2nd Saturday of the month. My kids had just gotten out of school the week before and so it was CA-RAZY around my house! lol How is your summer going so far? I hope well!
I thought I’d bring you a fun and easy craft I found on pinterest (here) to help you spice up your scrapbook layouts and cards. You could even have your kids make one and let them go to town with making their own art project. It’ll keep them busy for a little while at least!
The supplies you will need are:
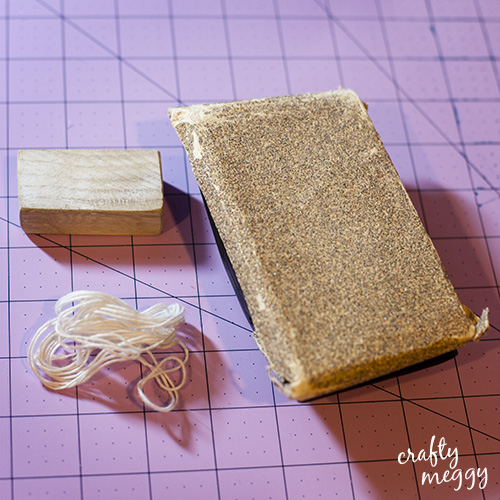
*1 block
*sand paper
* Glue gun/tape (this depends on how permanant you want the string you use to be. If you want the option to switch it out, use tape. It will get really dirty so tape is probably better. I used glue and now I’m stuck with it.)
*string, twine, embroidery floss, or yarn (I used embroidery floss, but the thicker the string the better, is what I’ve learned)
*stamp pad or paint and paper to show off your handy work:)
Here are a few pictures to show you my process as I made my stamp:
First, sand the edges of your block until they are smooth. Sorry I didn’t get a picture of this! I was doing this by myself late one night so the hubs was already in bed.
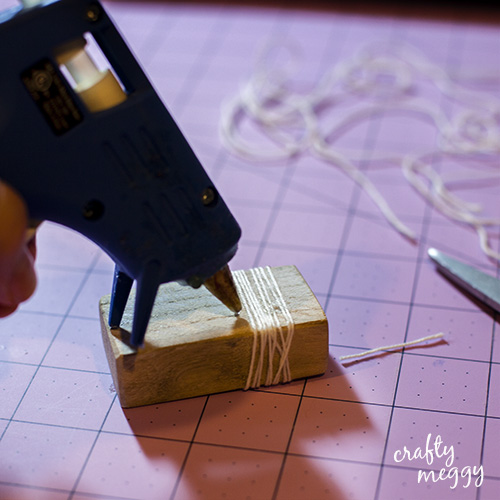
Next, choose which side you want to be your stamping side and which one is going to be the ugly side with the glue or tape. Start by making a strip of glue every few pieces of string, then wrap the string around the block before the glue dries.
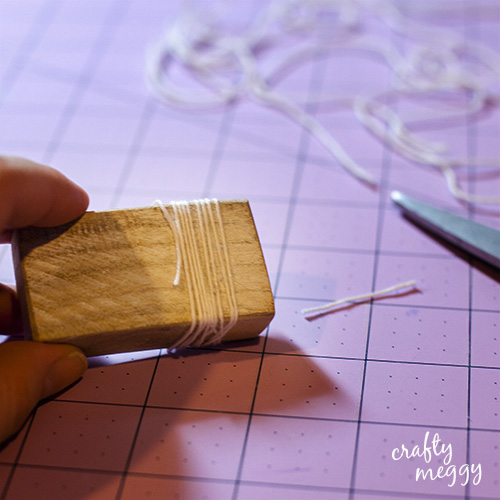
Continue gluing the string down until you get to the end of your block like in the picture below. If you decided to use tape tape the first few stings down, wrap the rest around the block and then tape down that last few strings.
If you use glue it will most likely look like this. Kinda messy.
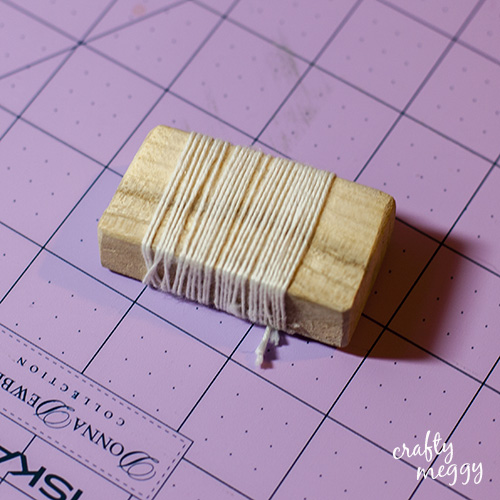
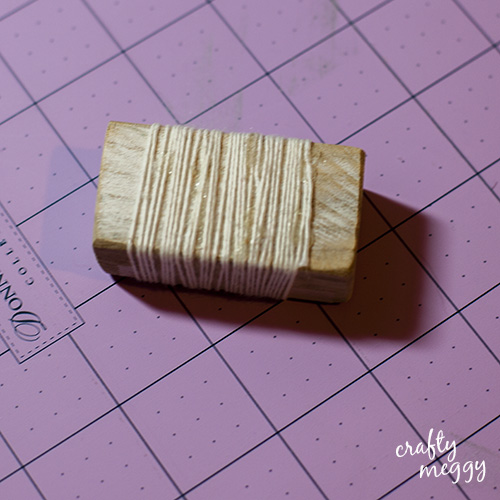
This is what the stamp side looks like.
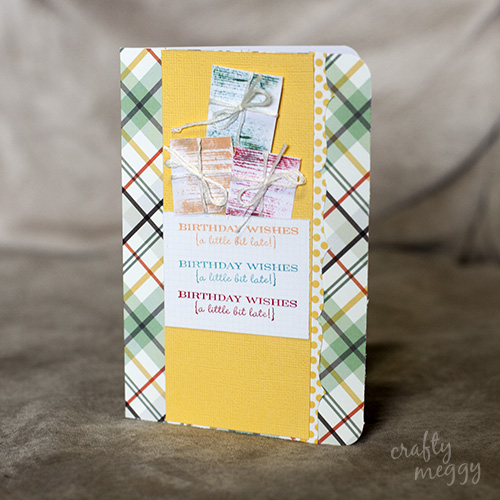
I went ahead made a scrapbook layout and a card with my new stamp. The layout didn’t turn out exactly how I wanted, but it’s ok. I got to test out my new stamp that I made!
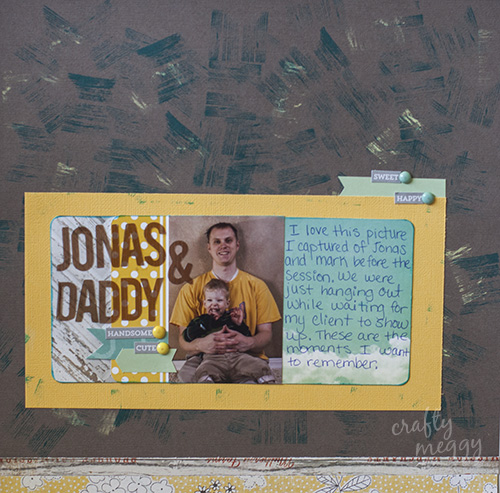
I stamped the background with a teal craftsmart ink pad and a yellow Versamark chalk ink pad.
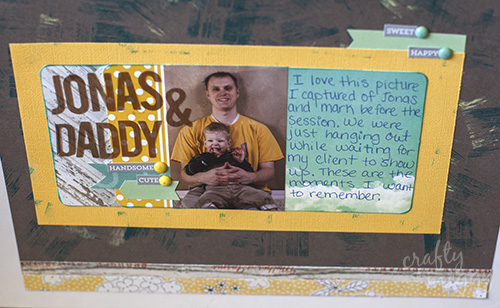
Here are some close ups so you can see the stamp better.

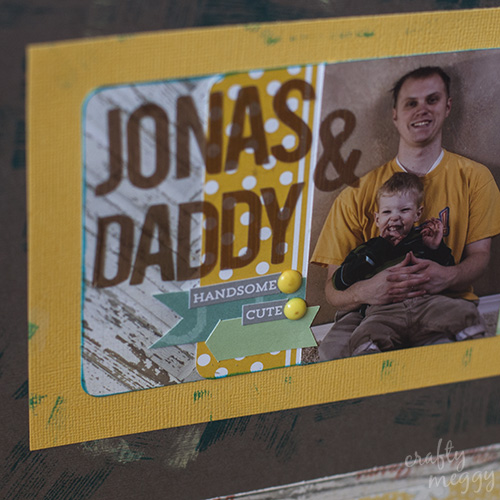
What do you think? I’m not a huge fan of it as a background stamp, but I do love the way I used it on the card.
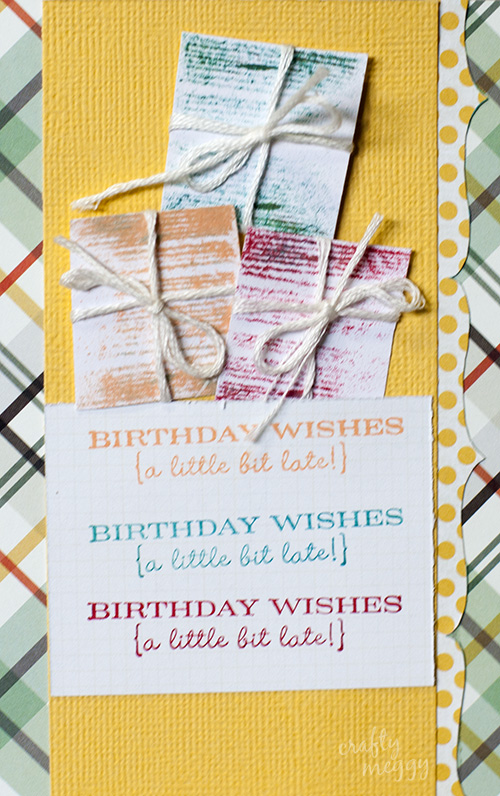
Here’s a close up of the presents on the card. The stamp turned out pretty good! And I used the same side with 3 different colors. I did the orange stamp first and you can kind of see a little bit of the blue from the scrapbook layout stamp, but after I stamped the other colors I just rubbed the excess ink on a scratch paper and it didn’t transfer with the other stamped images.
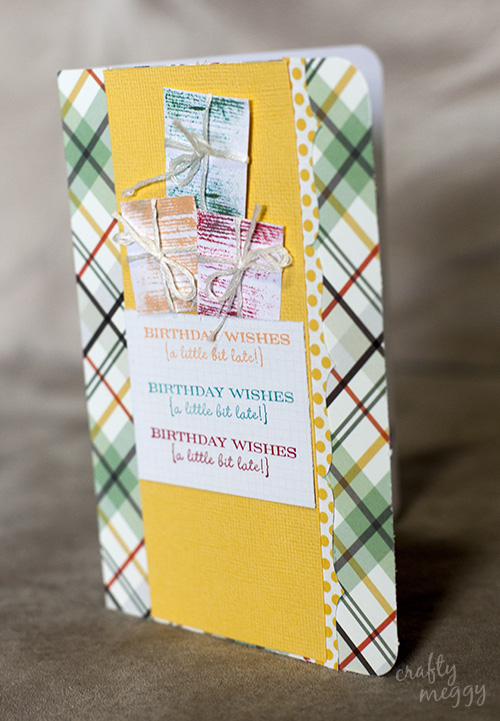
I really love how this card turned out! I got the idea for it on pinterest, which is where I get ALL of my ideas for cards. You can find it on my board here. I also got the idea for the scrapbook page on pinterest which you can find here.
Thanks for stopping by! I hope you enjoyed this craft and can have fun with it!
Megan’s a full-time mom and a part-time professional photographer. When she’s not busy cleaning up after 3 wild and crazy boys and hubby, she can be found holed up in her craft room making things. She loves to sew, scrapbook, make cards and create. She blogs over at Crafty Meggy expressing her creative side in a house full of boys. She posts all about her crafting, organizing and cleaning adventures.
Check out Megan’s other posts here.
Connect with Megan. You’ll be so glad you did!
Crafty Meggy Blog | Facebook | Twitter | Pinterest |