Hello readers! I am excited to be here today to share with you this CUTE craft, if I don’t say so myself, that I made! I got the idea from pinterest, where else, am I right?! 🙂
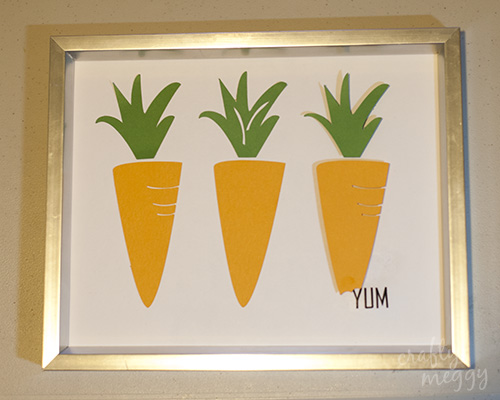
I love how my project turned out! Even though it’s a LOT more simple than the one I found on pinterest I had fun making it and really love the simple look of it! Keep reading to see what I did to make mine.
I started off with 5 supplies:
* green, orange and white cardstock
* black vinyl
* pop dots
* adhesive squares
* 8×10 frame
I used my Silhouette Cameo to cut out a carrot cut file that I bought from the Silhouette Online Store. It already had the teeth marks in the file so it worked PERFECT!
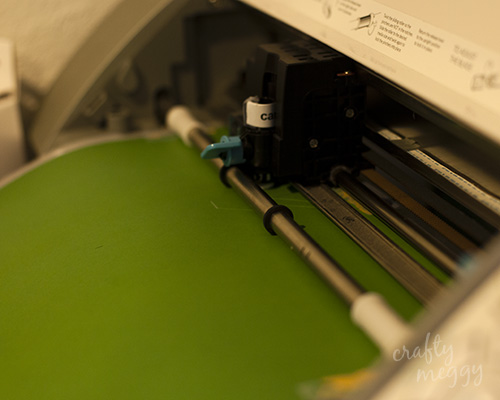
That was the easiest part and usually is! I absolutely LOVE my Silhoutte!! It’s a great machine and totally worth the money! (No, I’m not getting paid to say that, but even if I was it would still be true. I’m giving you my honest opinion!)
Once I got the cardstock and vinyl cut out I moved to my desk to start getting it all put together.
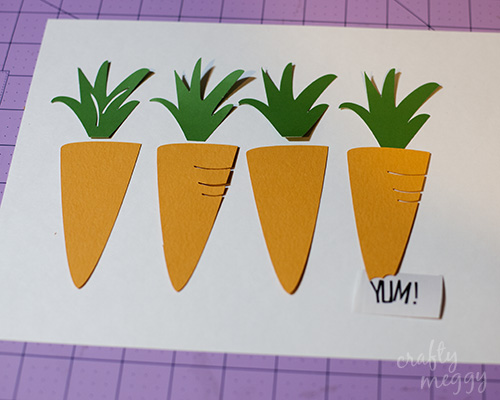
I placed the 4 carrots out of the 8.5×11 paper and then decided to put the paper in the frame. I’m SO glad I did that because I completely forgot that my frame was 8×10!! So I cut down the white cardstock and then fit it into place in the frame.
Once I did that I realized only 3 of the carrots would fit comfortably in the space so I figured out the spacing between them and got to work.
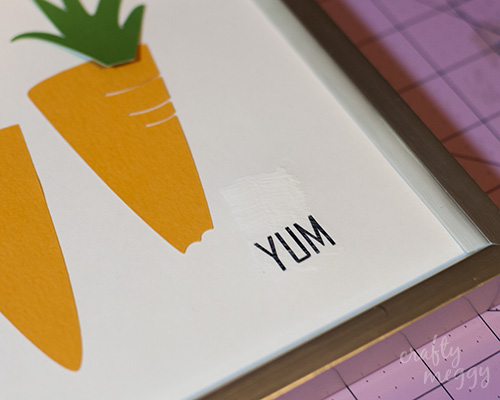
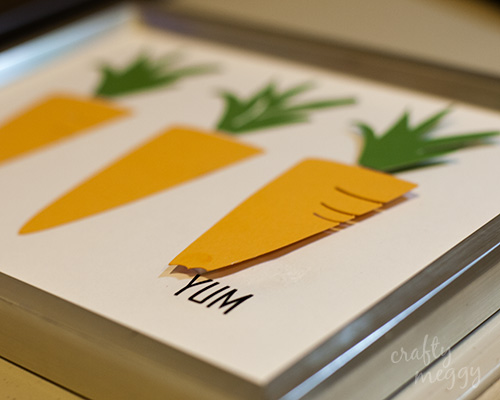
First I placed the word ‘YUM’ on the paper where I wanted it to go. I decided to use Mod Podge to make sure I didn’t lose any letters. The brush I was working with was kinda big for the little word so I accidentally got glue above the word and I’m kicking myself that I didn’t pay attention better. Oh, well.
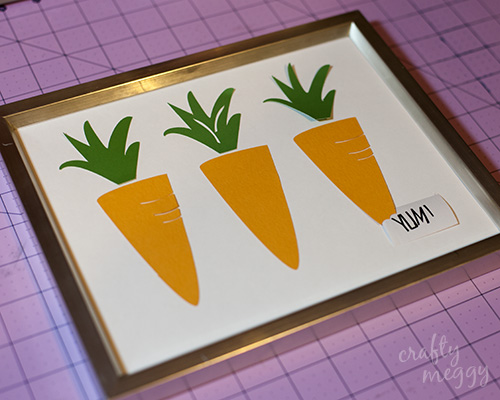
I only wanted the carrot that was bitten into to stand out so I glued the other two down with my adhesive swaures and then put the pop dots on the last one right above the word.
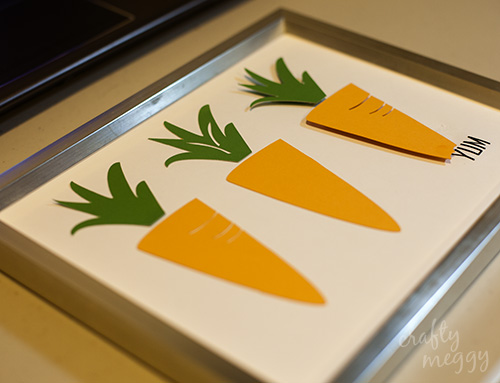
Here’s a view from above it. I really love how it turned out!
My favorite part is the carrot with a bite in it and the word ‘YUM’ under it! I love doing project with pop dots! They’re one of my favorite ways to make projects more interesting.
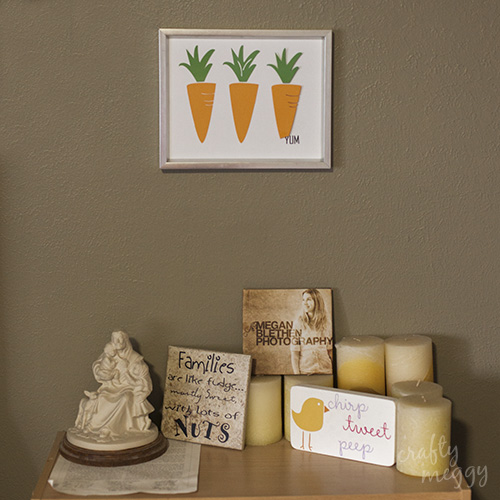
I have a spot in my living room where I do my holiday decorating and this is where I decided to hang up this framed Easter project. I LOVE it! (Have I mentioned that yet?!)
Thanks so much for stopping by! Come on over to my blog to see what else I’ve been working on! Have a great crafty weekend!
Megan’s a full-time mom and a part-time professional photographer. When she’s not busy cleaning up after 3 wild and crazy boys and hubby, she can be found holed up in her craft room making things. She loves to sew, scrapbook, make cards and create. She blogs over at Crafty Meggy expressing her creative side in a house full of boys. She posts all about her crafting, organizing and cleaning adventures.
Check out Megan’s other posts here.
Connect with Megan. You’ll be so glad you did!
Crafty Meggy Blog | Facebook | Twitter | Pinterest |


Too cute! I love festive decorations, especially when you can make them with a Silhouette!!
Adorable! Definitely a pin-win with your own twist!
So, cute! I have the perfect spot for this adorable picture. Off to get started on it.
OH MY! I love carrots and Easter and SPringtime. This is so cute. Well done!