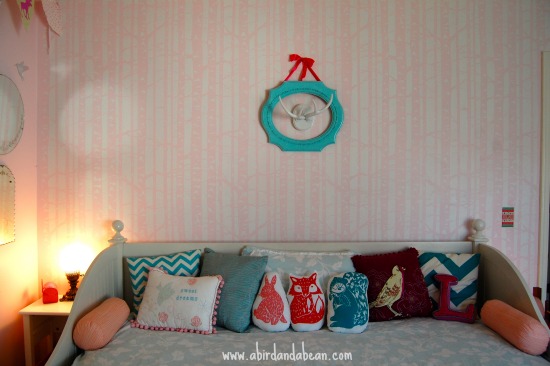
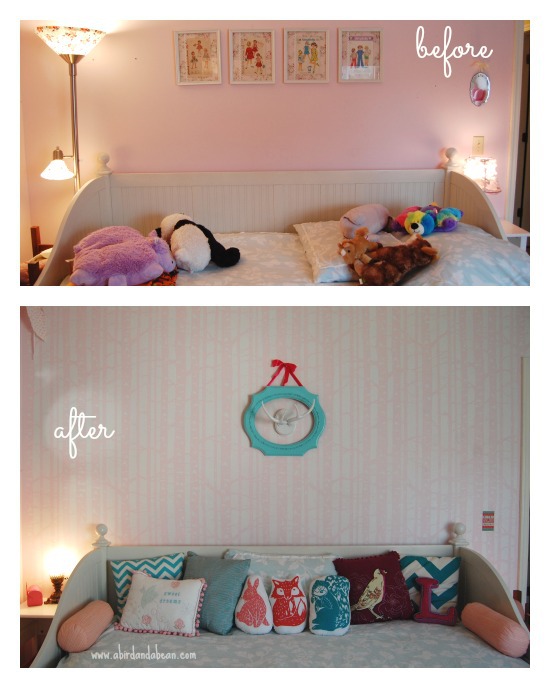
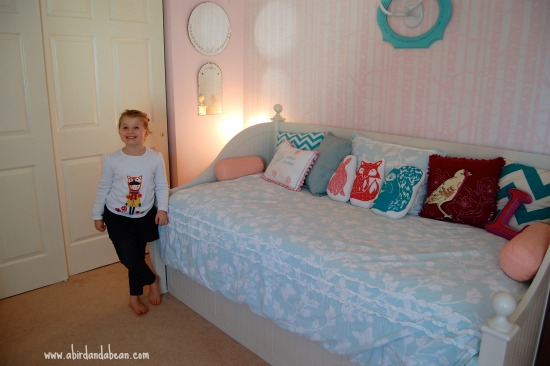
Well, the woodland animal bedroom makeover is finally done. The room turned out great and The Bird is totally in love with it, and she surprisingly keeps it much cleaner than before. She is so proud of it. So, that was a win win!
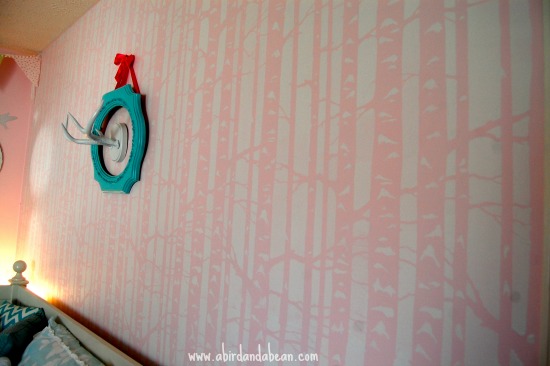
My very favorite part of the room is the birch forest wall. She tells me she feels like she’s a fox sleeping in a forest. So, that must be fun! Then she starts dancing around and singing, “What does the Fox say?”
Stenciling the birch forest wall was so simple and I just love how it looks. I used an all-over stencil from Cutting Edge Stencils.
When I was starting my quest for all things “Woodland” for Lucie’s room makeover….I knew I wanted to do something special on the wall where her bed is. When I saw this gorgeous birch forest stencil, I knew it was just the thing. I reached out to Cutting Edge Stencils and they generously sent me one to review! LOVE!
The room was already a nice pale pink. A few years ago, we painted her room with a satin Bridesmaid Posy from Porter Paint 138-2. I wanted to keep the birch forest low contrast, so, I knew just a plain white would be perfect. It ended up really brightening up the room. I knew stenciling the wall wouldn’t take very much paint, so I bought an un-tinted sample pot of satin white from Sherwin Williams for about 4 bucks, when they were having a big sale. SCORE! And it was MORE than enough to do the whole wall. I even have some left.
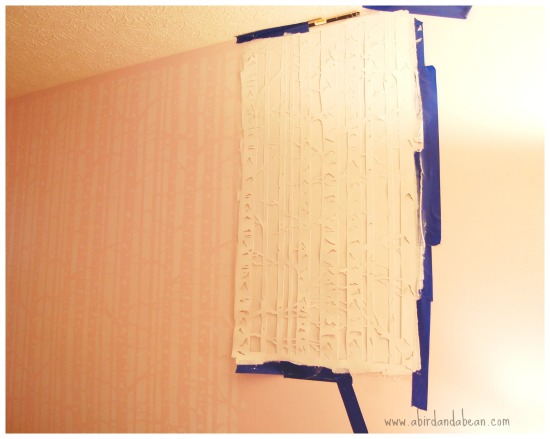
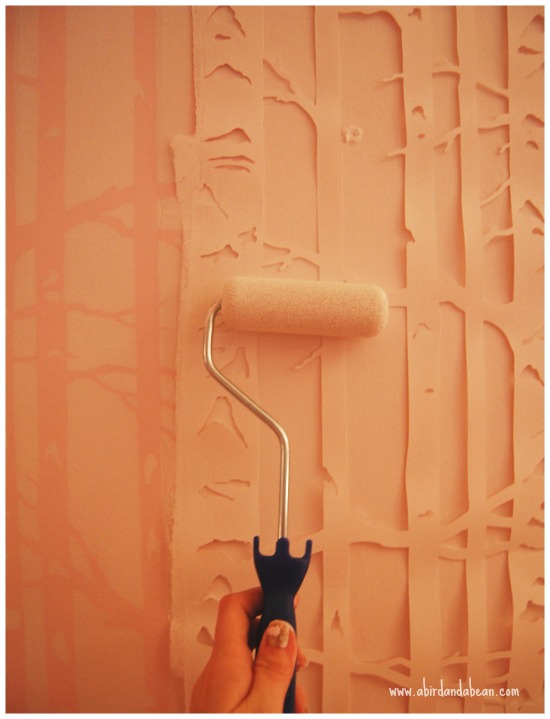
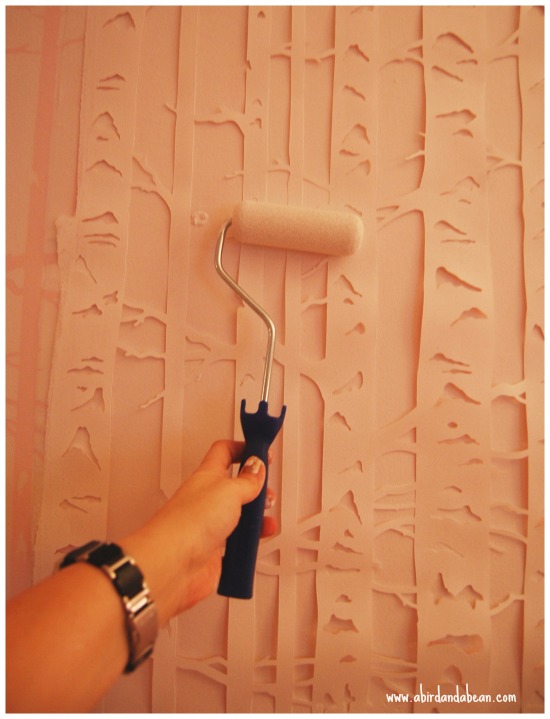
I started out by watching the videos that Cutting Edge Stencils has on You Tube. I wanted to watch someone else do it and learn the basics. You know, really get my technique down! Honestly, using the wall stencil was easier than I thought it would be. I used the clip-on level that they sent, to help ensure that the whole situation is all level (no wonky trees in Lucie’s room)! I imagine it would be much more difficult without the clip-on level. Then using painters tape, I taped the stencil to the wall and gently rolled the paint on using the small foam roller that they sent. And then I did that about a million more times. OK, not really, but it felt like it towards the end. haha. With my moms help, it took me about 2 or 3 hours to do the whole wall. (THANKS MOM!)
I totally could have done it by myself, but it would’ve taken longer. 😉 My mom helped by holding the stencil in place because my tape was VERY low tack and it kept falling off. So, my tip to you…. don’t use old generic painters tape like I did. Next time, I will use the good stuff for sure!
More tips…when applying your paint, dip your foam roller in the paint and then roll it on a paper towel to take a little bit off. A little goes a long way when stenciling. And use even pressure. The corners can be a bit tricky, but it all turned out. Make sure you watch the videos before you try. They were so helpful to me.
It was a fun project, and really simple once I got going. And it changed the whole look of the room in just a few hours. I just LOVE DIY with instant gratification. 🙂
I am in love with the way it looks. I’m actually kind of addicted to stenciling now. I want to try stenciling EVERYTHING. The backsplash in my kitchen is screaming at me to try it next. It’s so plain and boring. I think some Moroccan tiles would look AWESOME in the kitchen!
Have you ever stenciled anything? Do you want to give it a shot???
The lovely people at Cutting Edge Stencils are graciously letting me give YOU a chance to WIN ANY STENCIL in their shop, up to $50!! AWESOME! There so many fabulous ones to chose from! Have fun with that.
Disclosure: This giveaway and review is sponsored on behalf of Cutting Edge Stencils. All opinions are 100% mine.