I saw a picture of the cutest of some towel ponchos recently. The link was broken. 🙁 But I tried to make them anyway!
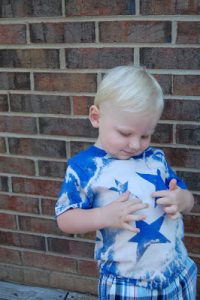
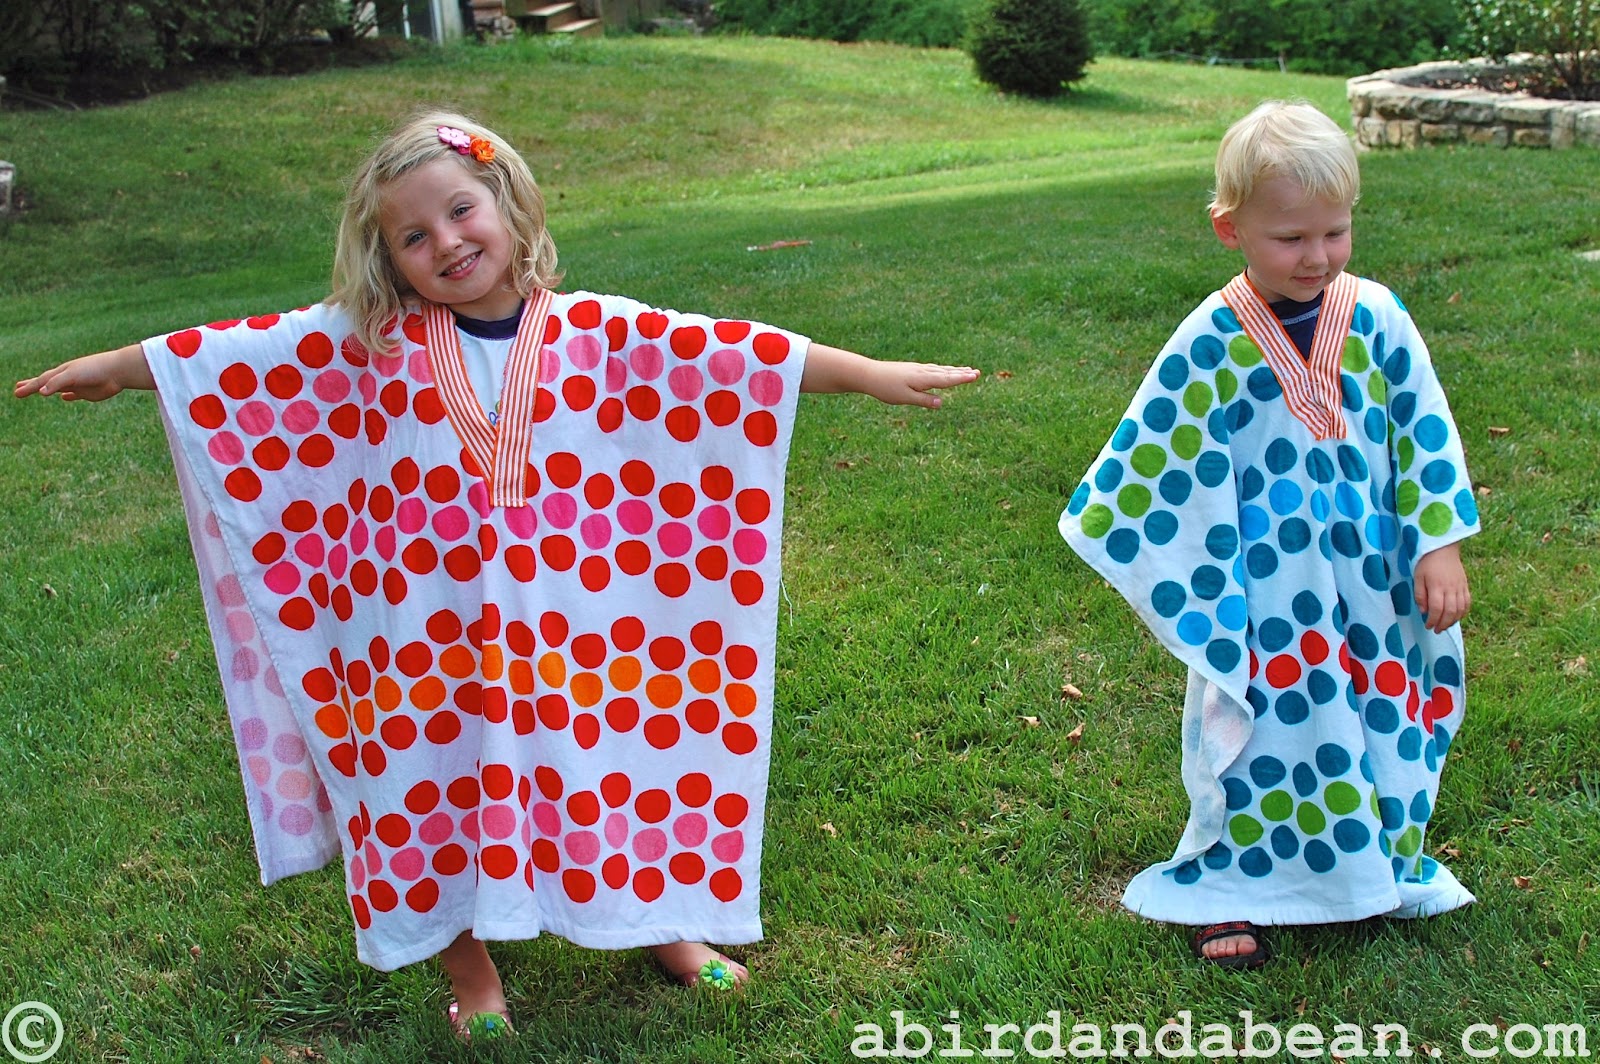
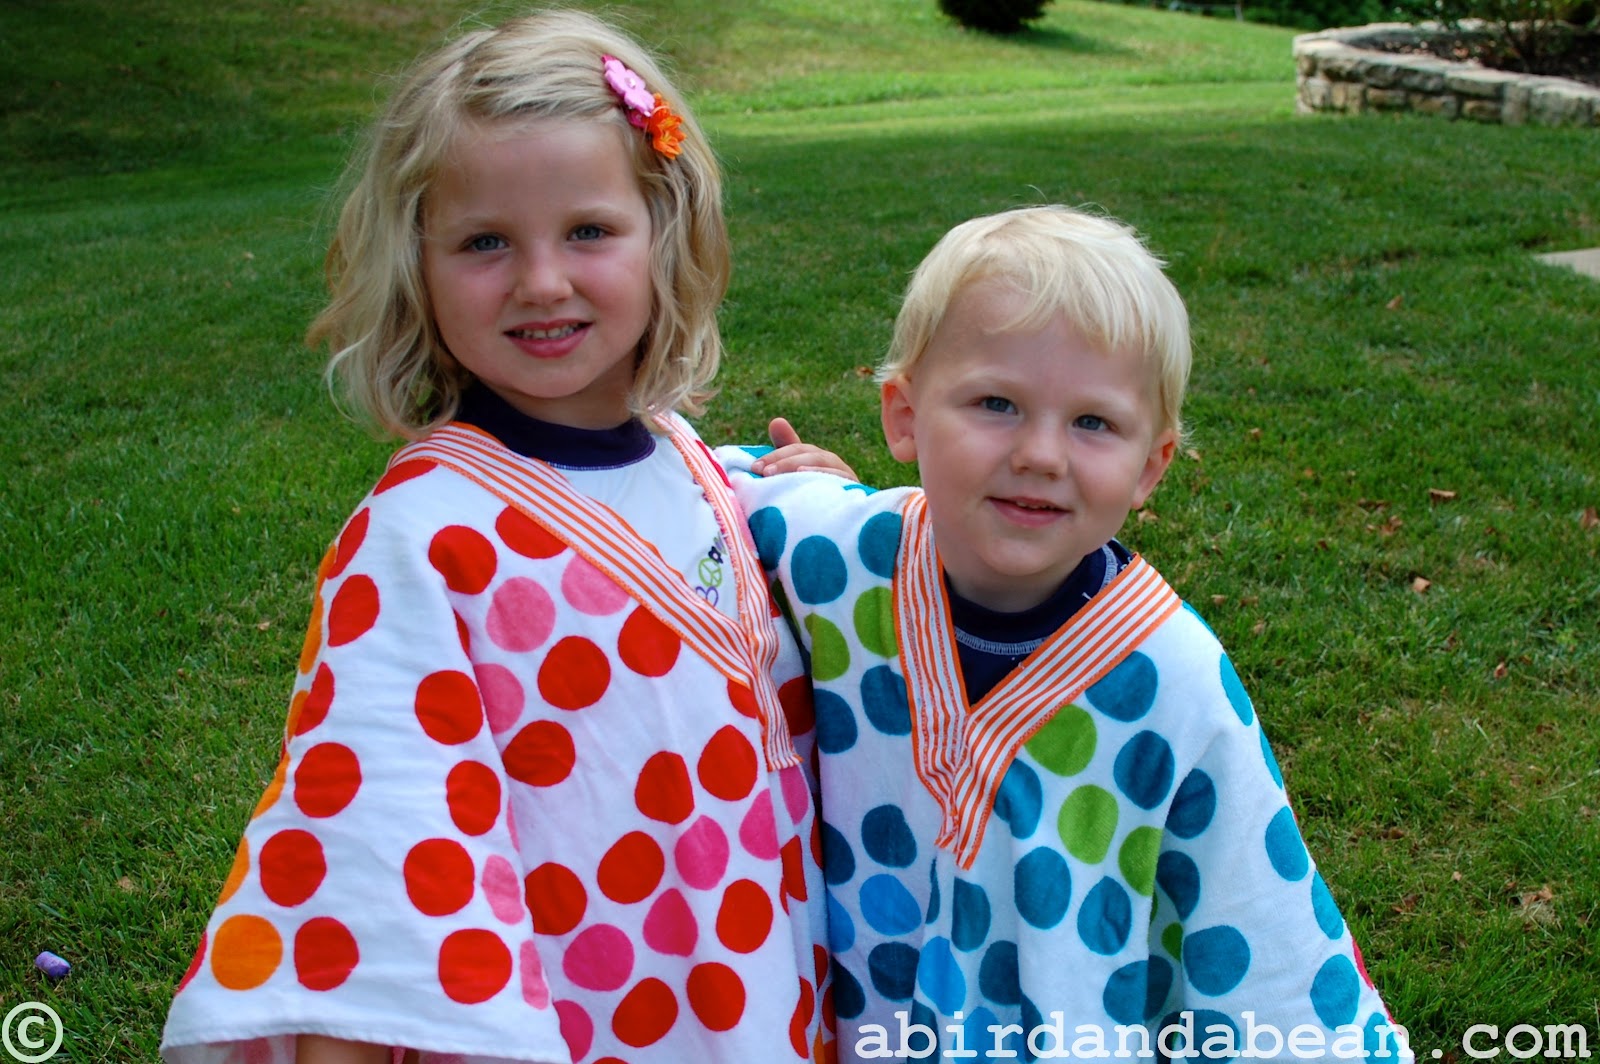
As soon as I saw the picture – I knew I wanted to try to make towel ponchos for my kids! Whenever we have the chance to go swimming – we do. And I always end up lugging around everyone’s towels. We had the kind with hoods, but they always slipped off when the kids were walking or playing. Then the kids would get chilly in the breeze and the bean would complain. And when the towels fall off they get dirty with sand or wet from the pool. More complaining. Yuck.
Now they wear their towels to and fro and they don’t fall off! They stay cozy and dry while playing outside the water and on the trip home.

And for some reason they remind me of a baja. Which I was not cool enough to own in the late 80’s/early 90’s, even though I really wanted one. 🙂 Did any of you have one?
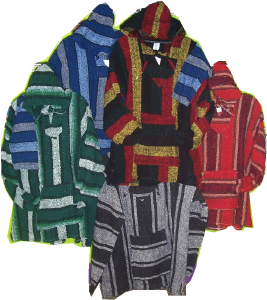

I mean come on – Luke Perry just looks so cool rocking his baja!
")
Annnnyway. Here’s how I made my towel ponchos. I’m sure there’s a much better and more professional way, but my way was easy, and since there were no directions I had to wing it.
I’ve been a ‘no sew’ crafter for too long!! I can sew on a button and hand-stitch a straight line. I can do a whip stitch and I can knit and crochet. But, I am VERY intimidated by my sewing machine. I decided it was time to take the plunge and just use it. Don’t judge. I do realize that when you look closely (or from far away, for that matter) the stitches on these ponchos are ridiculously bad. But, it’s OK. They work for the intended use and from really, really far away they’re pretty cute. 🙂
And for all you more experienced sewers out there – you can make these look WAY better than mine.
You should try it.
They were easy (so they would be SUPER EASY for a better sewer than me).
I get compliments EVERYTIME the kids wear them.
People ask where I bought them.
“Etsy?” they say. hehe.
TOWEL PONCHOS
Step one.
Buy cute towels and ribbon.
My towels are from Target 6.99 and the ribbon was from the Hob Lob 2.00 (half off)
Step two.
Fold your towel in half and cut a straight line down the middle
I cut about 6 inches in so the opening would end up being about 12 inches.
(This ended up being a little too big for the bean. So, I sewed his in a little when I was done.)
Hindsight, I would have done this with pinking shears to keep the terry cloth from unraveling. But since I am was a ‘no sew’ crafter I have no pinking shears (yet). 🙂
")
Step three.
Pin your ribbon to the front of the towel. And sew it on.
I didn’t sew any ribbon on the back side of the towel since you will never see that part.
(And because I only bought one roll of ribbon and only had enough to do the fronts.)
")
")
")
I cut the ribbon a few inches longer than the hole and crossed it over at the ends.
")
See – it’s not all that straight and it’s a little bunchy. 🙂
But, you can’t really tell when they are on the kiddos.
")


If I can make one – you can make one! Try it out.