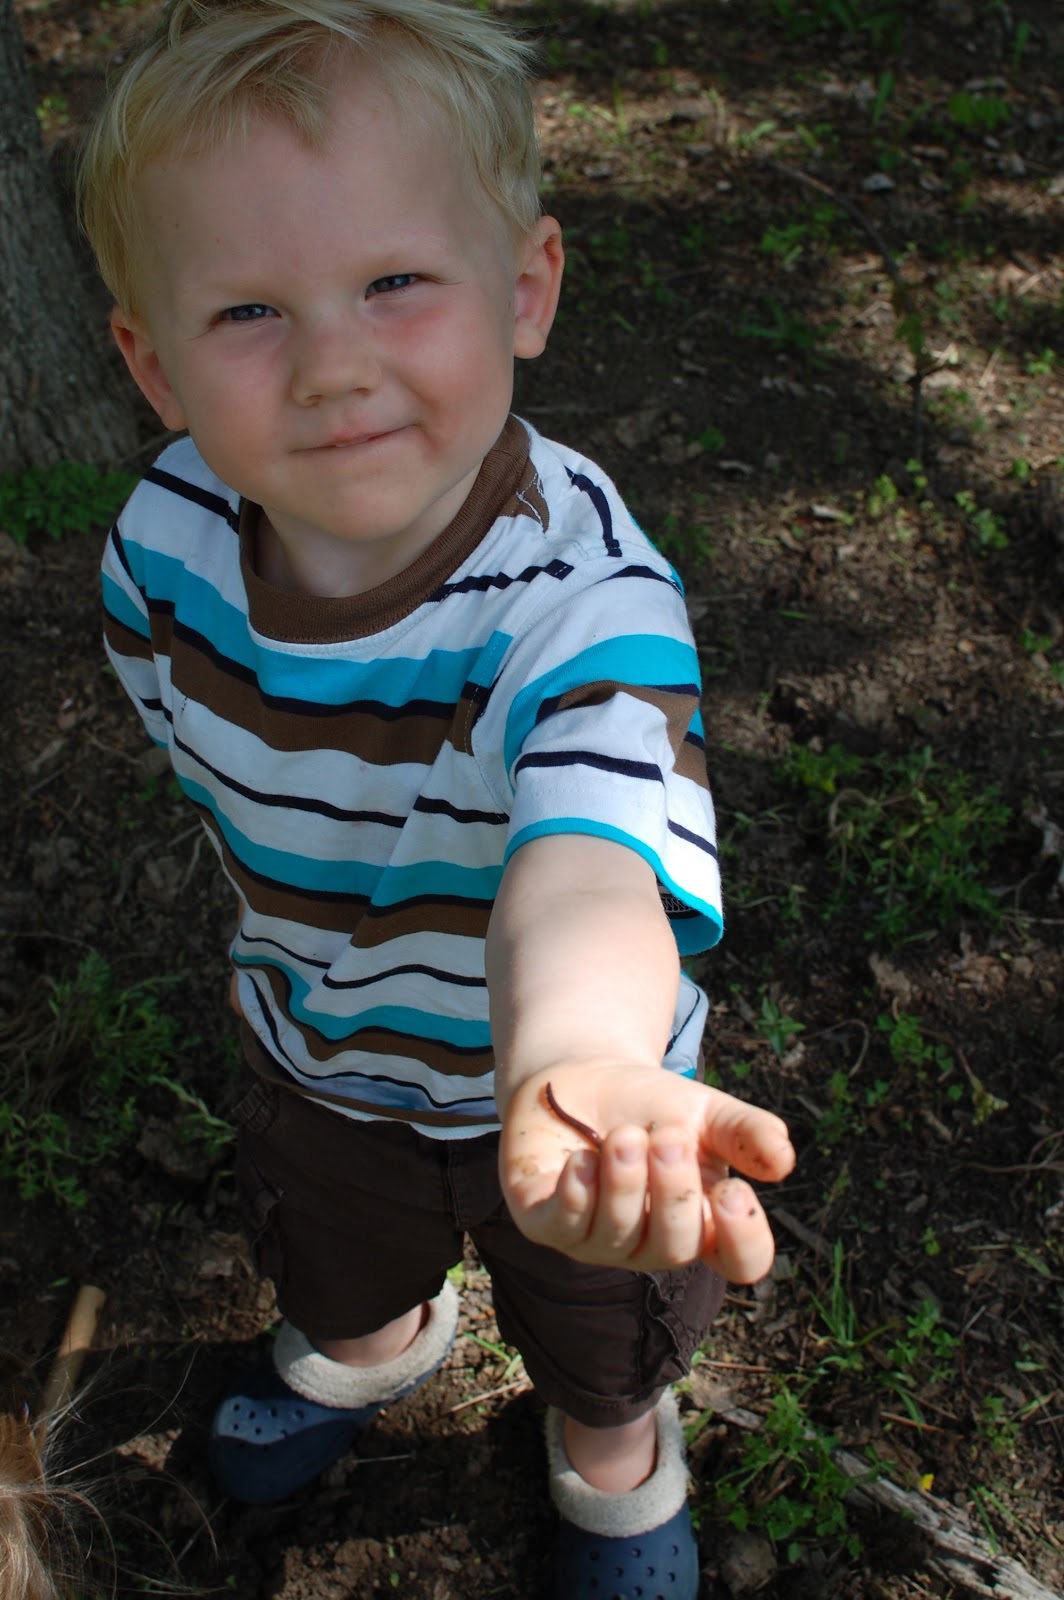
My kids (probably all kids) LOVE worms. Every time we do any kind of yardwork, the kids find every worm available and play with them for hours. They name them. And of course they want to keep them all as pets. House pets. I’m tired of having cups and pails and buckets filled with just enough dirt to keep a worm alive for one day (and of course a handful sticks and grass as obvious worm food) strewn about. I’m tired of finding dead worms in said pails and buckets the next morning. I’m tired of all the tears when I say “no more worms in the house.” I’m tired of explaining how important worms are for plants and telling the kids to put the worms in our garden to help our veggies grow. Because it doesn’t matter how good they are for our garden, they really still just want to keep them. Geez.
So, yay for our new worm farm!!! Problem solved.
(OK – it wasn’t really a real problem….but this way it’s just more fun)
I found a few different types of DIY worm farms and I did a variation of these two.
Hillbilly Jillies has a nice tutorial as does A Mom with a Lesson Plan. (and she has a lesson plan too!)
DIY WORM FARM
what you need:
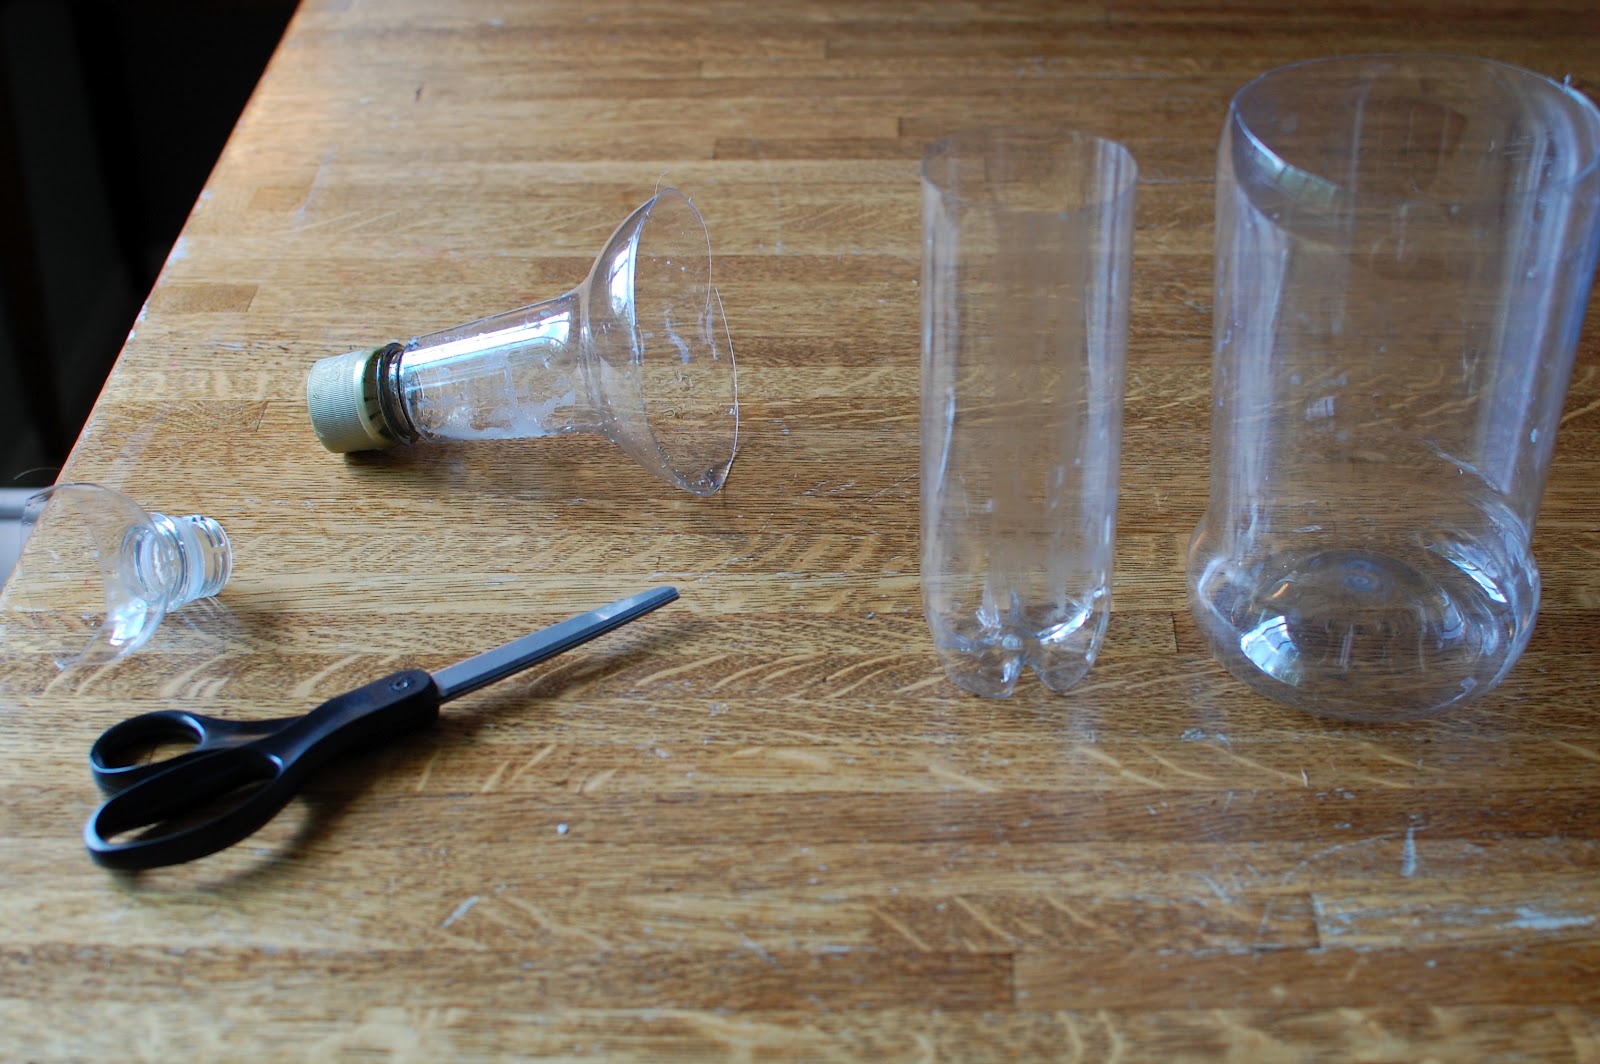
two plastic bottles (two sizes)
dirt
sand
leaves or hay
worms
mesh / plastic wrap / fabric scrap
rubber band
dark paper for sleeve
what you do:
1. Wash and dry your bottles. Cut the lids off.

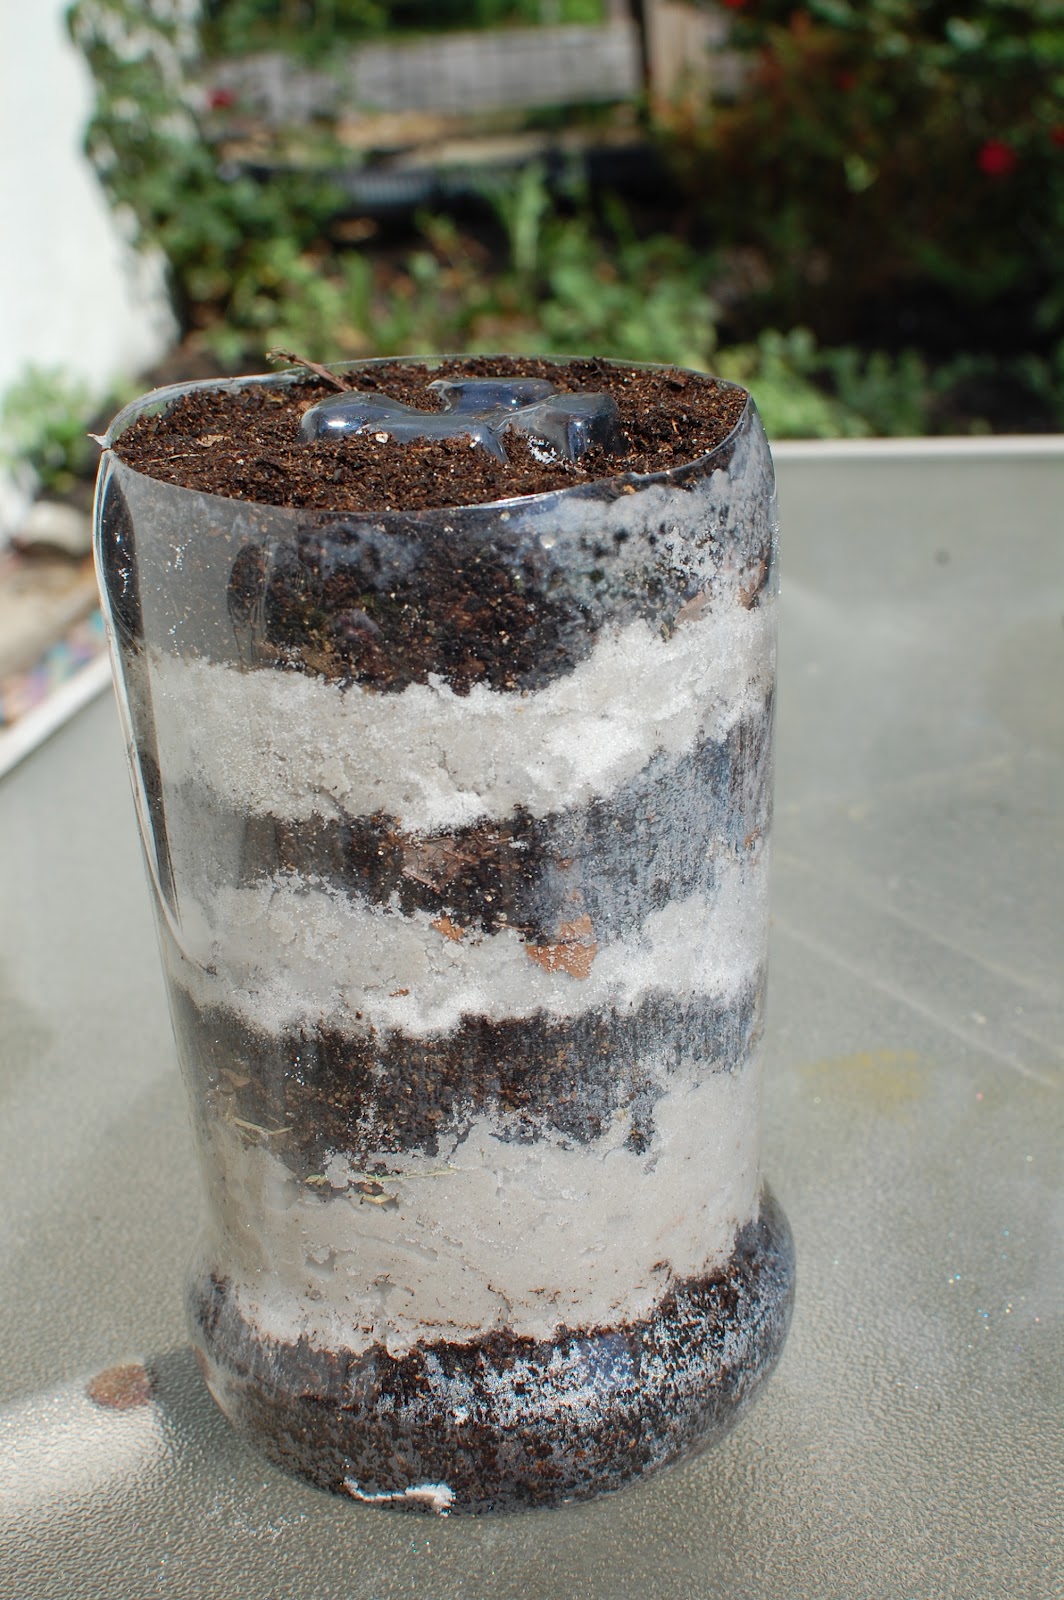
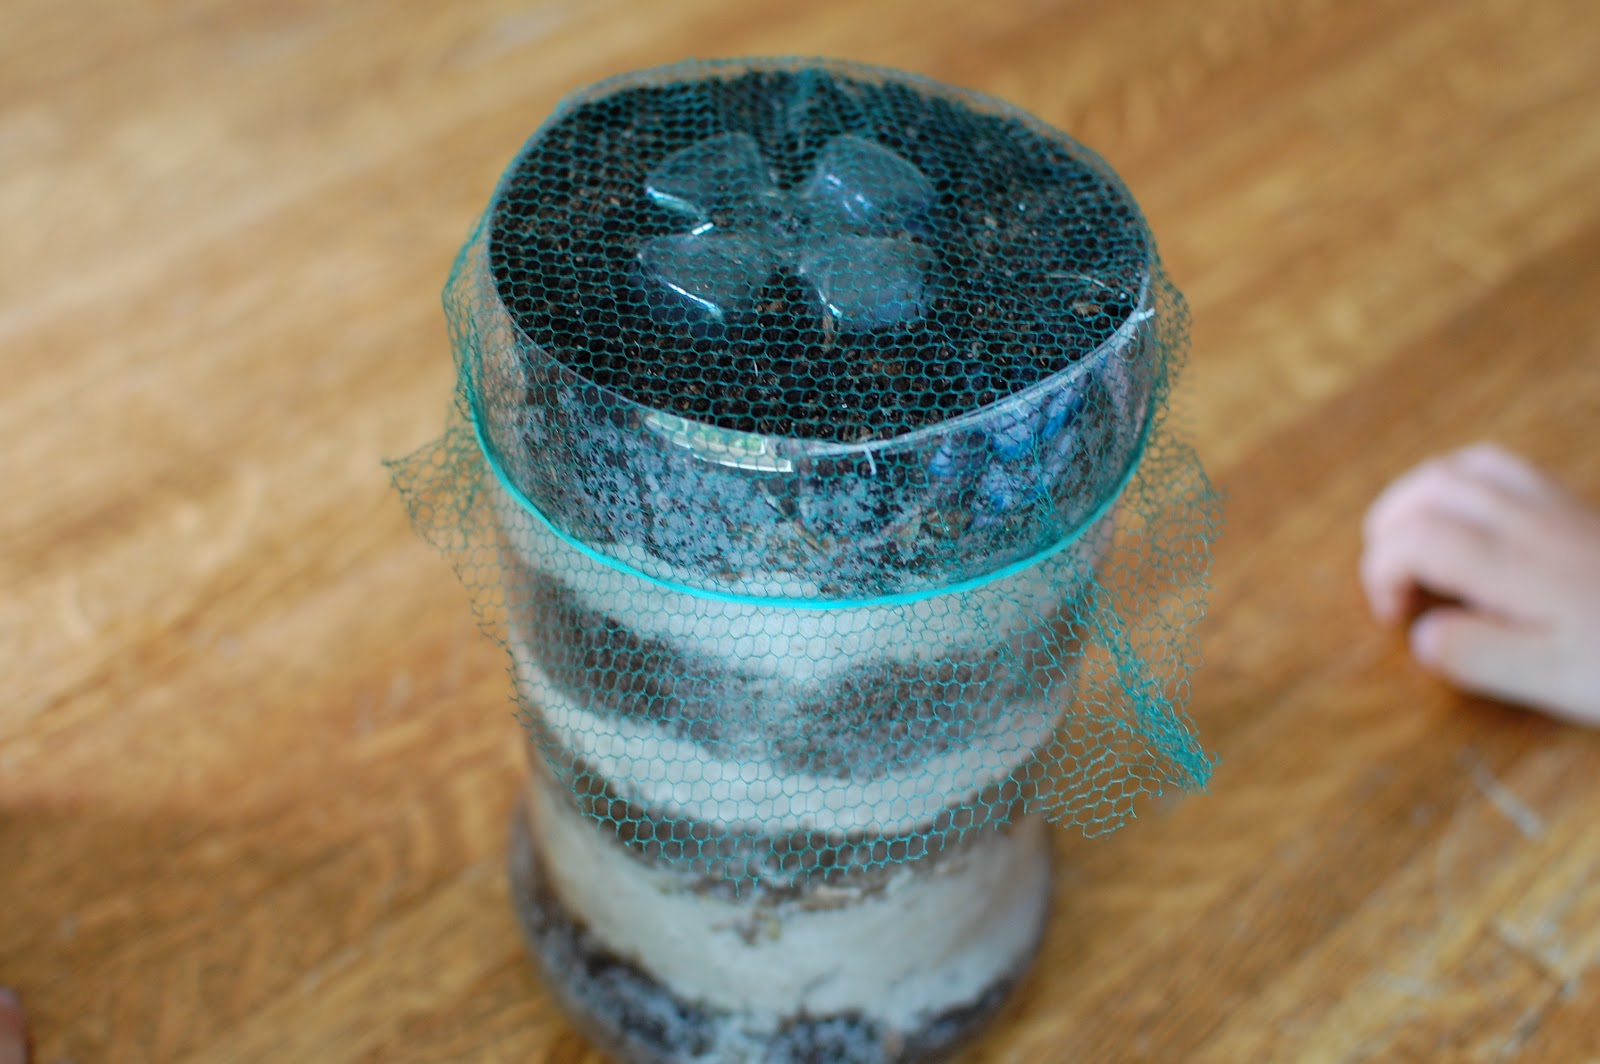
2. Put the small bottle inside the large bottle. I did mine with the small one upside down because it fit nicely that way. This gives your wormies less places to hide and makes it easier to watch them in their new home.
3. Alternate layers of soil, sand and leaves between the two bottles.

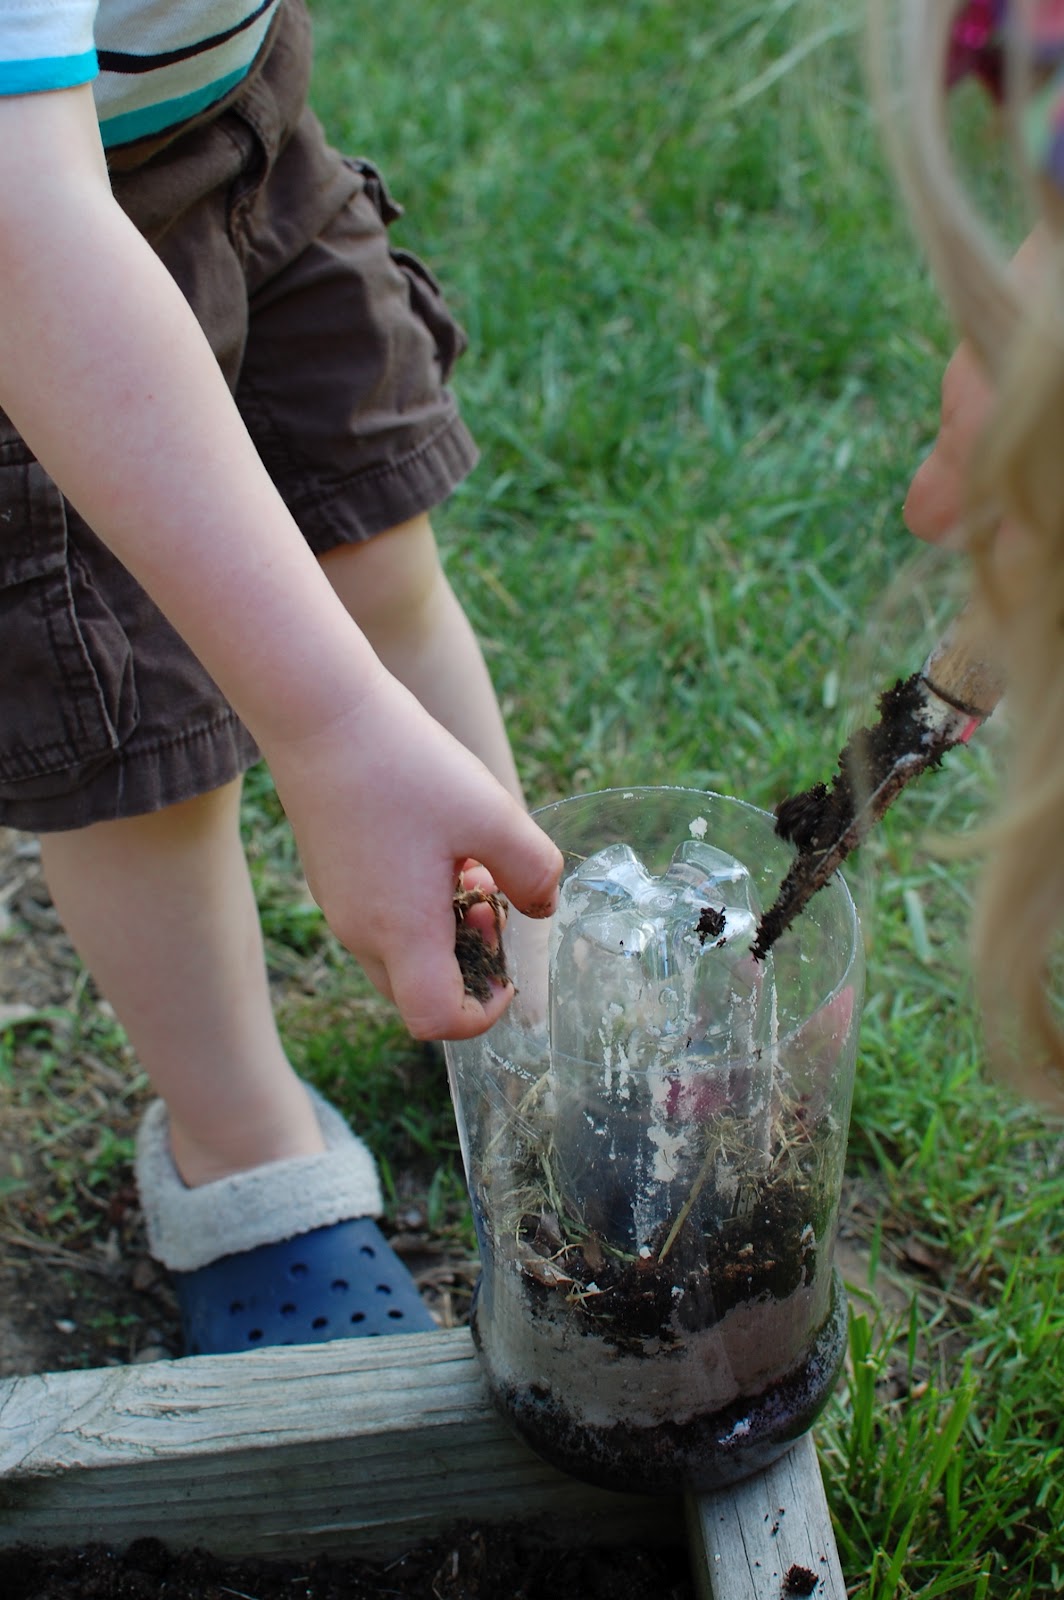

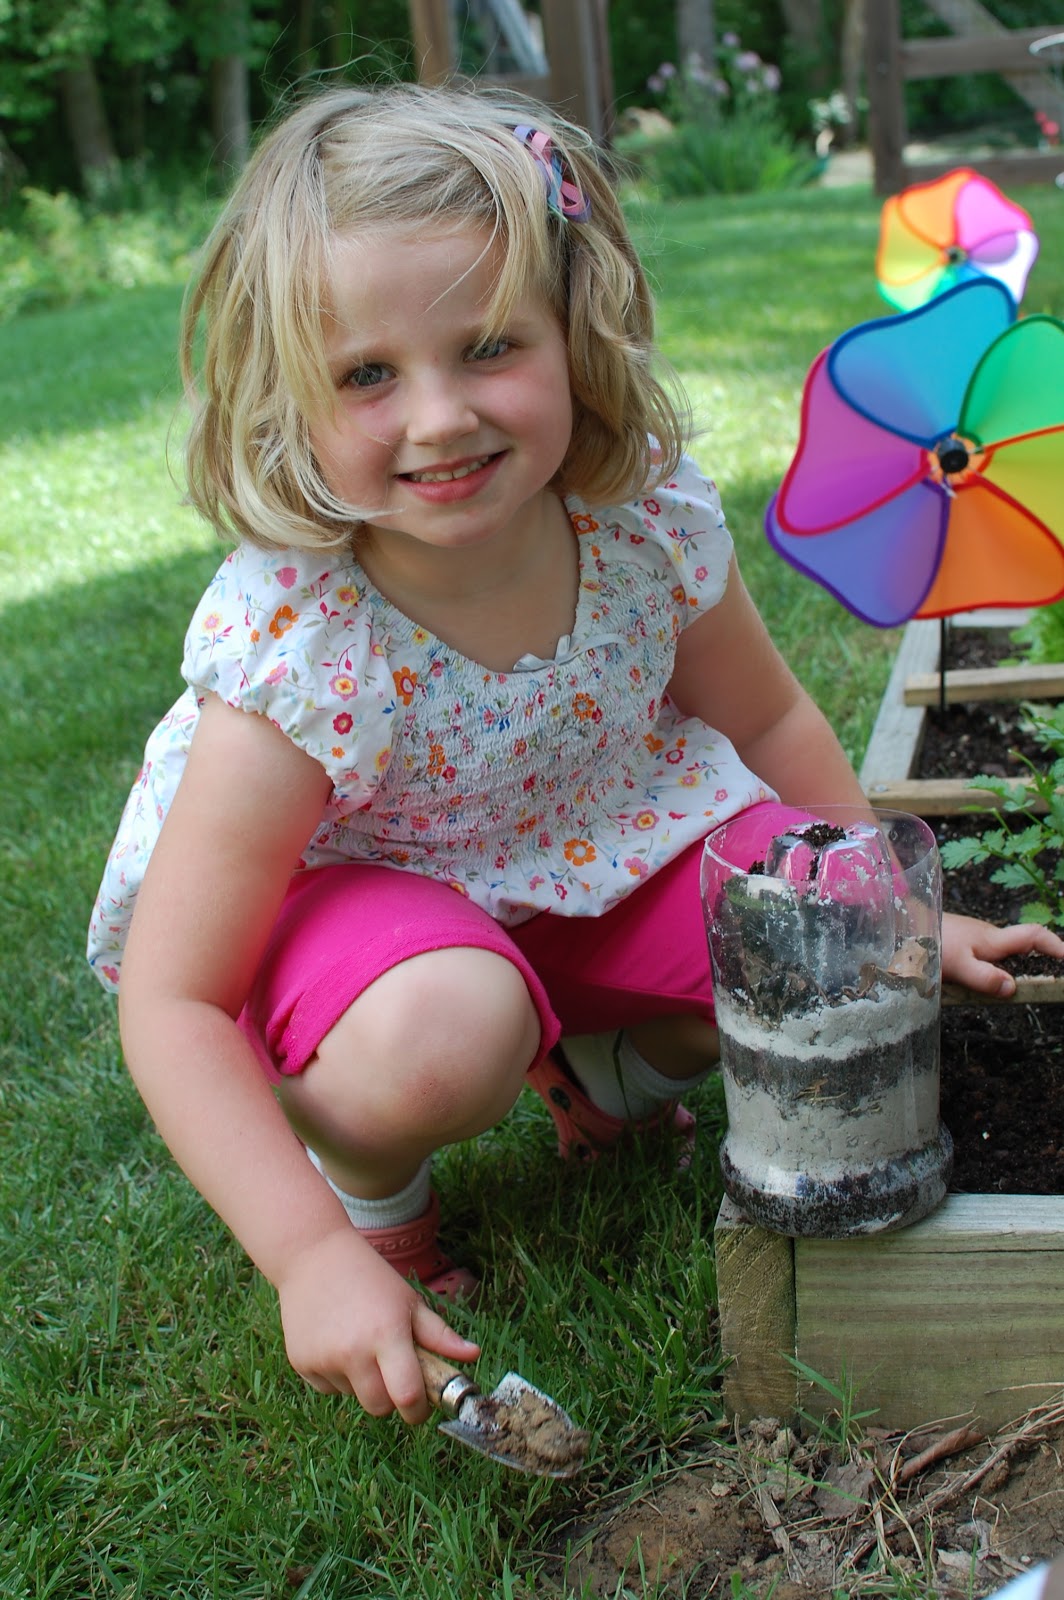
4. Dig for worms.

5. Add worms to bottle.

6. Put a little mesh or plastic (with holes poked for ventilation) on the top to keep the little guys in.
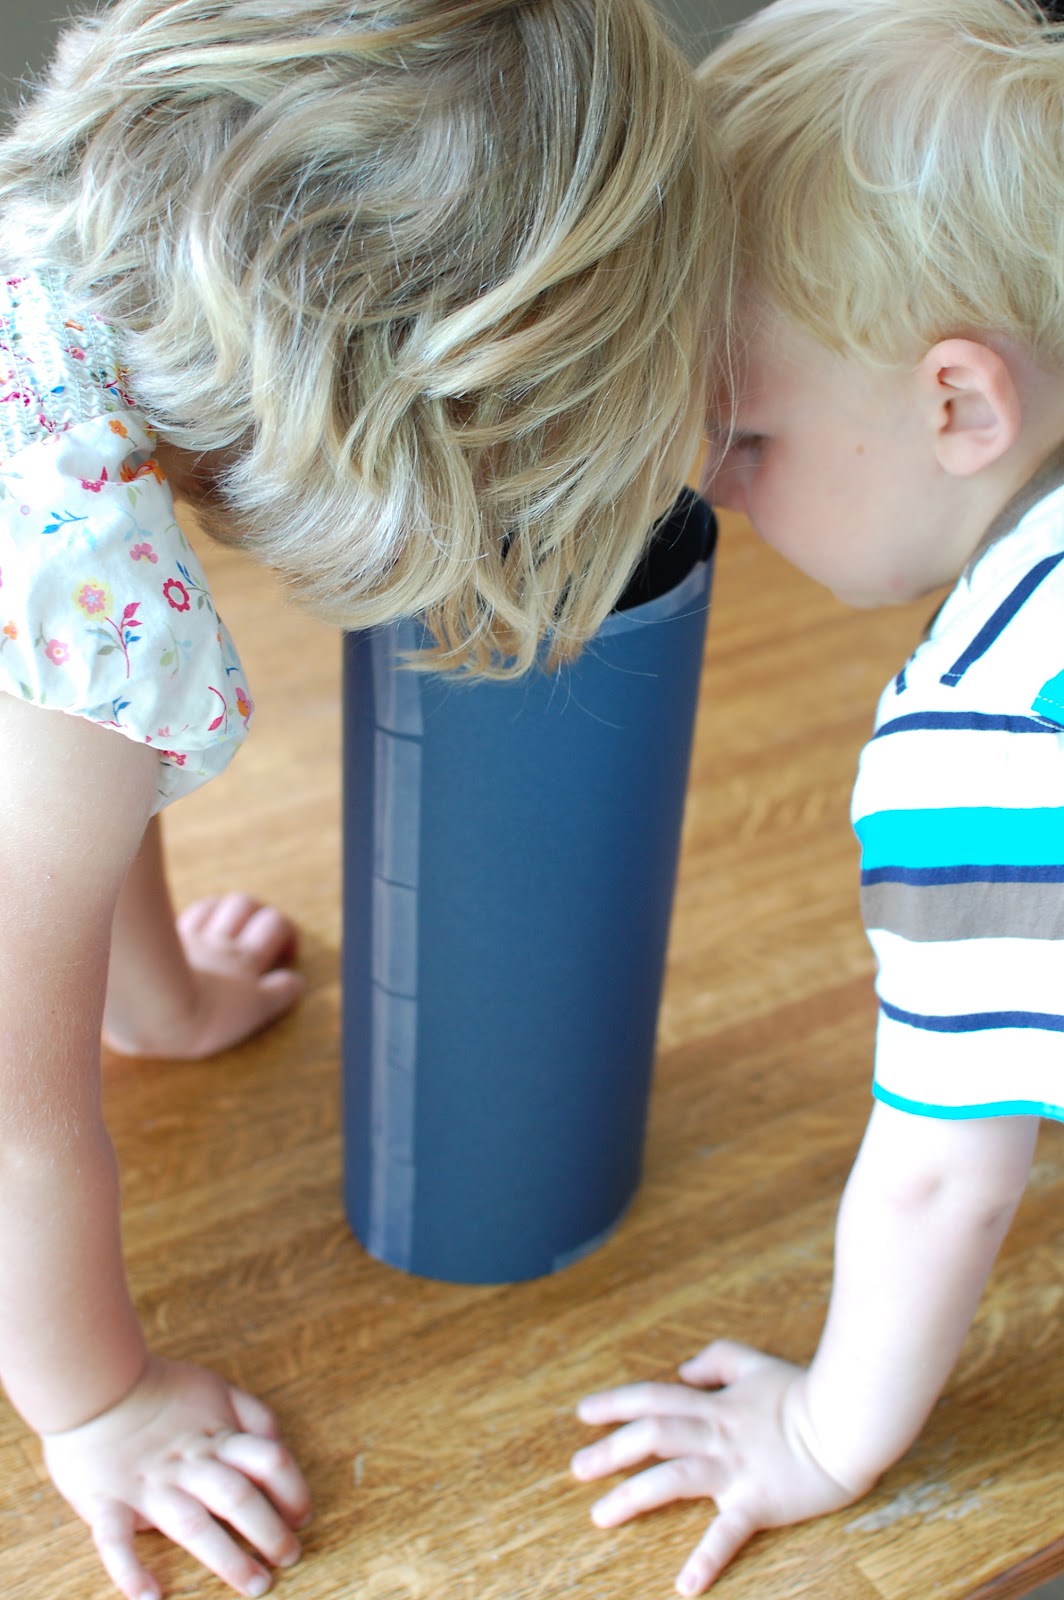
7. Make a sleeve with the dark paper to get your squirmy friends moving. They like it dark.
8. Feed your worms by adding a few vegetable table scraps to the top every week or so.
9. Keep your new farm in a cool place and check it every day to see if it needs a little water. They like it moist, but not wet. Add a little wet newspaper to the top to help keep the moisture level just right.
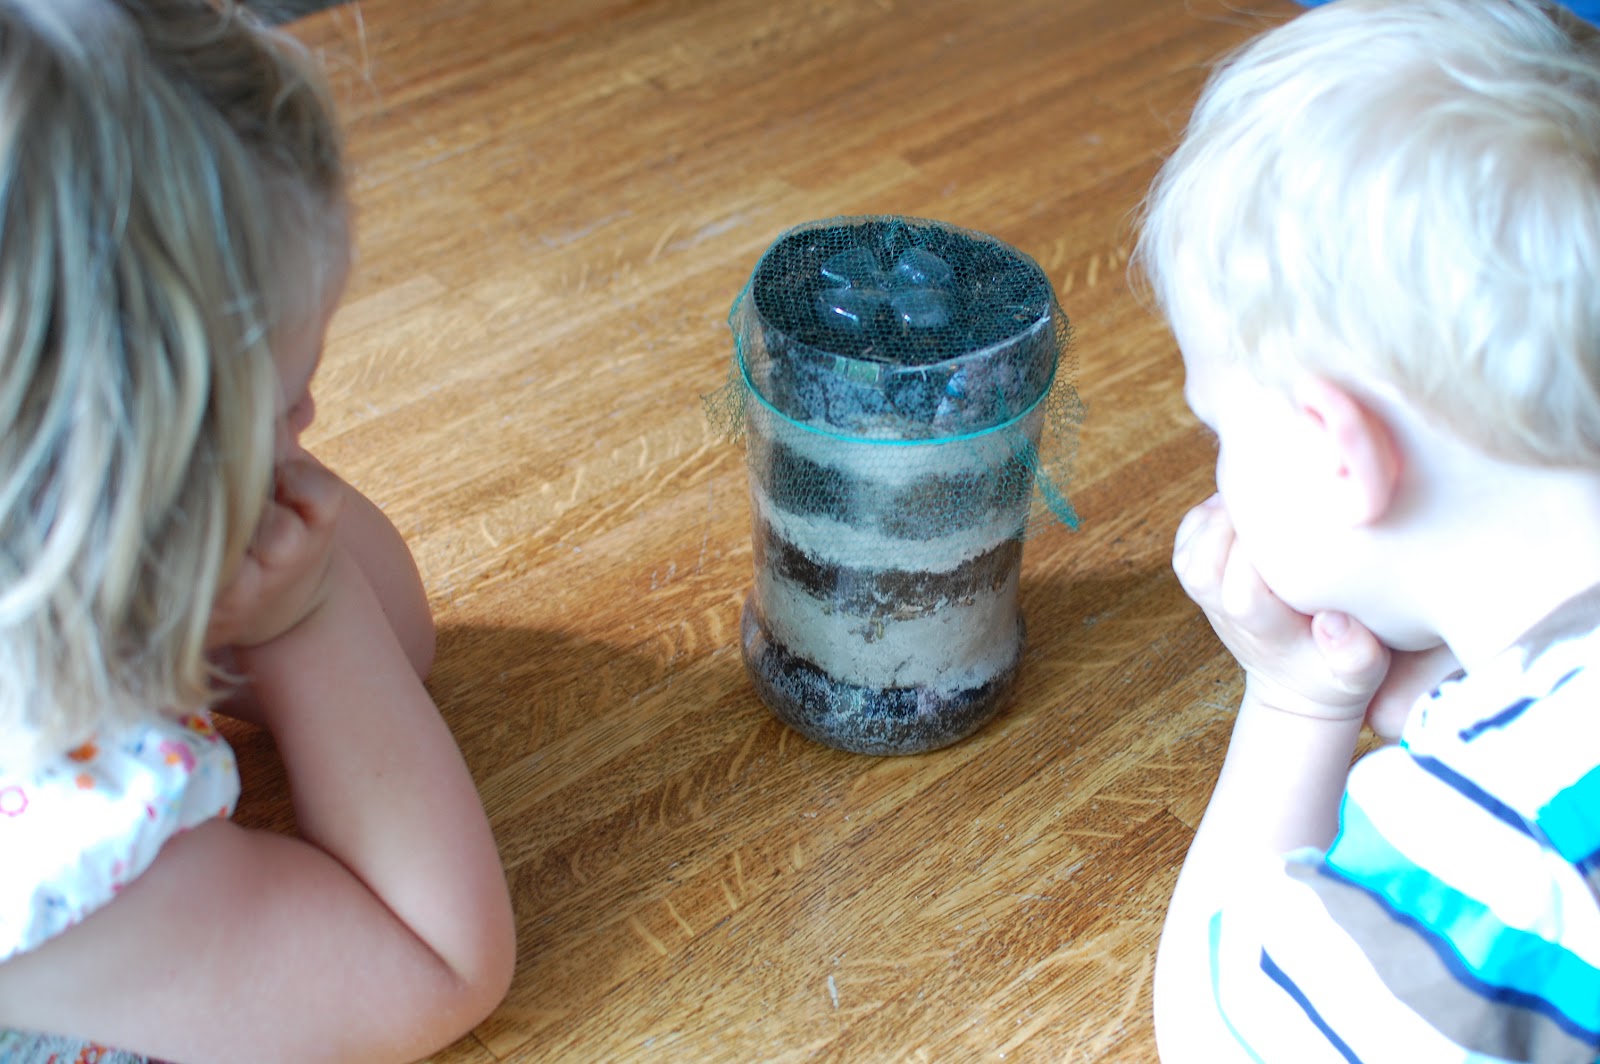
You’ll soon notice the worms making trails and nests all around the bottle. And soon there will be even more worms!! 😉 boom.chicka.boom.boom. Is it inappropriate to make that sound for worm reproduction? Hum. Probably. 🙂 Have fun making your own worm farm!
Ours are named Tulip, Nora, Cora, and Ham. Nice.