Hey folks! I am Tracy from Paper Wings , and I am psyched to be here today!
What you need:
sandals
needle, thread
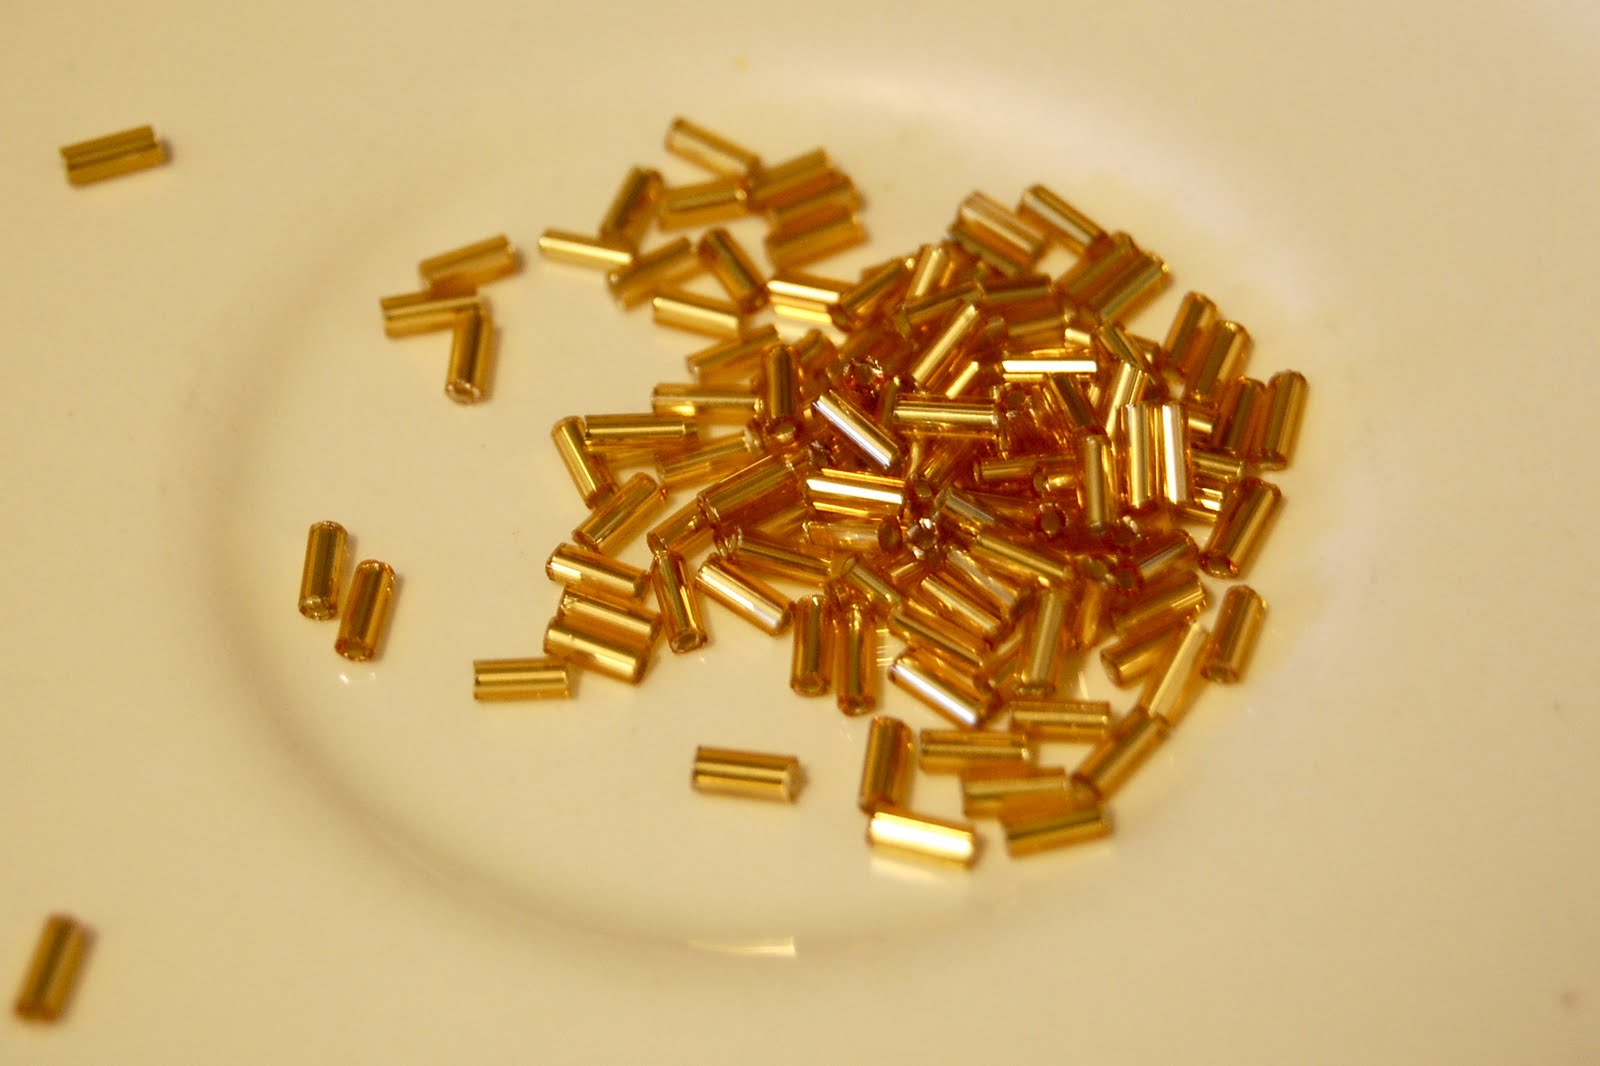
beads
hot glue (optional)
I did this to another pair of sandals using bigger beads, too. You can check them out here.
I thought of this before school even got out (I am a teacher), but haven’t had time to get to it until now. I have had these gold sandals for probably close to two years now, and even though they are ok….I always thought they could use a little som’em som’em to spice them up. They are from Payless, so not expensive (aka…if I screw them up, not a huge deal.)
BEFORE:
The beads were found at Hobby Lobby, and were half off, so I got all I needed for about $3. Can’t beat that kind of up-grade.
 First, I played around with the beads to decide the pattern I wanted them to flow in, and then took the shoe into consideration to determine the path of the beads. I decided to work in a ‘T’ shape, took my needle and thread, and simply threaded right through the sandal. Once I had the needle through, I just threaded the beads onto the needle . (seen below)
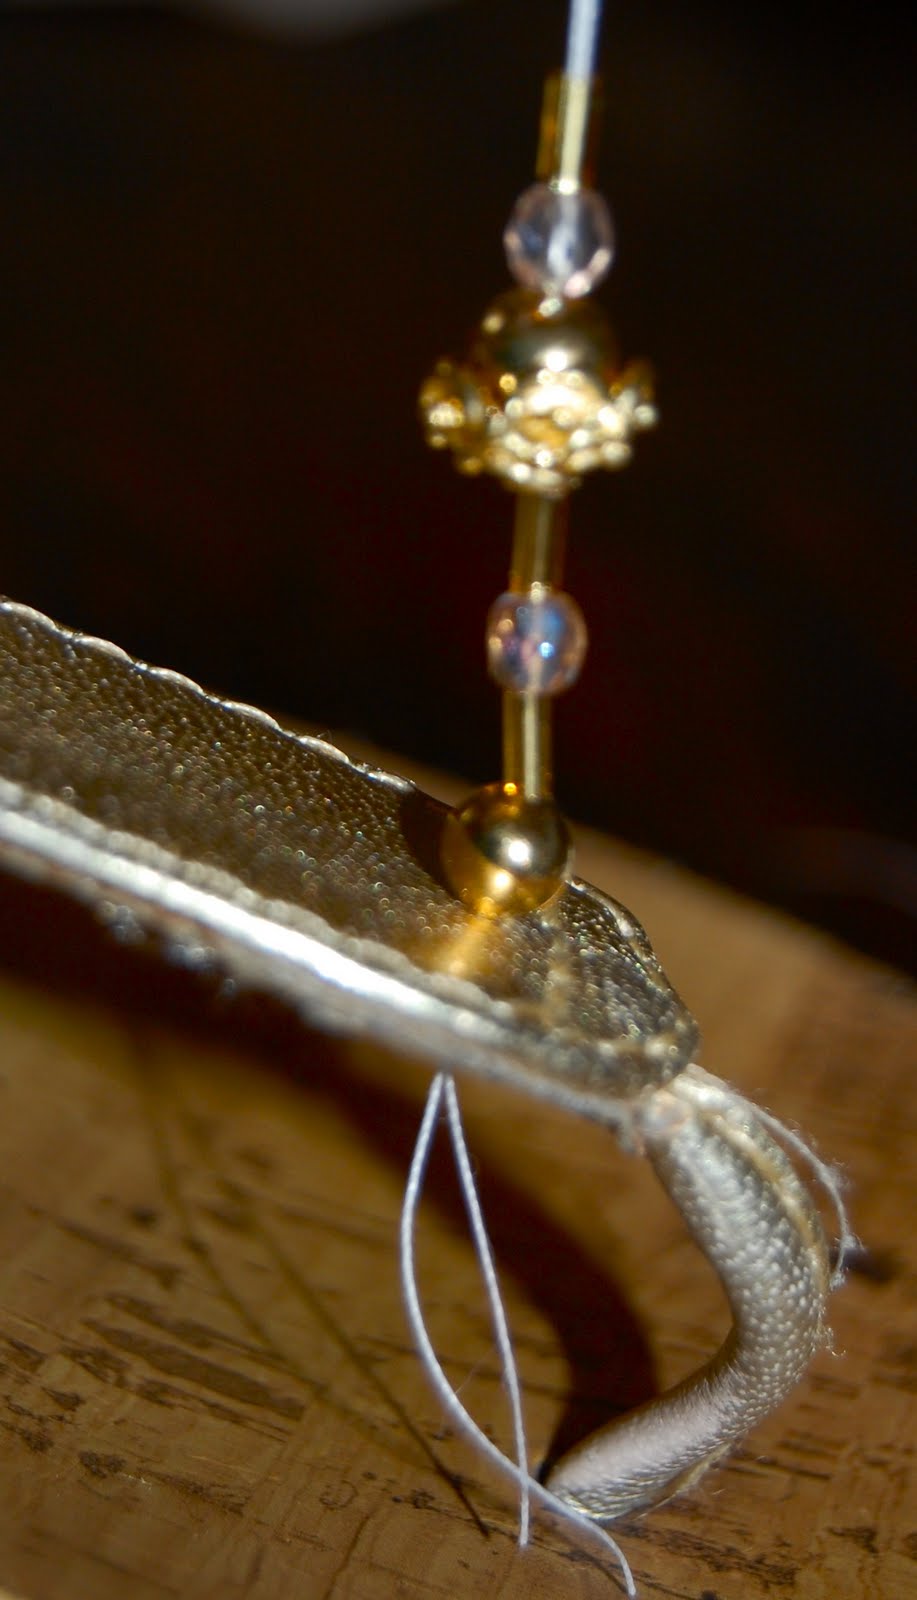 Since these were small beads, using hot glue to help secure wasn’t really an option, so I threaded the needle back through the sandal every couple of beads. This helped to keep them secure on the sandal, so they weren’t too loose.
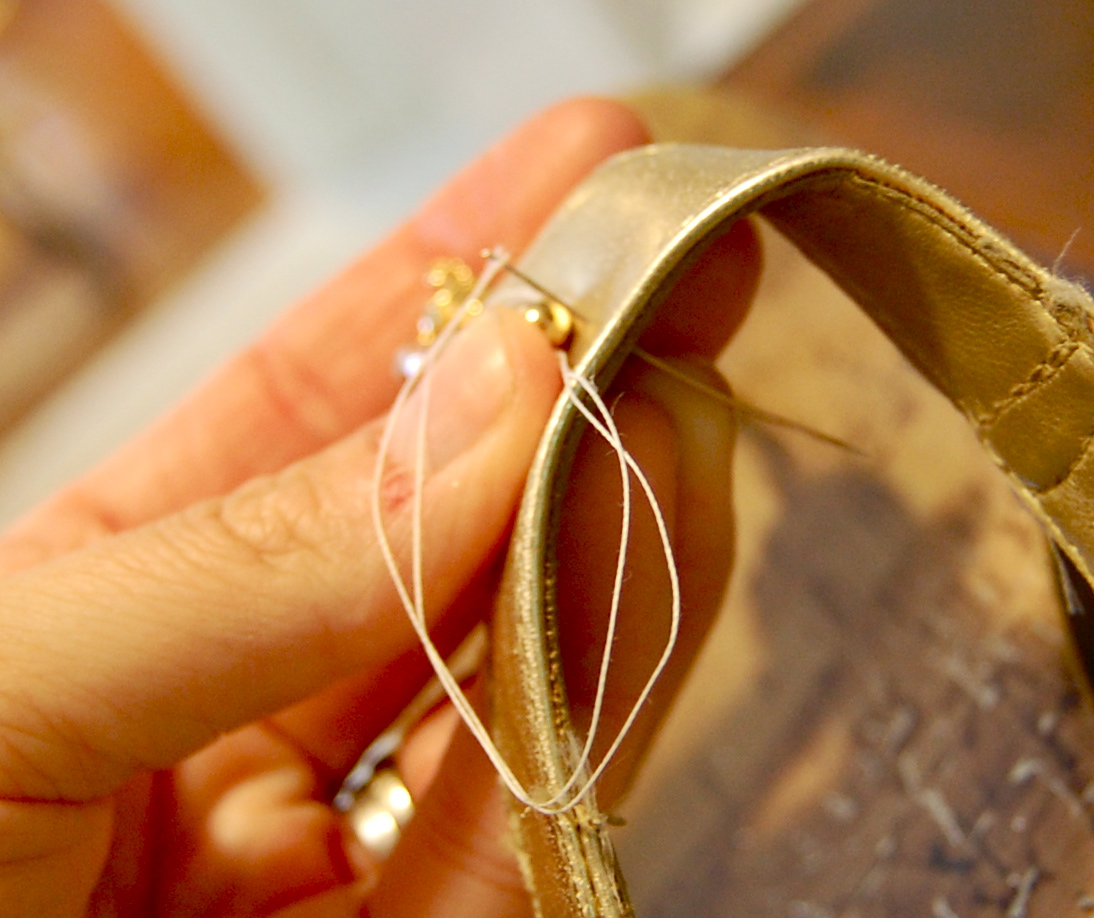 (If you check out the link to see my black sandals, you will see that they are bigger beads. For those, I just used a little hot glue under every couple of beads to keep secure.)
When I got to where the lines meet in my ‘T’, I just tied the thread off as you normally would. I continued doing the same thing for the other line in my “T” shape. When I finished up, I dabbed a wee bit of hot glue to the thread knots on the underside. This was just another added measure of security.
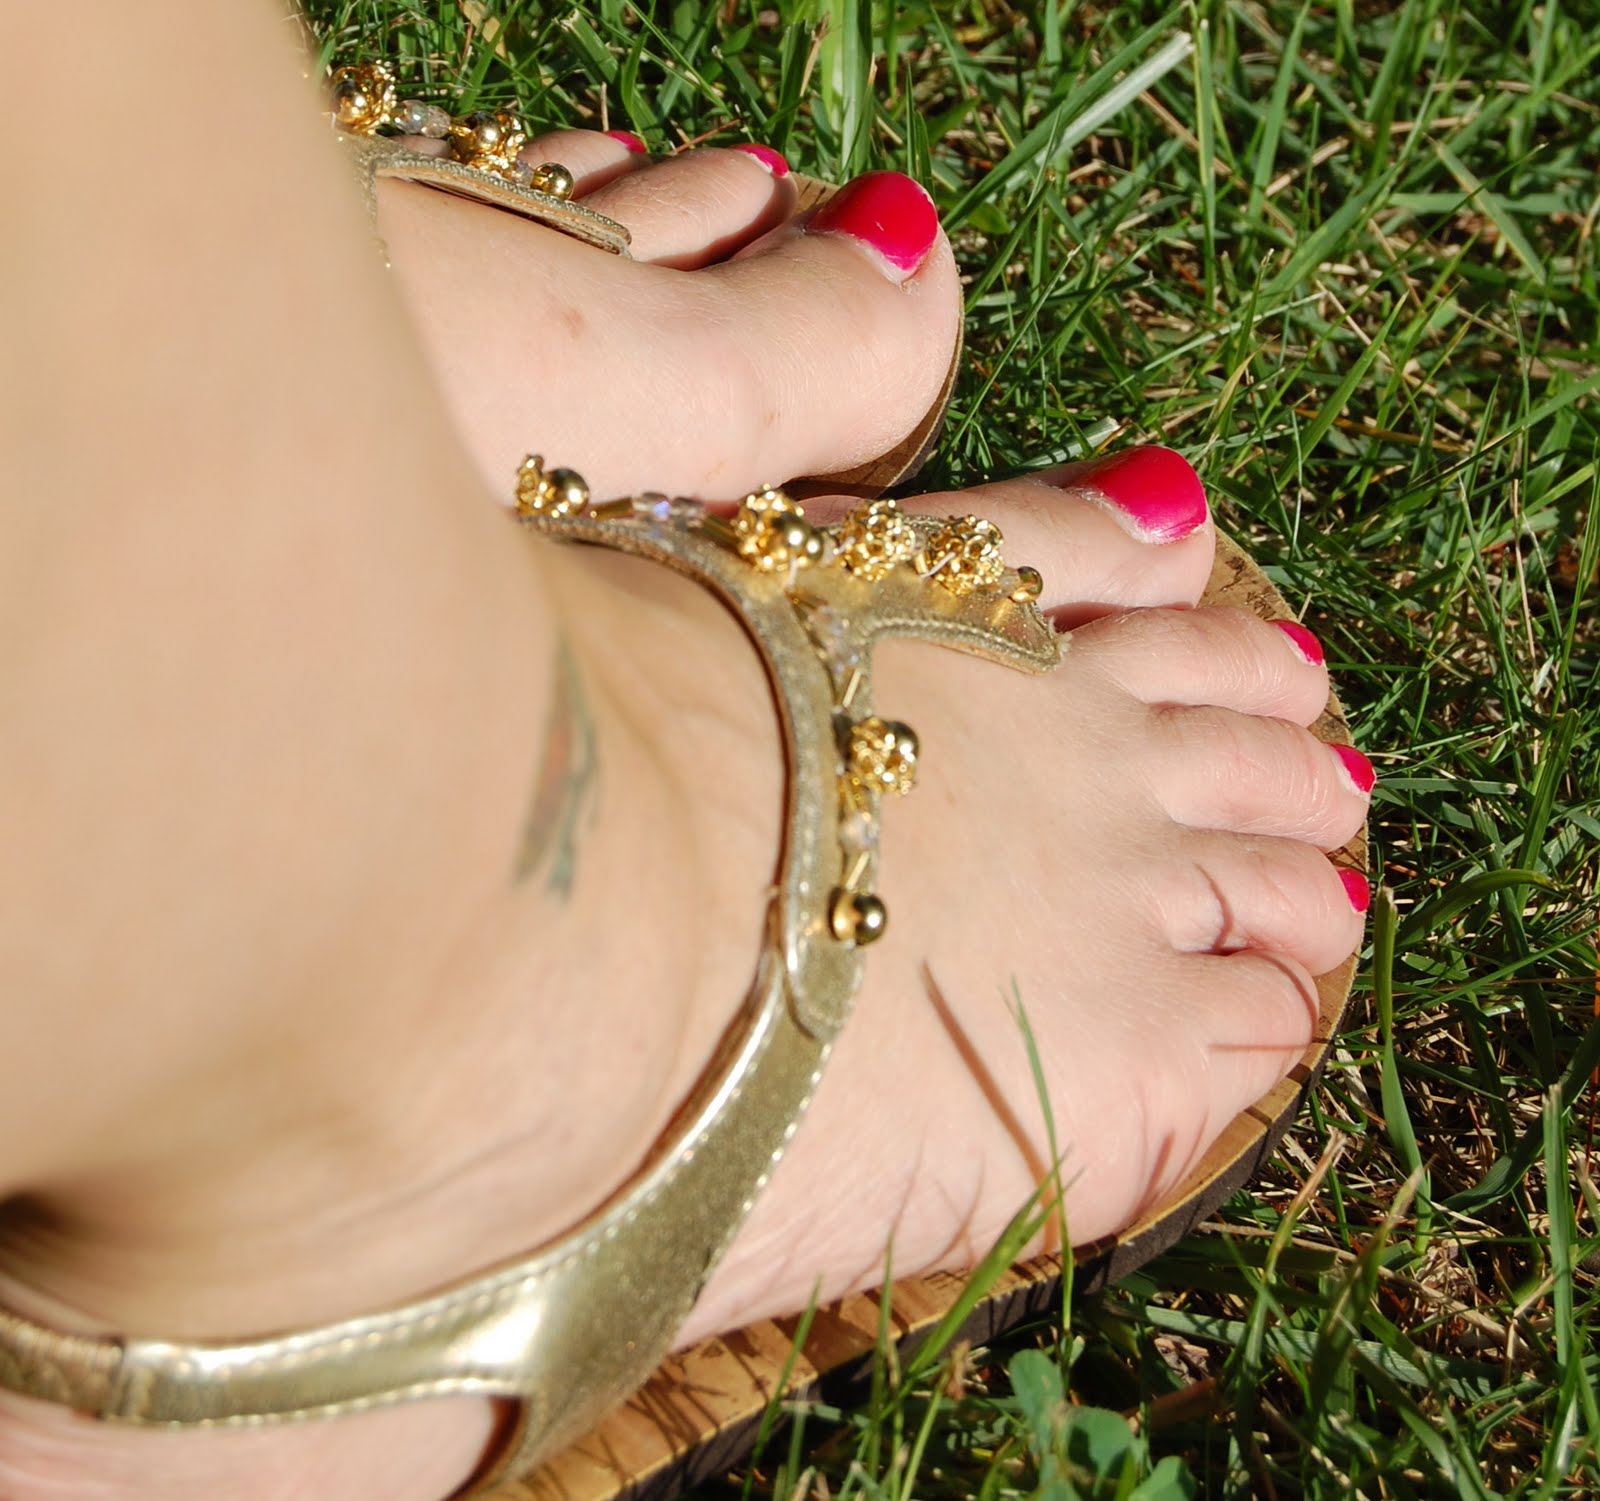
 There you go! WaaaahhhLLLaaa! Fancy fancy.
Honestly, after I worked on my black sandals, I was a little nervous that they would break. HOWEVER…I wore them on Girls Night Out, and they held up perfectly! If they can make it through that, then they are ok in my book. 🙂
Go ahead, razzle dazzle those sandals up!!
It’s been fun, and hope you pop in over at
– Tracy 🙂