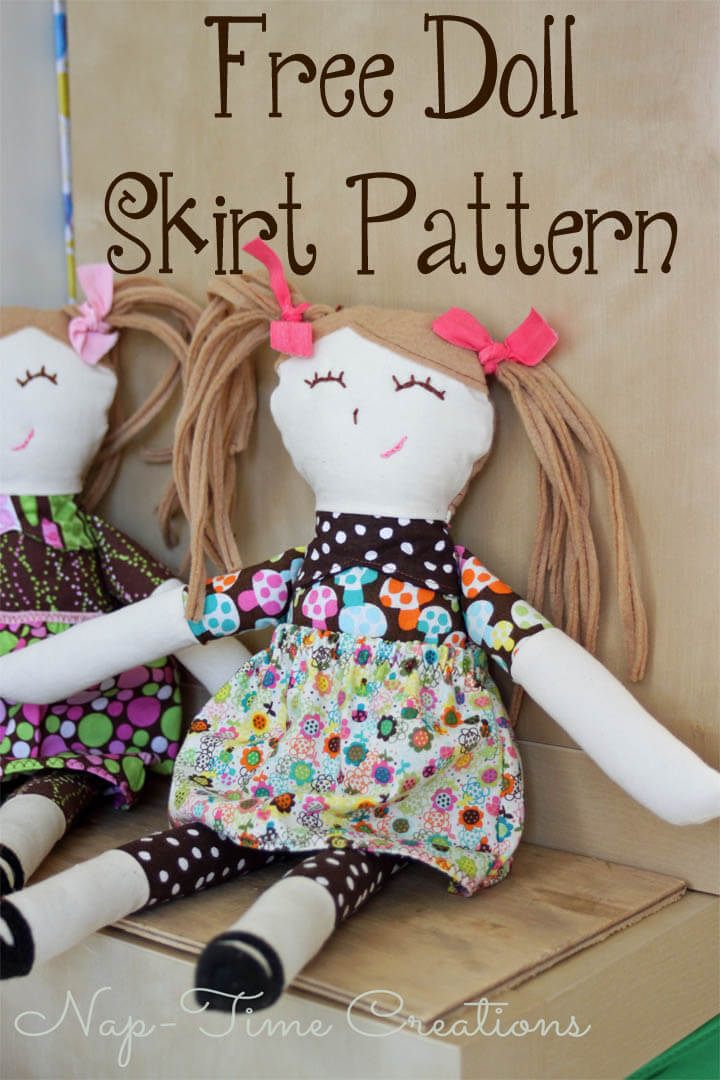
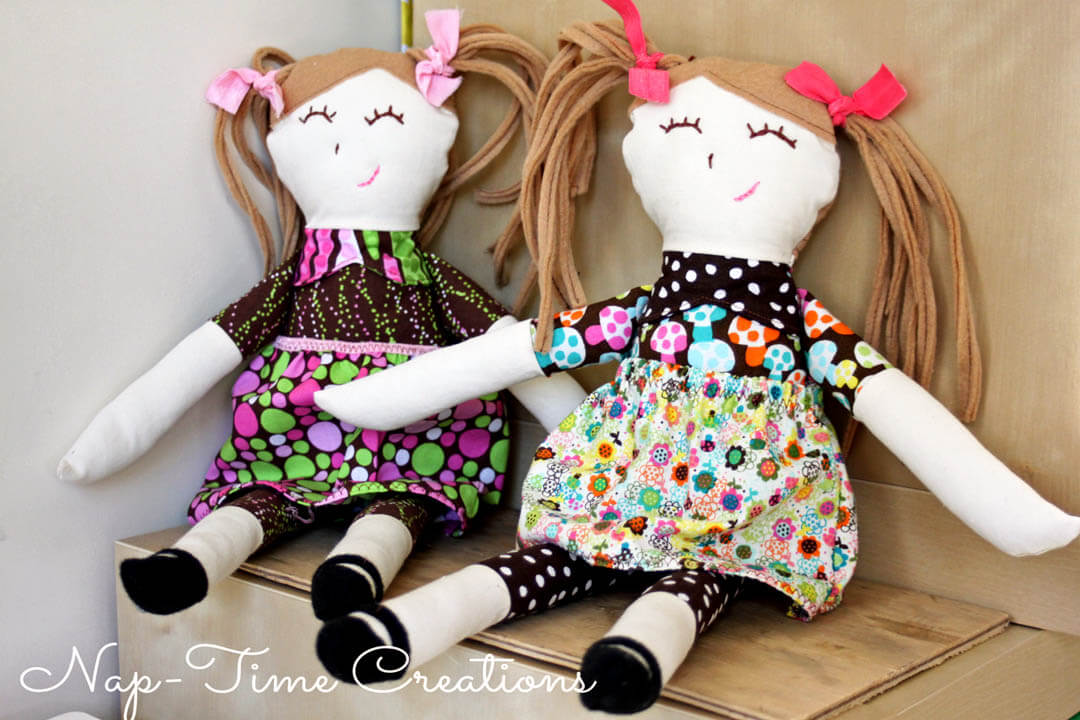
Today over on Nap-Time Creations , I posted my first Ruby Lou Dolls… I’ve had the pattern for a few years, but this was the first time I’ve made them… And let me say, they are SO adorable.. I sewed up these two for my twin nieces who have a birthday {today!!} yeah!! I thought it would be fun to send them with more than one skirt, so in addition to the skirt that comes with the pattern, I’ve made up another one to share with you. This doll skirt tutorial can be customized to pretty much any doll size and has lots of variations so you can use materials you have on hand.
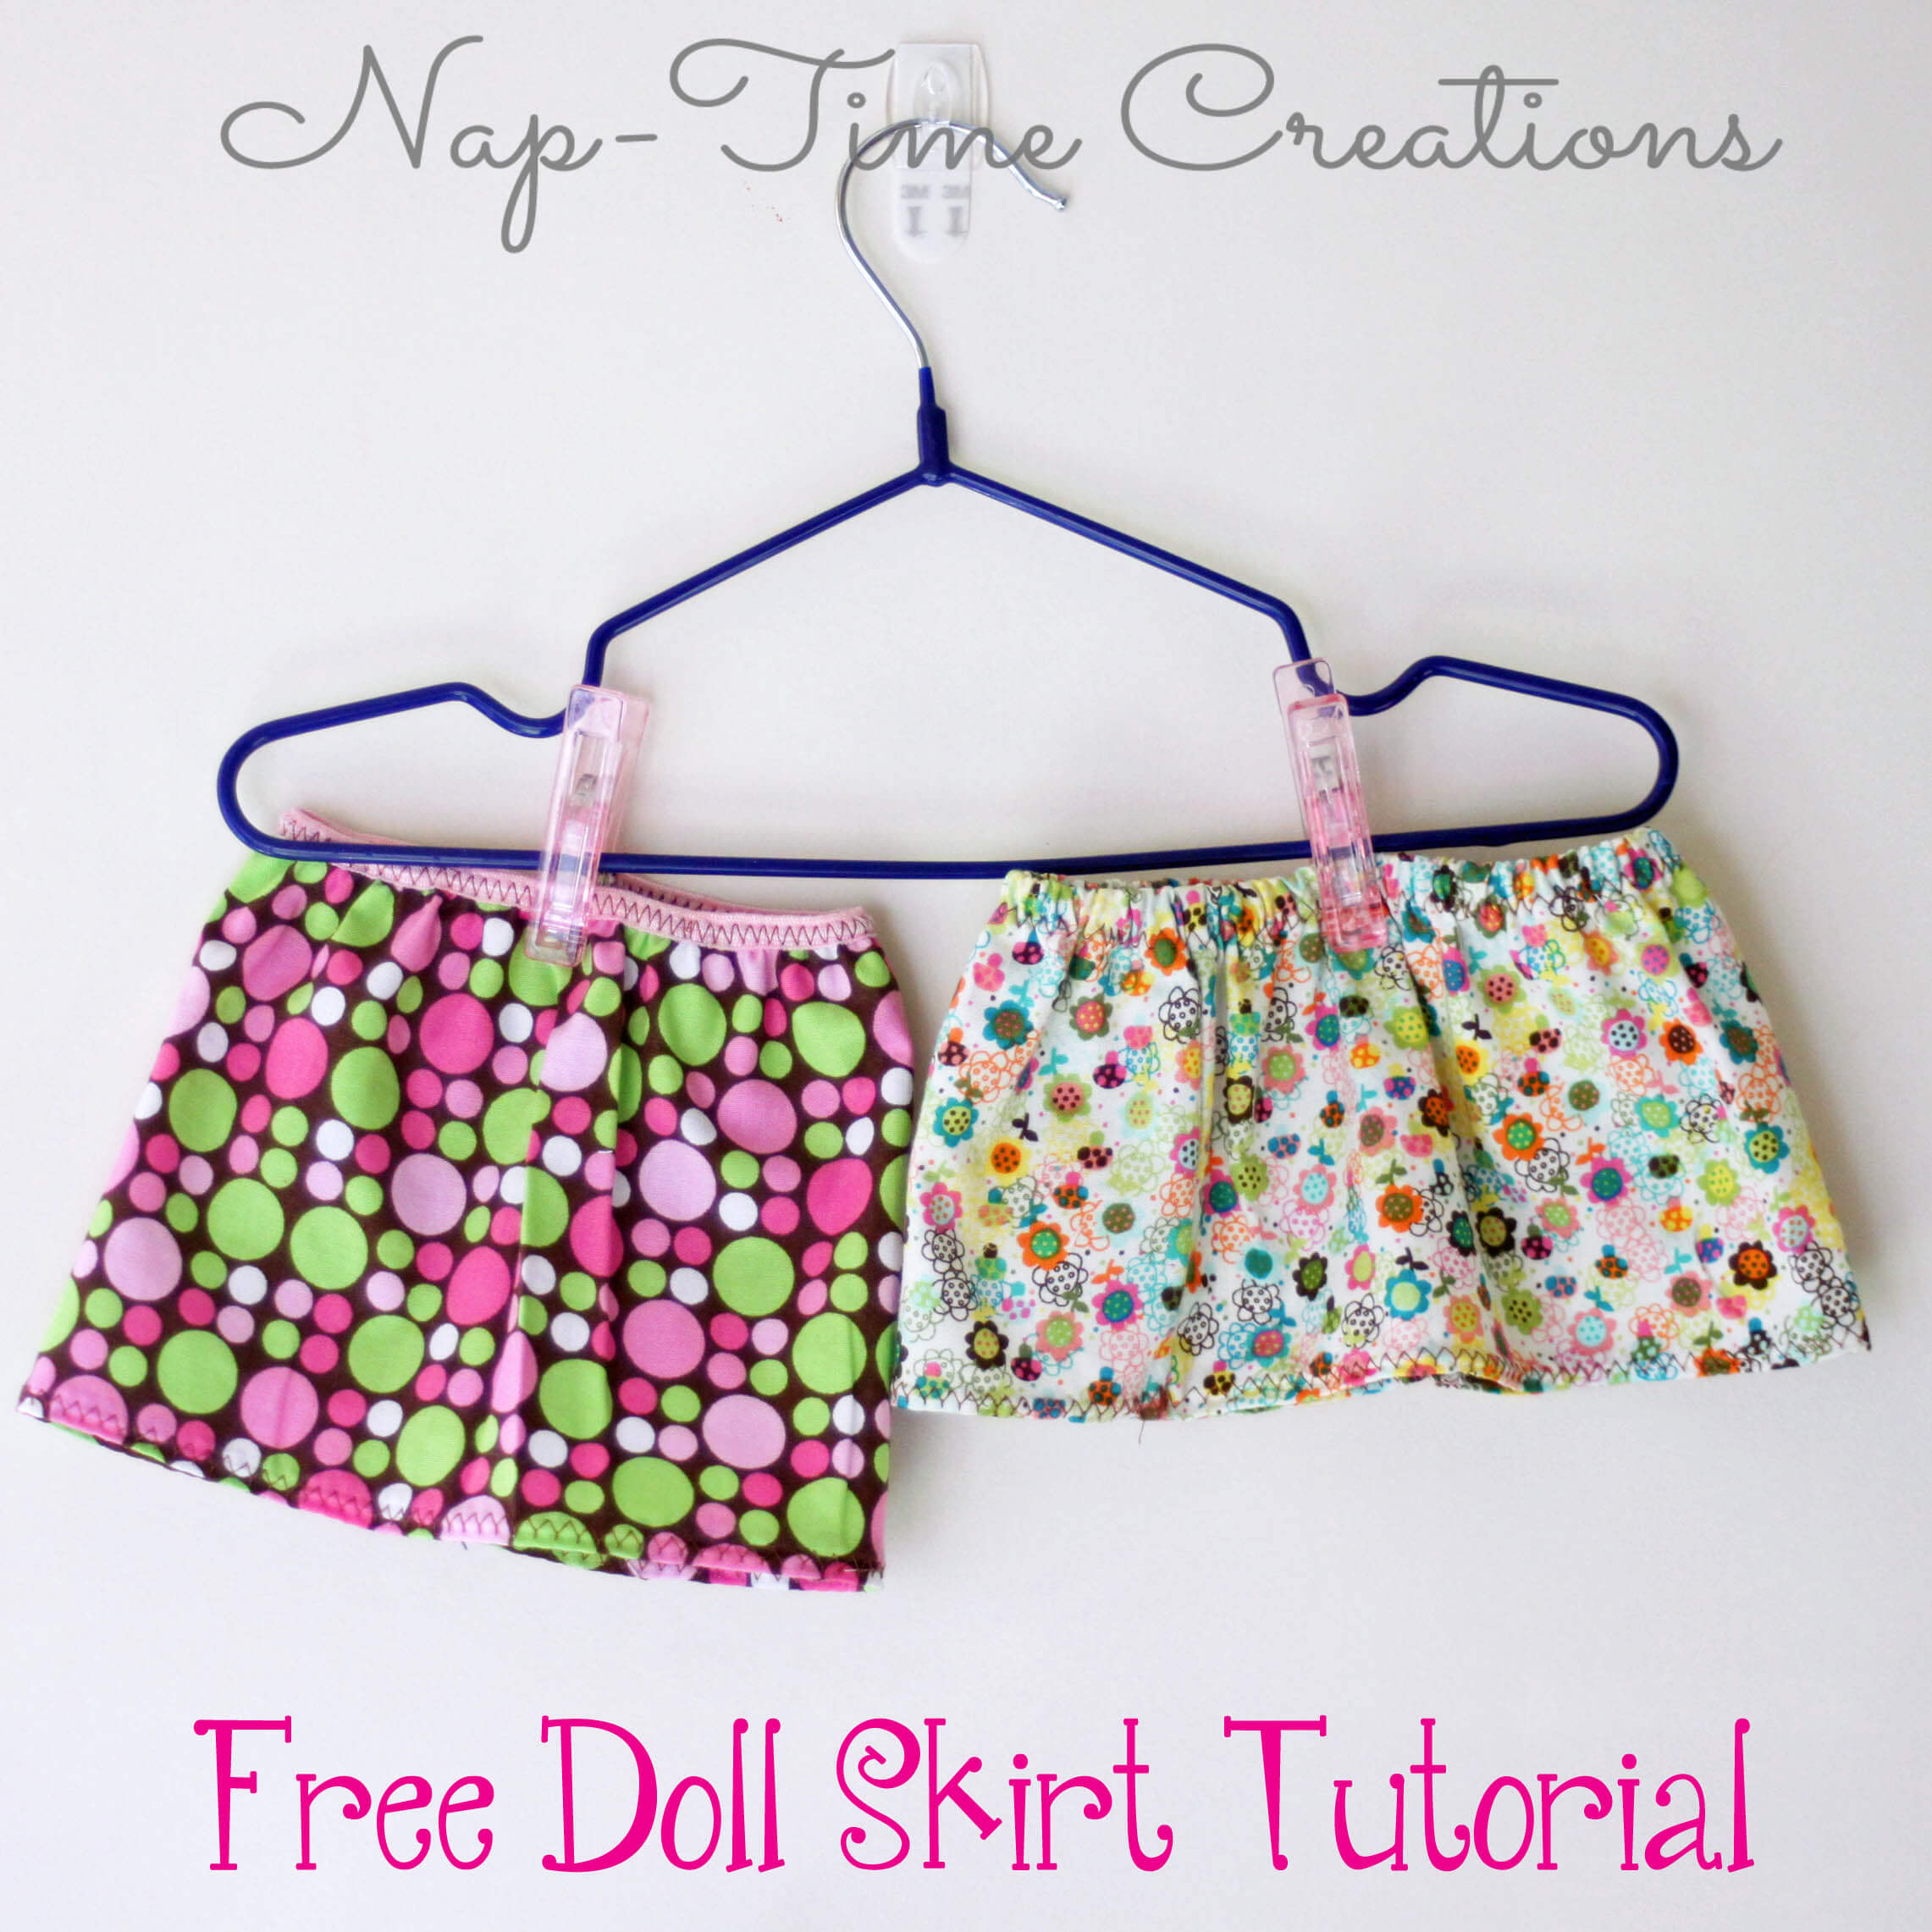
Cute right? In just about 15 min. you too can whip up one of these for your little girls doll of any size. Here are the two I made! They are slightly different, as you can see, but I’ve given you options, so you can work with what you have, or what you are comfortable with.
You will start my taking measurements of your doll. These will be very loose measurements and not exact. So you will need a doll, elastic {1/4 ” or fold over} and scraps of fabric.
Measure the length you want for the skirt by using the doll. {waist to knee? or so…}
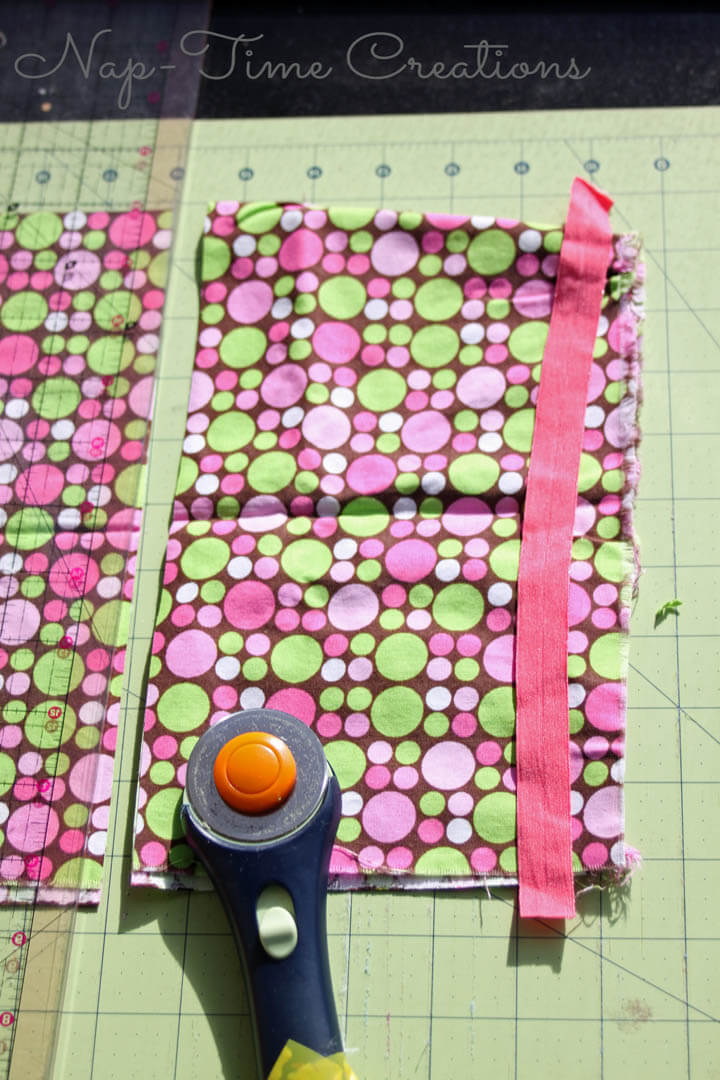
measure with the elastic around the waist. Cut your fabric twice as long as this elastic measurement, with the height as you measured above…
So should be something like this…my fabric is doubled over, so twice the elastic.
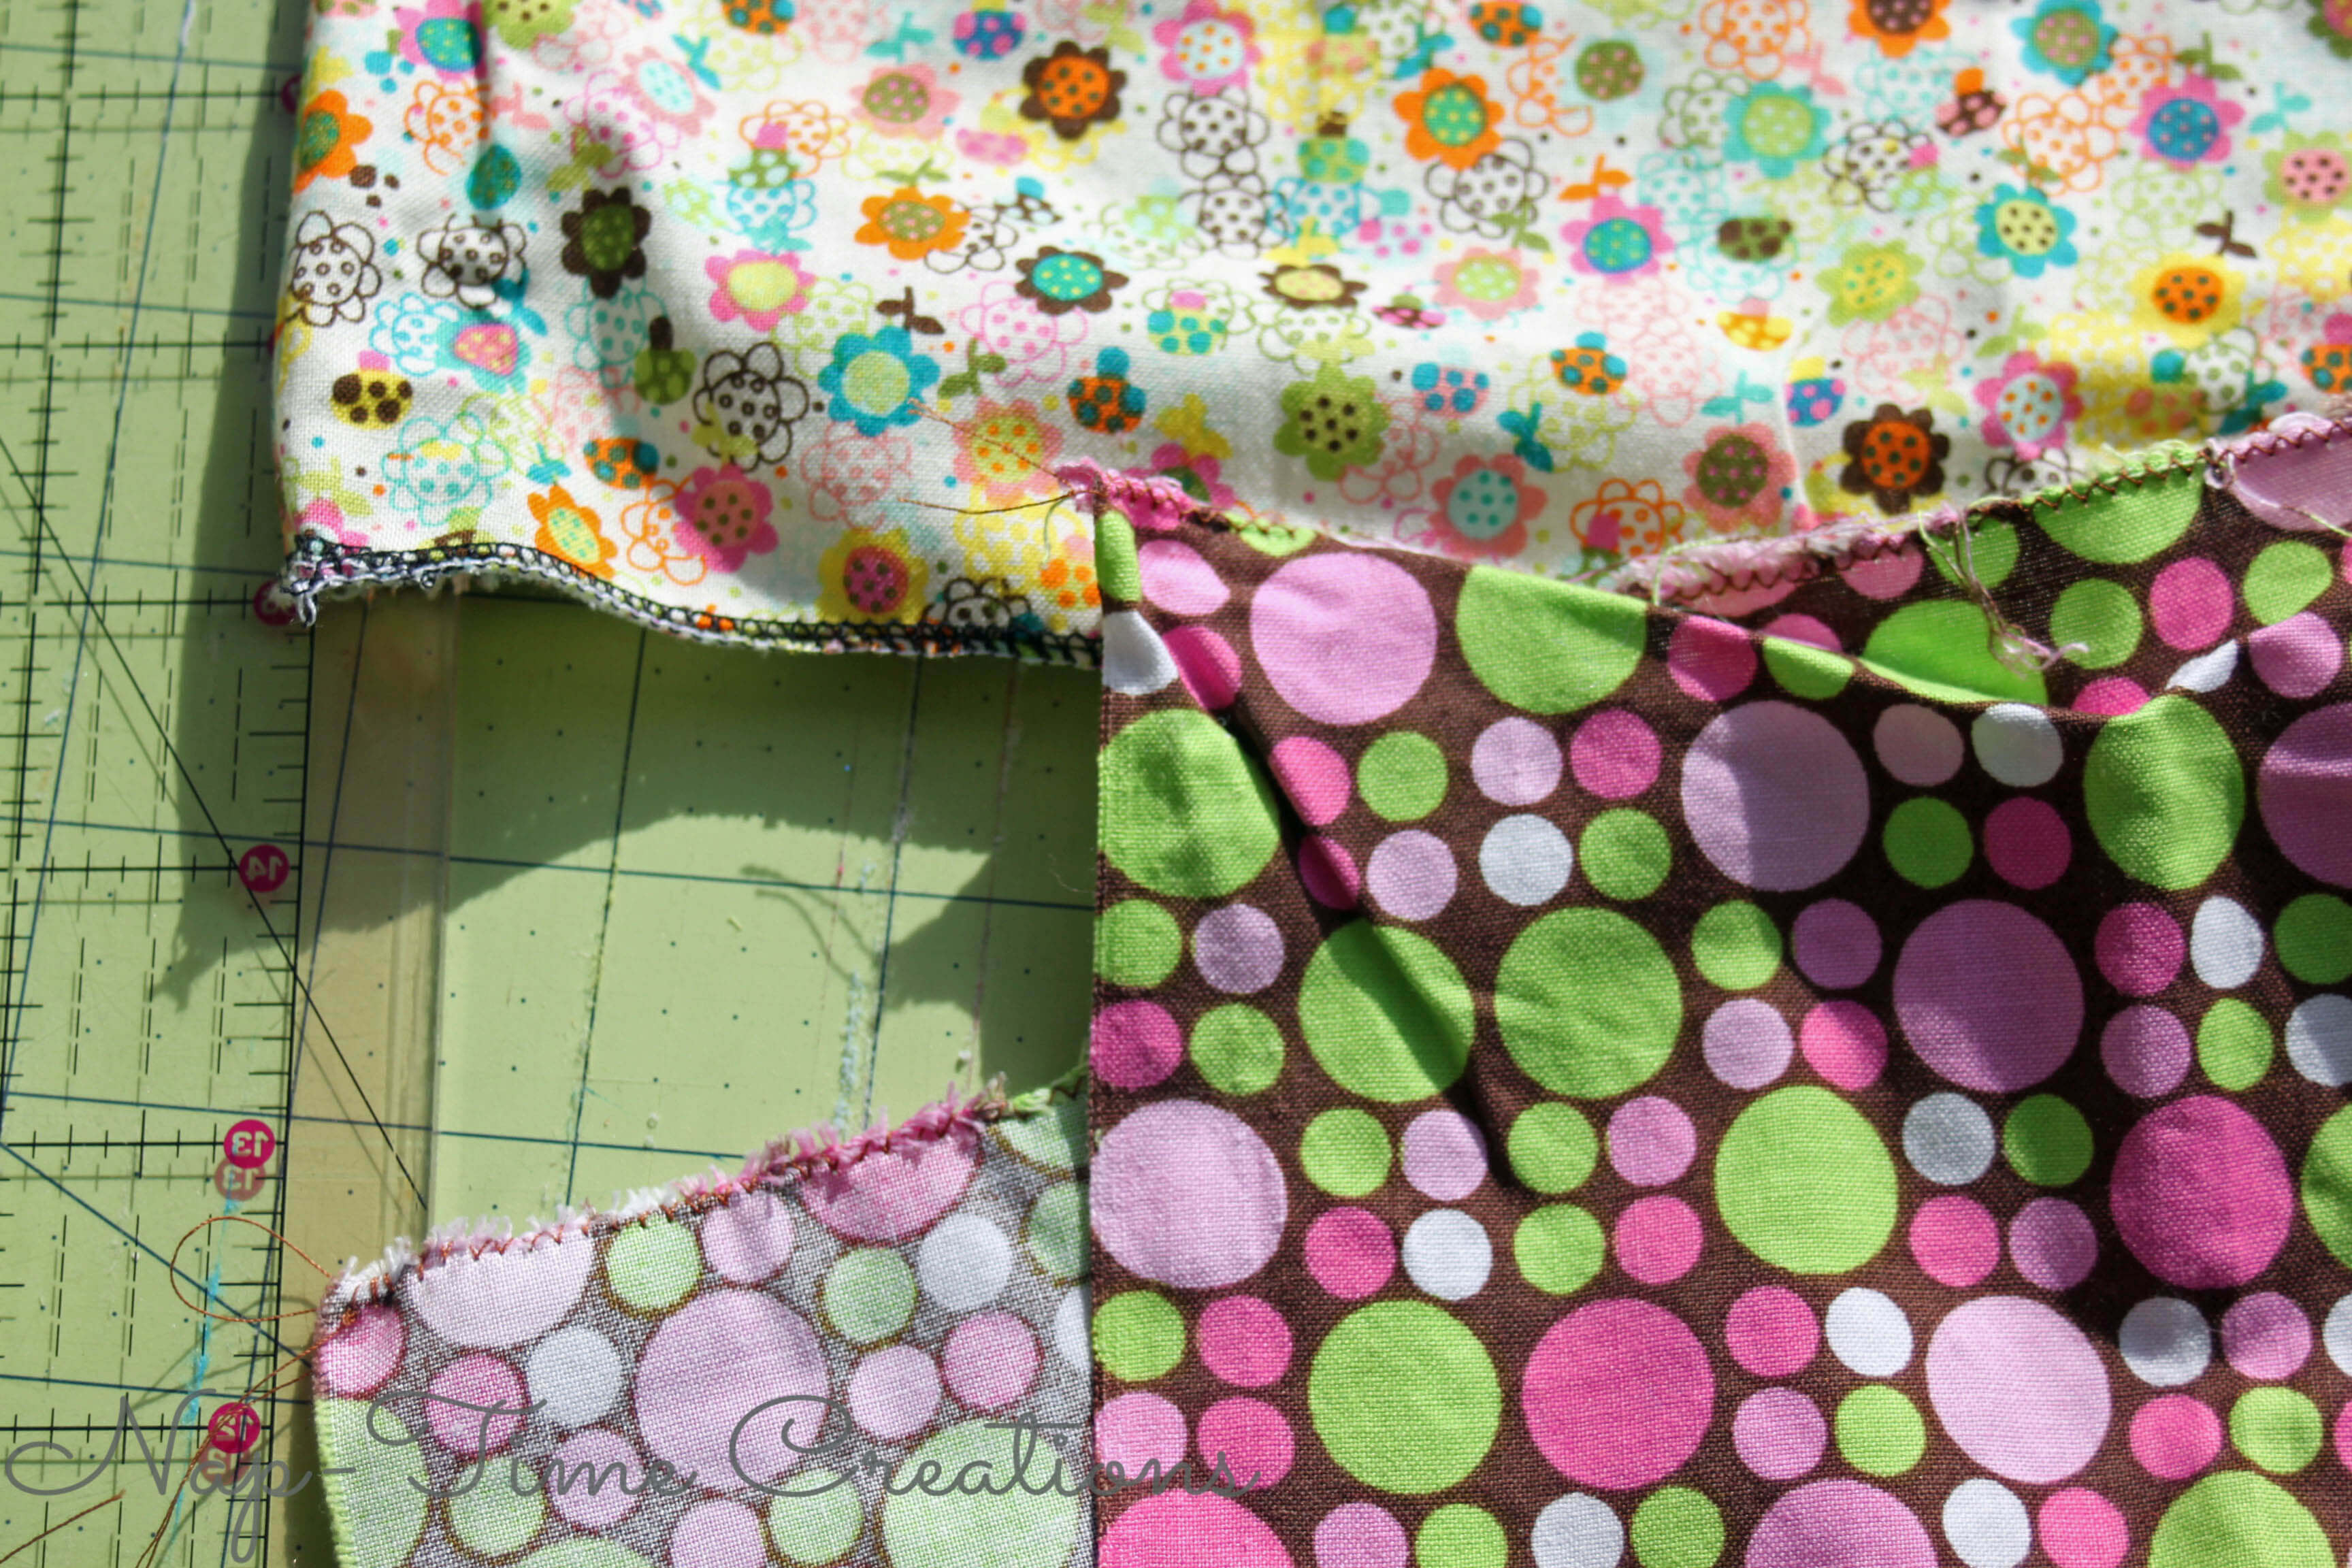
Now, you want to use a serger to finish BOTH long sides of the skirt. You can use a zig zag on a regular machine if you don’t have a serger. I’ve shown both options below.
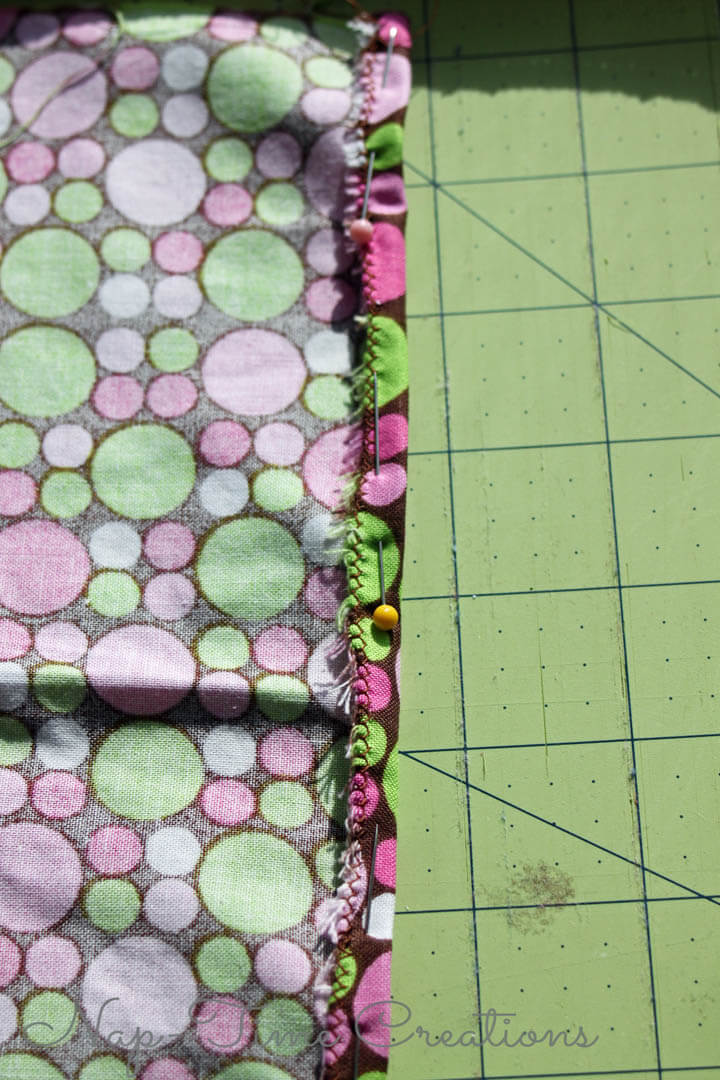
On one side, fold over a 1/2″ and pin. Sew this with a straight stitch or a zig zag for the hem.
If you are using fold over elastic follow these next few steps… for regular elastic skip ahead.
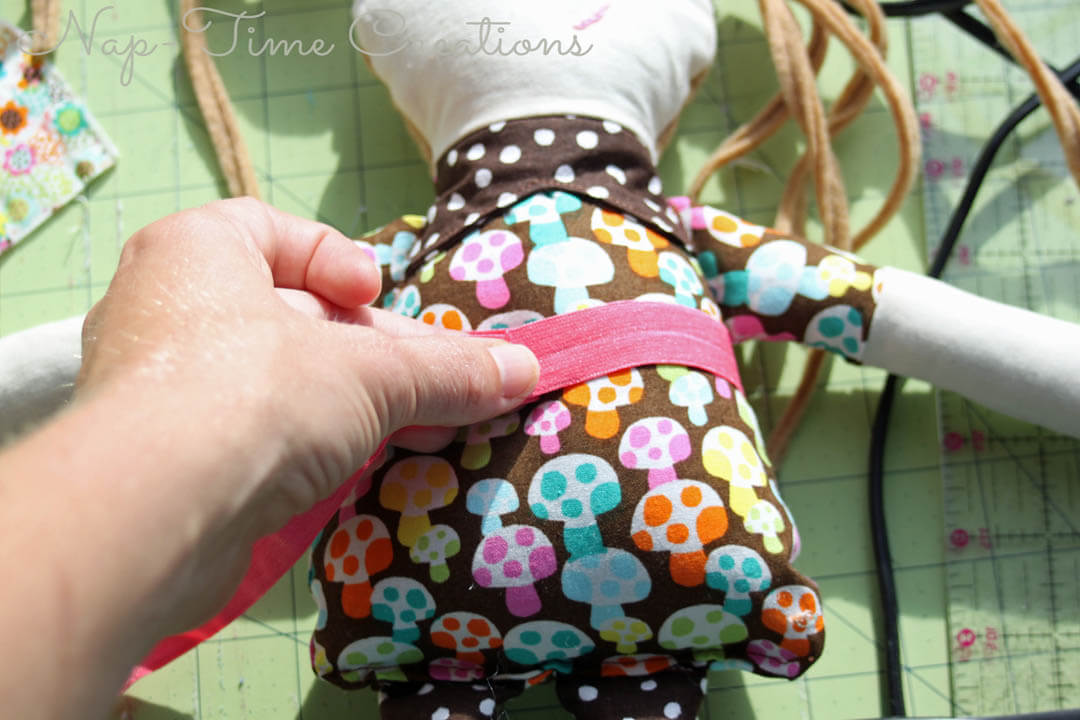
Stretch and pin the elastic along the top of the skirt. Fold it over as you go, make sure to catch both sides when you pin.

I used a zig zag to sew it as this guarantees that I catch the elastic on both sides of the fabric. Now, fold right sides together and sew up the side/or back seam.
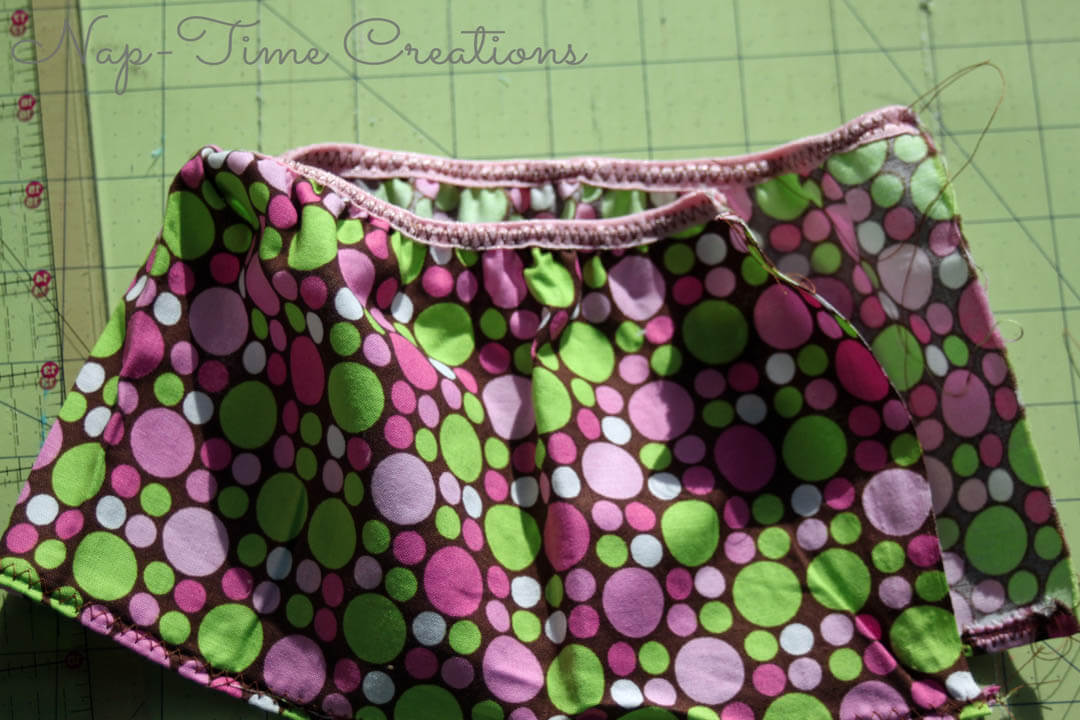
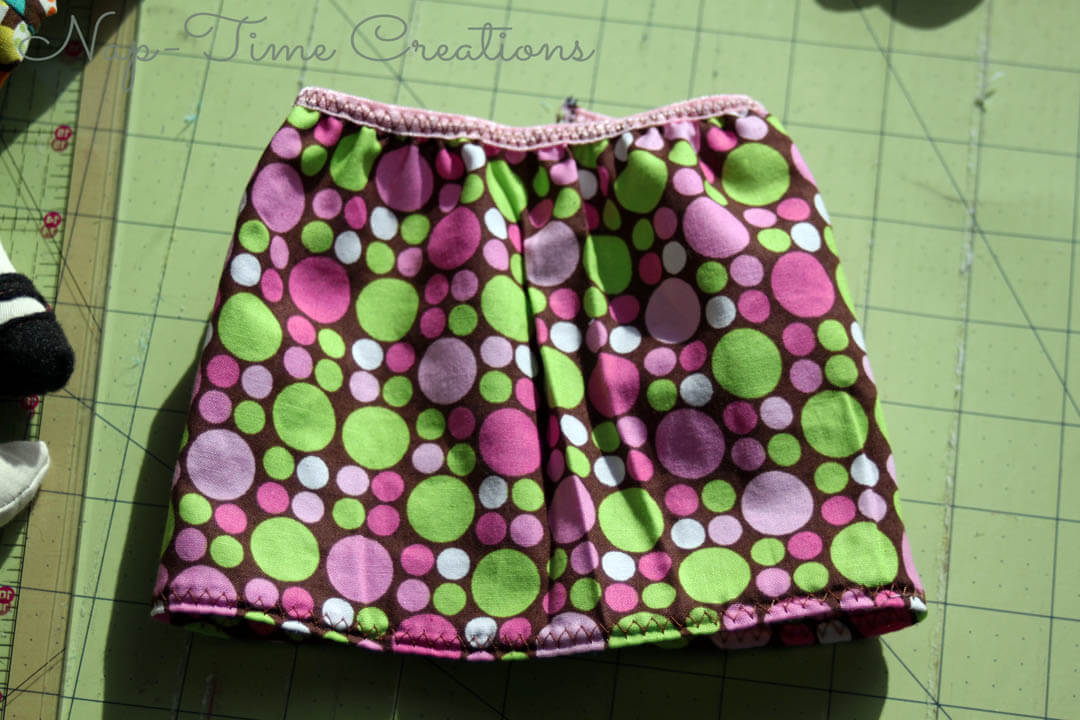
Your awesome, finished skirt should look something like this!
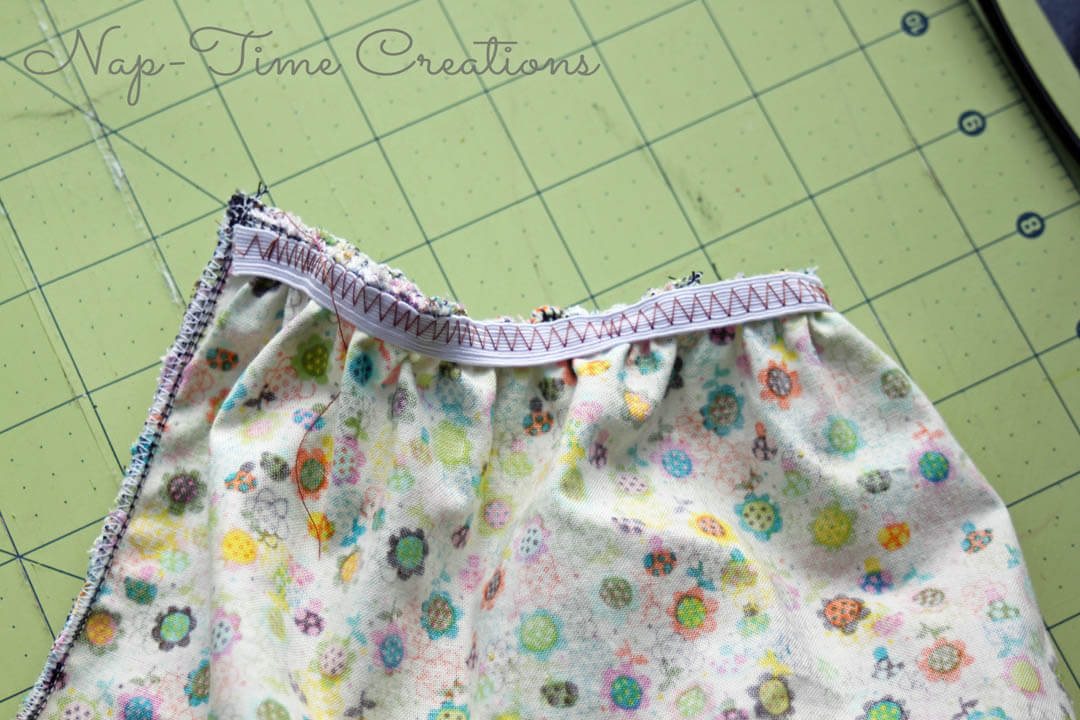
And now for the second version. Like the other skirt, you should have finished both long sides of the fabric, and sewing a hem on the bottom. Now, stretch and pin your elastic along the top edge of the skirt as shown.

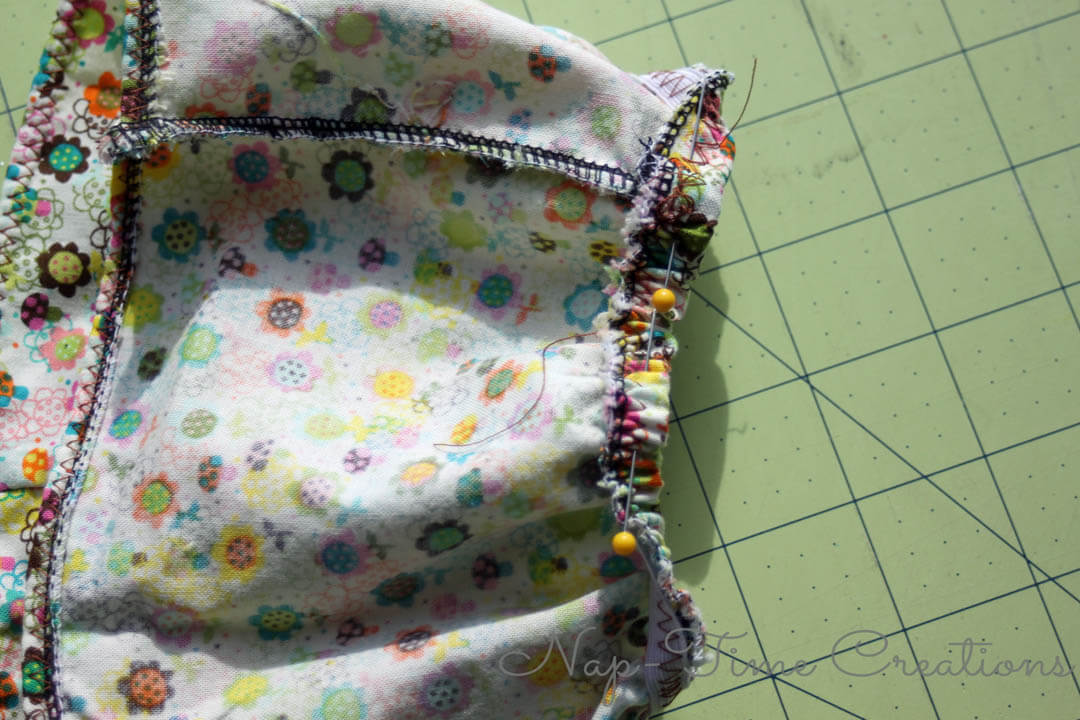
Sew down, stretching as you go. Sew up the side seam of the skirt, right sides together.
Now, fold over the elastic one more time to enclose it and sew again all the way around.
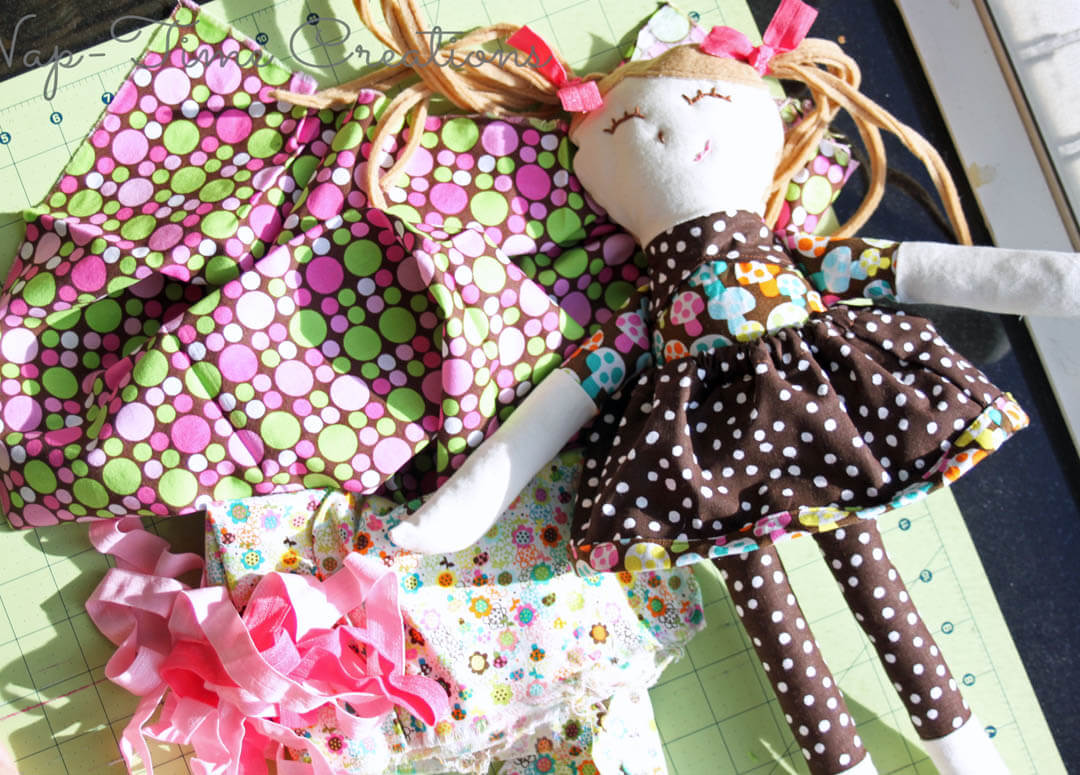
Look!! So cute! I love both versions and can’t wait for my nieces to open on their birthday!
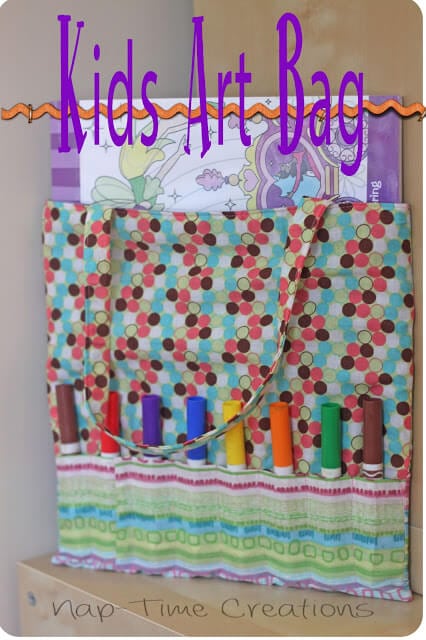
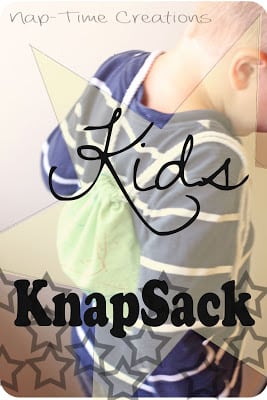
other fun things to make for kids:
Kids Art Bag, An Easy Book Holder and a Fun Knapsack for Treasures


Emily’s a Jesus loving mother and wife who currently lives in Hong Kong. They live in a small apartment in a big city and they enjoy the busy pace of life. Her two boys keep her hopping, and she also loves sitting at her sewing machine for long periods of time and deep conversations over cups of coffee with friends. Her blog, Nap-Time Creations, is about life, sewing, crafts and a recipe here or there.
Connect with Emily. You’ll be so glad you did.
You can check out Emily’s other posts here.
Nap-Time Creations Blog | Facebook | Twitter | Pinterest | Google + |


Leave a Reply