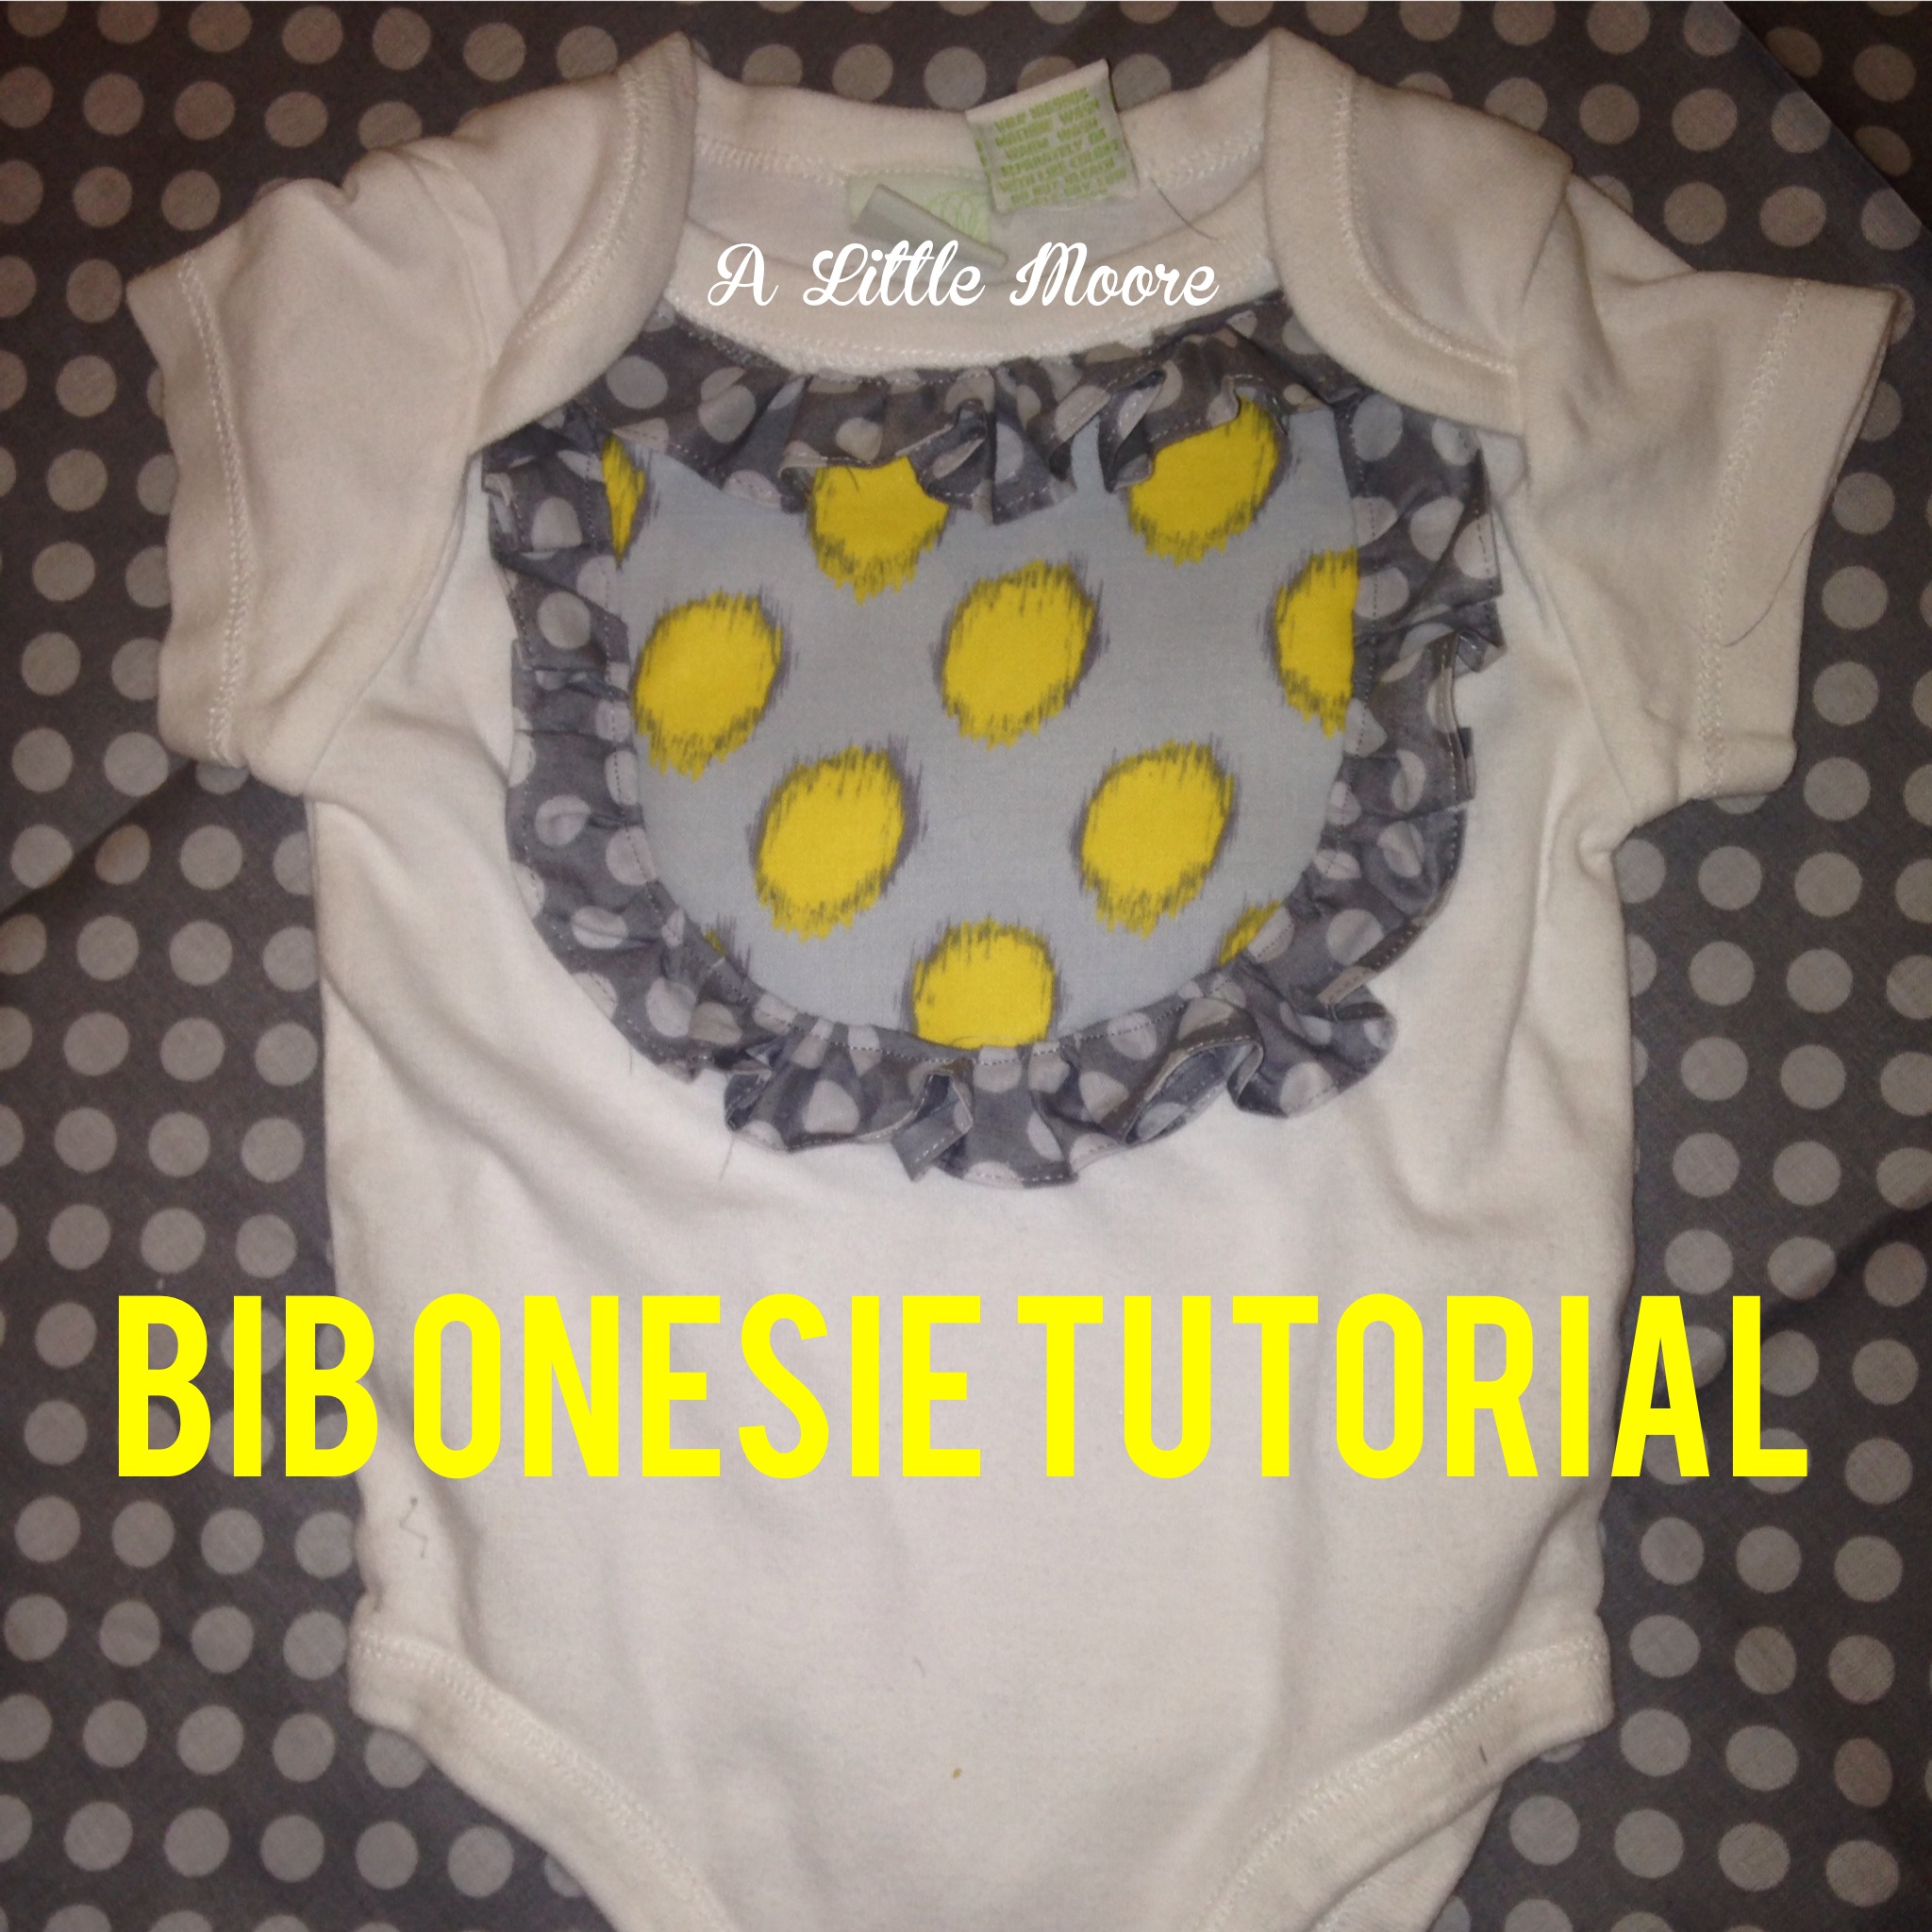
I am a big fan of anything personalized and contrary to what it may look like, I don’t monogram everything! Embellished onesies are one of my favorite gifts to give at baby showers. There is something so special when you give a gift that you put time and creativity into. I know that those are my favorite kind of gifts to receive as well. Except money, I like that kind of gift, too! But, in case you can’t give cash how about one of these instead!
To make this you need one 2.5 inch strip from the a yard of fabric and a scrap of a coordinating fabric
Heat and Bond LITE (this is capitalized because it is important that you use this kind only if you plan to sew with it, the ultra will gum up your needle and your sewing machine will no longer like you!)
Sewing machine
Thread
If this is for an older toddler or child you can add buttons but I do not advise this for any little one that might stick them in their mouths!
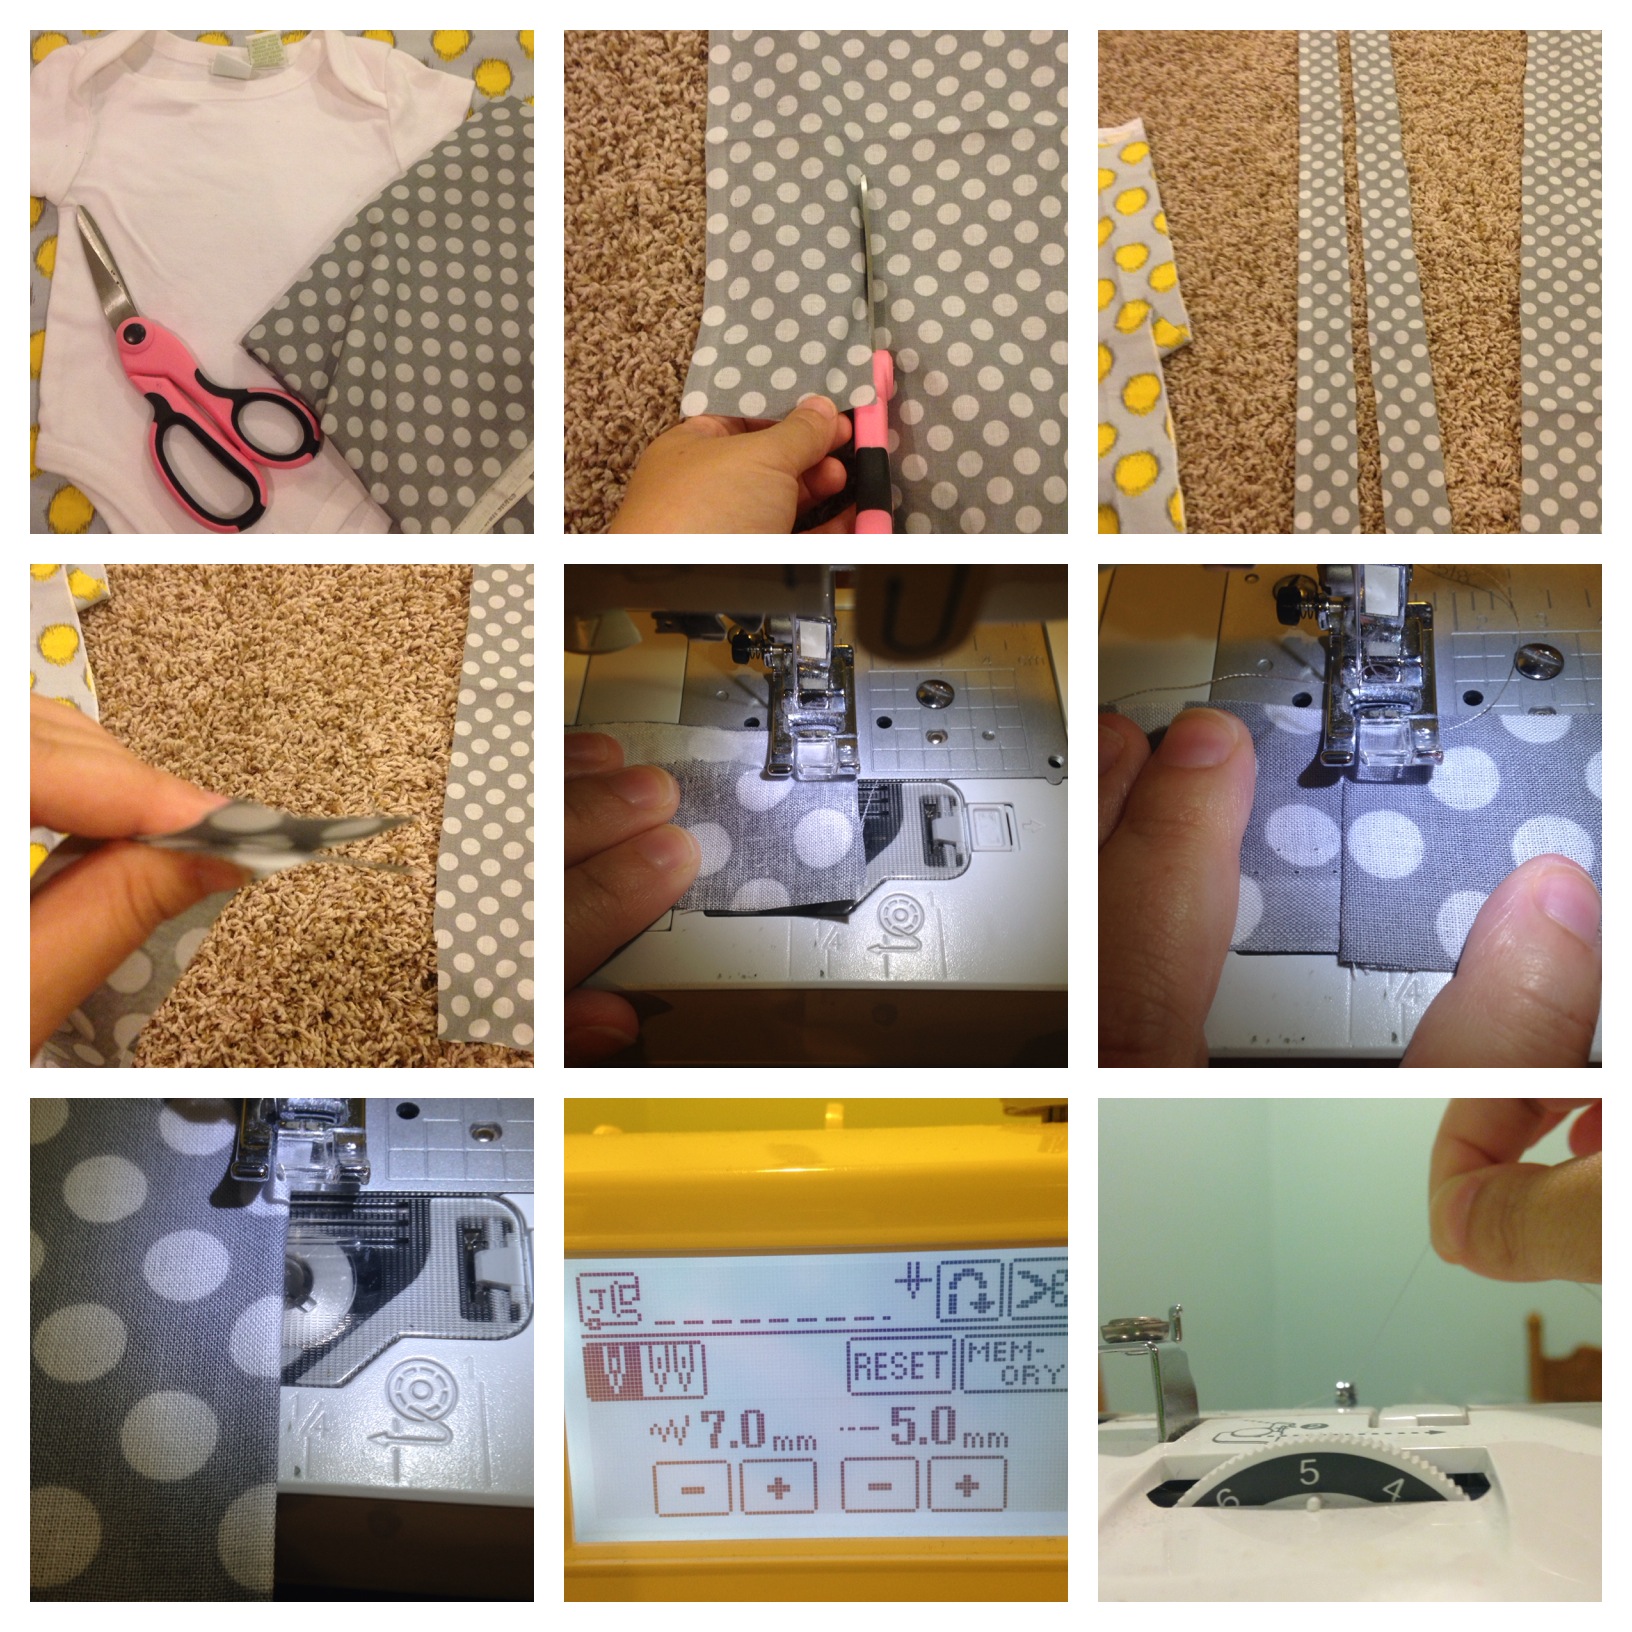 1. Get your materials ready
2. Cut your 2.5 inch strip from a yard of fabric
3. Cut that strip into 2 equal pieces
4. Place those right sides together. Or in my terms pretty sides together
5. Sew them together.
6. Top stitch that for strength
7. Hem both sides. I did this late at night and only hemmed one side. Do not take this short cut. I was lame.
8. Adjust your machine to the widest and longest single stitch length
9. While sewing on our machines fastest speed hold the thread above where it feeds into the machine taut. This will cause your fabric to automatically ruffle. Practice with a scrap first. Once you master this you will want to ruffle everything!

10. Feed that strip all the way through making sure to keep the ruffle out of the way of the machine as it tends to curl back in and could get back under your needle if you are not careful.
11. When you are done admire that ruffle!
12. Cut your piece of heat and bond LITE. I like to cut a piece of fabric that is slightly bigger than the piece of the HNBL as it will make get adhesive on your iron if you are not careful. And you know what that would make your iron not like you and we can’t have that.
13. Iron on. Pressing firmly with no steam.
14. Let it cool (it only takes a moment) and the adhesive will be on the fabric.
15. Now measure your piece and decide your size. I like to fold in half to make mine even for cutting.
16. Check placement (don’t worry about the dead space above it, your ruffle will cover it)
17. Iron on (you are a smart person, I hope I didn’t insult your intelligence with that instruction)
 18. Pretty side of your ruffle needs to be down and pointed to the inside of your bib
19. You may want to pin this in place. Remember to move pins before sewing but this may help get your ruffle on correctly.
20. Make sure your sewing back on your normal stitch length and slowly sew that ruffle on. I start with the U shape and do the top of the bib separately and last.
21. Now fold that ruffle over and stitch on top which will make your ruffle lay correctly.
22. Repeat that step but on the top arranging the ruffle to cover up any “dead” space on the collar.
23. You are done! Add buttons for older kids and enjoy how many variations you can make!
Steph blogs over at A Little Moore. She likes to make things. The best things she has ever made are her three kids Alaina, Sam and Avonlea. Her projects are fueled by copious amounts of Diet Coke a supportive hubby and an untamable love for Jesus. Life. Family. Crafts.
Check out Steph’s other posts.
Connect with Steph. You’ll be so glad you did.


Leave a Reply