Hello again, A Bird and A Bean readers! Megan here with a fun new project. I’m excited to be sharing this cute little mini album with you today! I found the idea for it on YouTube by a lady named Faithful Designs by Christy and I’m so glad I stumbled upon it! There are 4 How-to videos with step by step instructions that I have linked to at the very end of the post.
I really LOVE this mini scrapbook album! It’s so perfect for those special occasions you always want to remember. For this project, I made 2 of them for my kids’ teachers at the end of the school year. It’s kind of become my thing to make their teachers a scrapbook album as their end of year present and this year I wanted to do something totally and completely different.
I know it’s the middle of summer and you’re probably wondering why I’m showing you an end of school year idea, but the great thing about this project is you can make the subject ANYTHING you want! If you’re pregnant and expecting your first child, or even your fifth, you could make a welcome home baby album, or you could make a home renovations album, or just an everyday album documenting normal, or not so normal, life. The sky’s the limit here! I’m thinking about making one of these for a friend who is having a baby in a little over a month. I have the perfect boy paper pack for it and I really can’t wait to have time to sit down and make more of them!
Anyway, let’s get on to the fun part…. PICTURES!
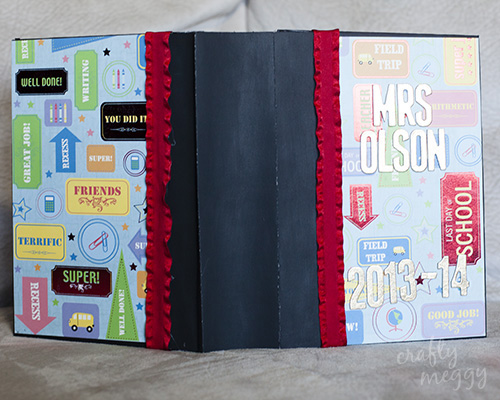
Here’s a picture of the front and back cover. For some reason I forgot to take a picture of just the front cover. I hate it when I do that and now I don’t have it to do one.
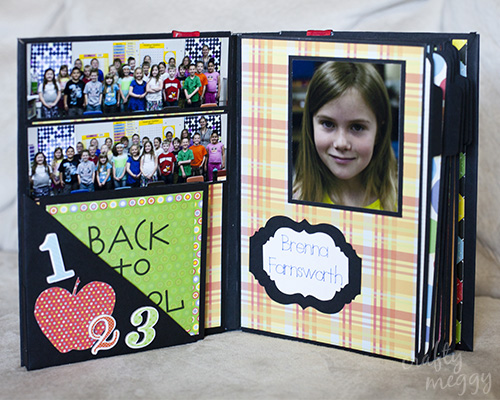
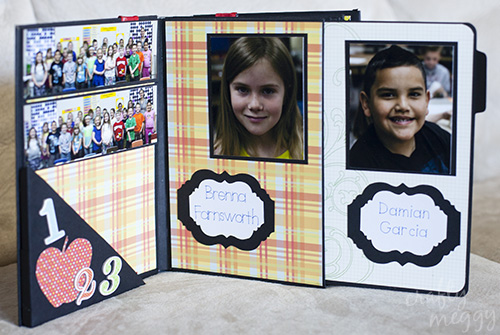
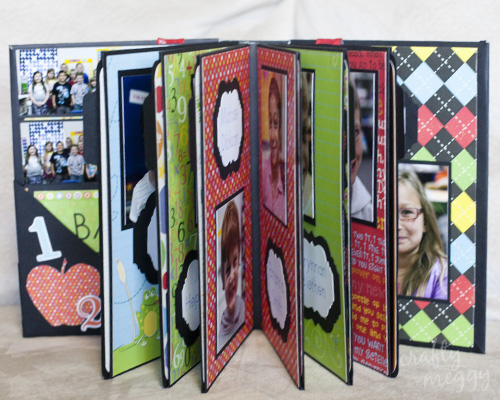
This is what it looks like when you first open the book.
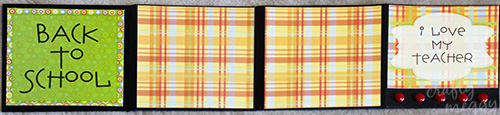
This is the little insert that can come out of that front triangle pocket. There’s room on the back here for more pictures.
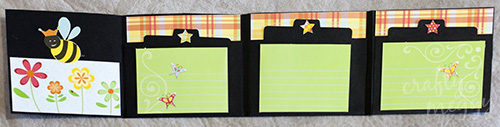
I made little 4×4 cards that fit into the pockets of this insert where more pictures can go.
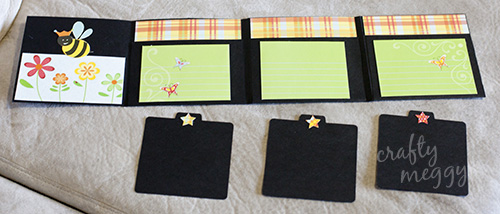
I made a mistake with the 4th pocket of the insert and put glue on all 4 sides so the pocket wasn’t a pocket anymore. lol I decided not to scrap it and made it a cute little decoration to cover up my mistake. I love it when even though I made a mistake I can still find a way to make it work!
This is what the book looks like without the insert. I cut the envelopes open on the side so I could stick in a tabbed page with more photos on them.
Here’s a close up view of the insert. I made this one from scratch because the tutorial I followed for the rest of the album didn’t have one for it. It was pretty easy to make, I just scored in 2 places on both sides and made sure the insert fit inside it before gluing it down.

I decorated each facing page with the same paper and each tab page has the same paper on front and back.
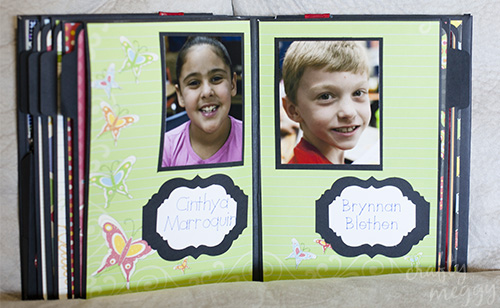
That’s my boy, Brynnan, in the picture on the right.
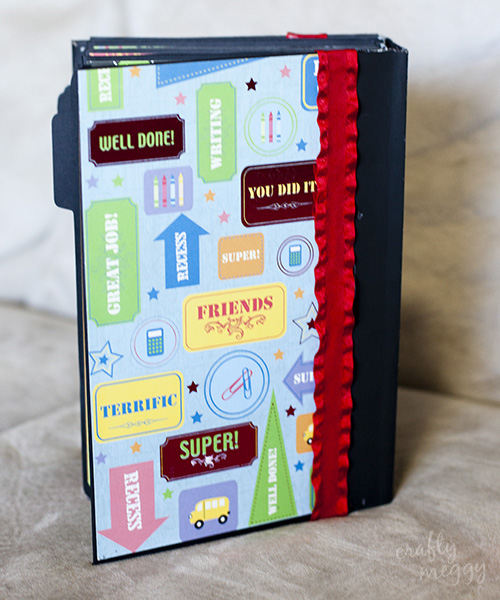
And this is the back of the album.
I really love how they turned out! It took a LONG time to make and a lot of hard work, but their teachers really loved them. That’s the whole reason I do this. I want to give their teachers something to help them remember this year the way my kids and I will.
I made a video of both of the albums I made. If you would like to watch that you can view it on my YouTube channel or below:
Here are the links to the 4 videos of the album that Christy made and also a 5th video she made of the finished album. I loved the paper pack she used so I bought the same one and copied some of her ideas, I hope she doesn’t mind! I really LOVE her album! It turned out so cute!
Video 1 ~ How to make the pages of a mini album
Video 2 ~ How to make the cover of a mini album
Video 3 ~ How to make the binding of a mini album
Video 4 ~ How to make an insert and a picture frame
Video 5 ~ Finished album
Thanks for stopping by! I hope you have a great weekend!
Megan’s a full-time mom and a part-time professional photographer. When she’s not busy cleaning up after 3 wild and crazy boys and hubby, she can be found holed up in her craft room making things. She loves to sew, scrapbook, make cards and create. She blogs over at Crafty Meggy expressing her creative side in a house full of boys. She posts all about her crafting, organizing and cleaning adventures.
Check out Megan’s other posts here.
Connect with Megan. You’ll be so glad you did!
Crafty Meggy Blog | Facebook | Twitter | Pinterest |


Megan! This is so so cute! You make the greatest stuff. So talented!
Paper crafting has evolved into so much more than just making cards and scrapbooking. It has become a household creative outlet for many with endless artistic freedom to express your unique self. Paper crafting has a wide range of techniques that can be used in projects and with the endless possibilities it is my absolute favorite. Just let your creativity blossom and most importantly have fun with it! You really can create anything imaginable with pretty paper, glue and sparkly embellishments! Spread sunshine and smiles by creating something beautiful!!